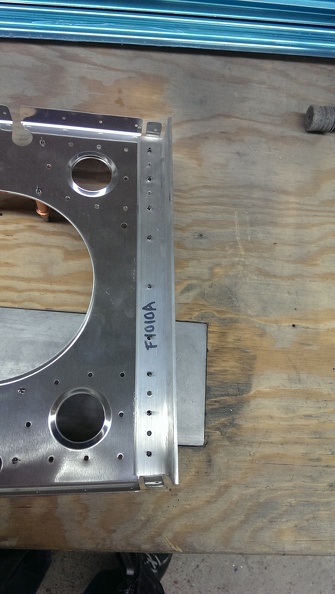
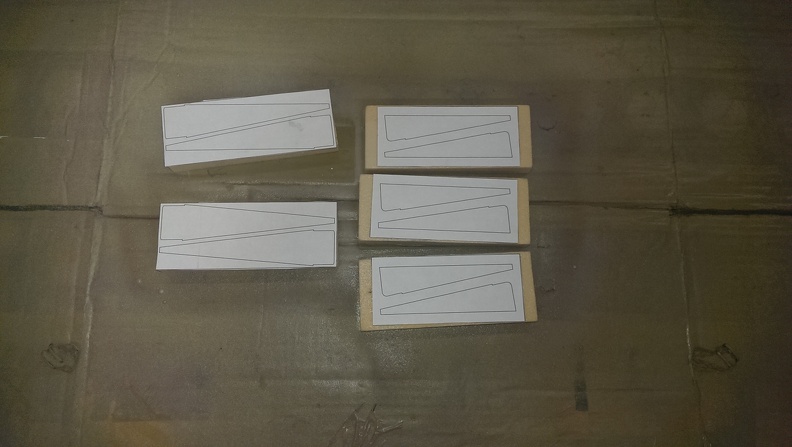
Today I started by finishing up some odds & ends prior to disassembly. I finished making the F1011D & F1012D angles.

F1011-D

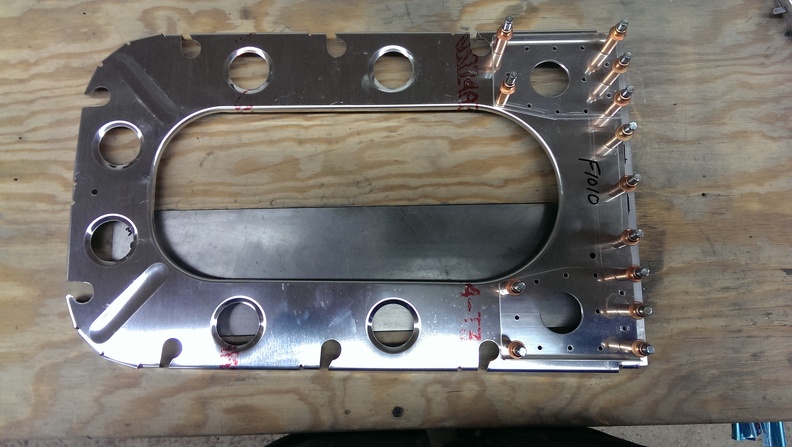
F1011D Complete
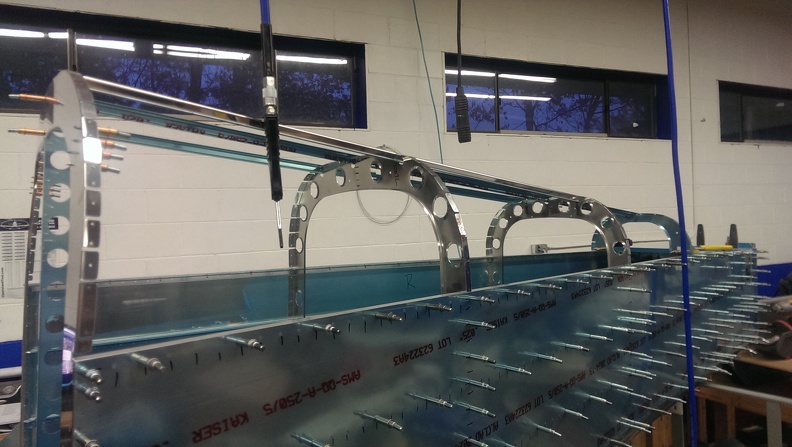
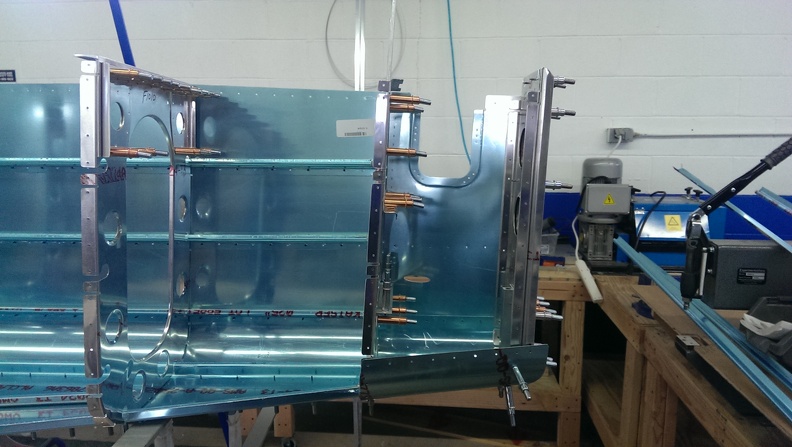
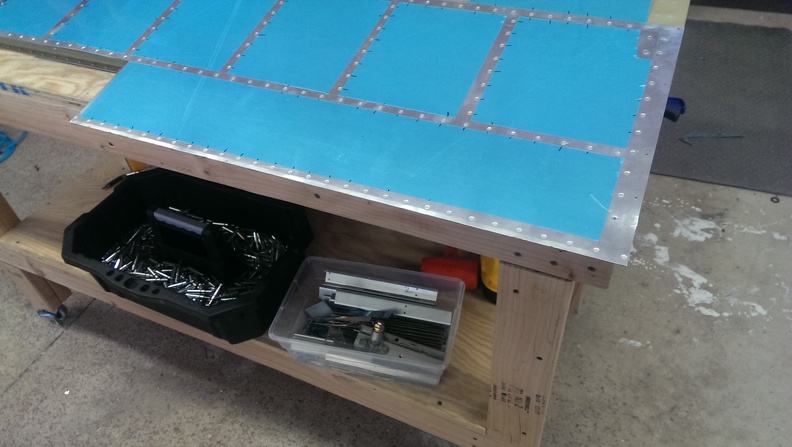
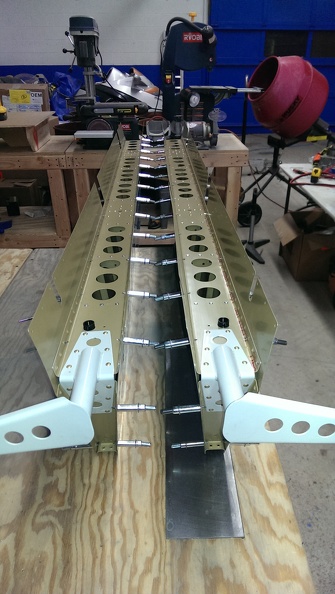
After completing these parts, I matched drilled all the holes in the F1014 skin. Next I clamped the newly completely angles to the F1014 skin and began match drilling all the holes in them to the F1014 skin & longerons.
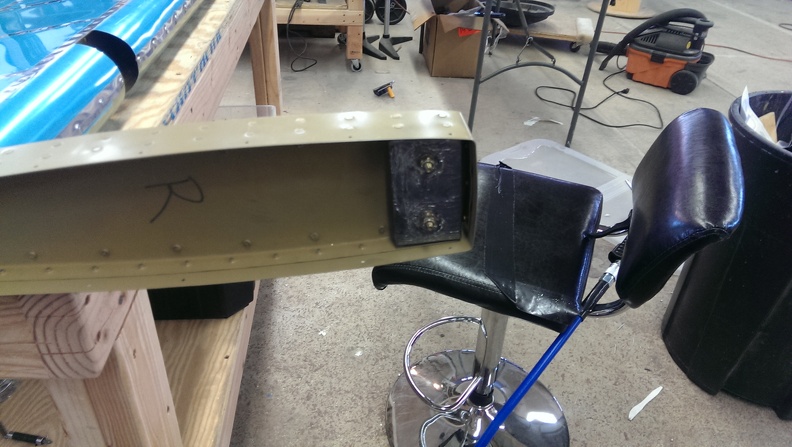
Next began the process of placing the rear passenger seat belt attachment anchors. This was pretty easy to accomplish.
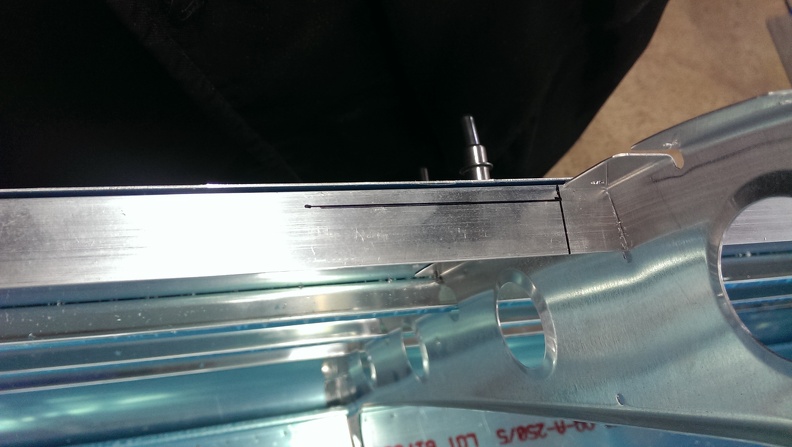


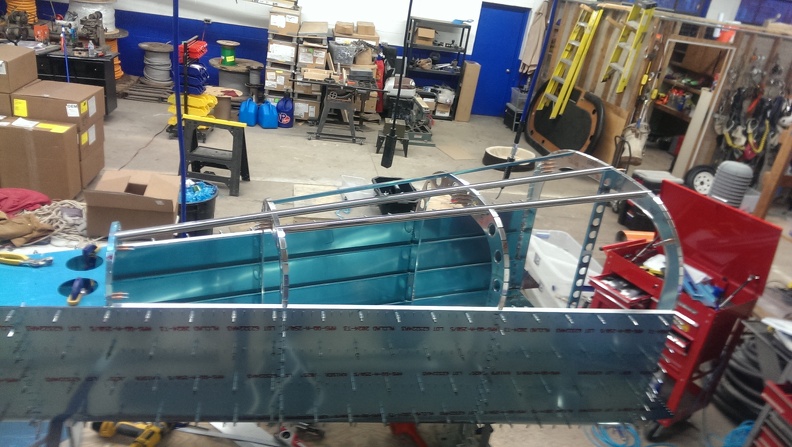
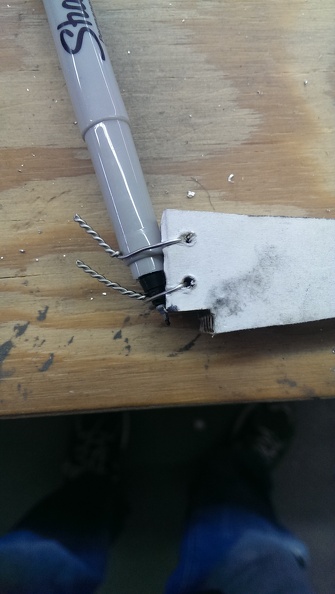
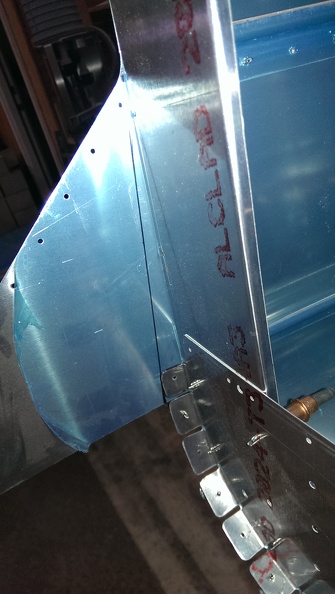
Next the plan’s call for a line to be drawn on the triangle of the right side skin so that it could be cut off. This was quite nerve racking in its own right as I was worried about butchering the cut. I ended up using my snips and cutting piece by piece until I was really close, then finished it off with a grinding wheel.

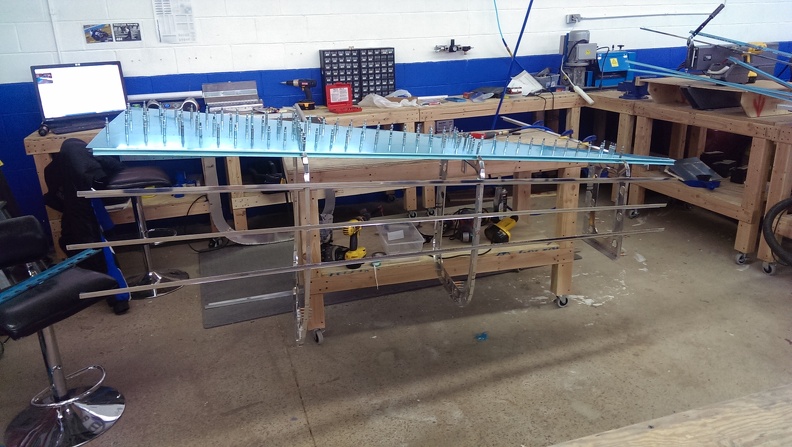
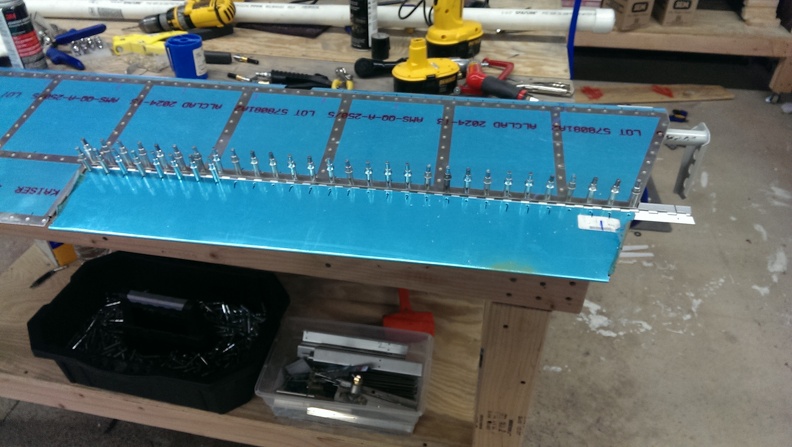
Next after disassembling everything. Boy that was disappointing I tore off the blue plastic on the insides of all the skins and all of it on a bunch of pieces. I skipped ahead a few steps and drilled the 11/16″ hole for the rear tie down point. I also sanded, deburred, & dimpled 1 stiffener. I am thinking of deburring the pieces as they are called out to be assembled. This will break up the monotonous of scuffing, deburring & dimpling. I think this will only really work due to the fact I am using spray can primer.