Post Edit: This is Post # 100!
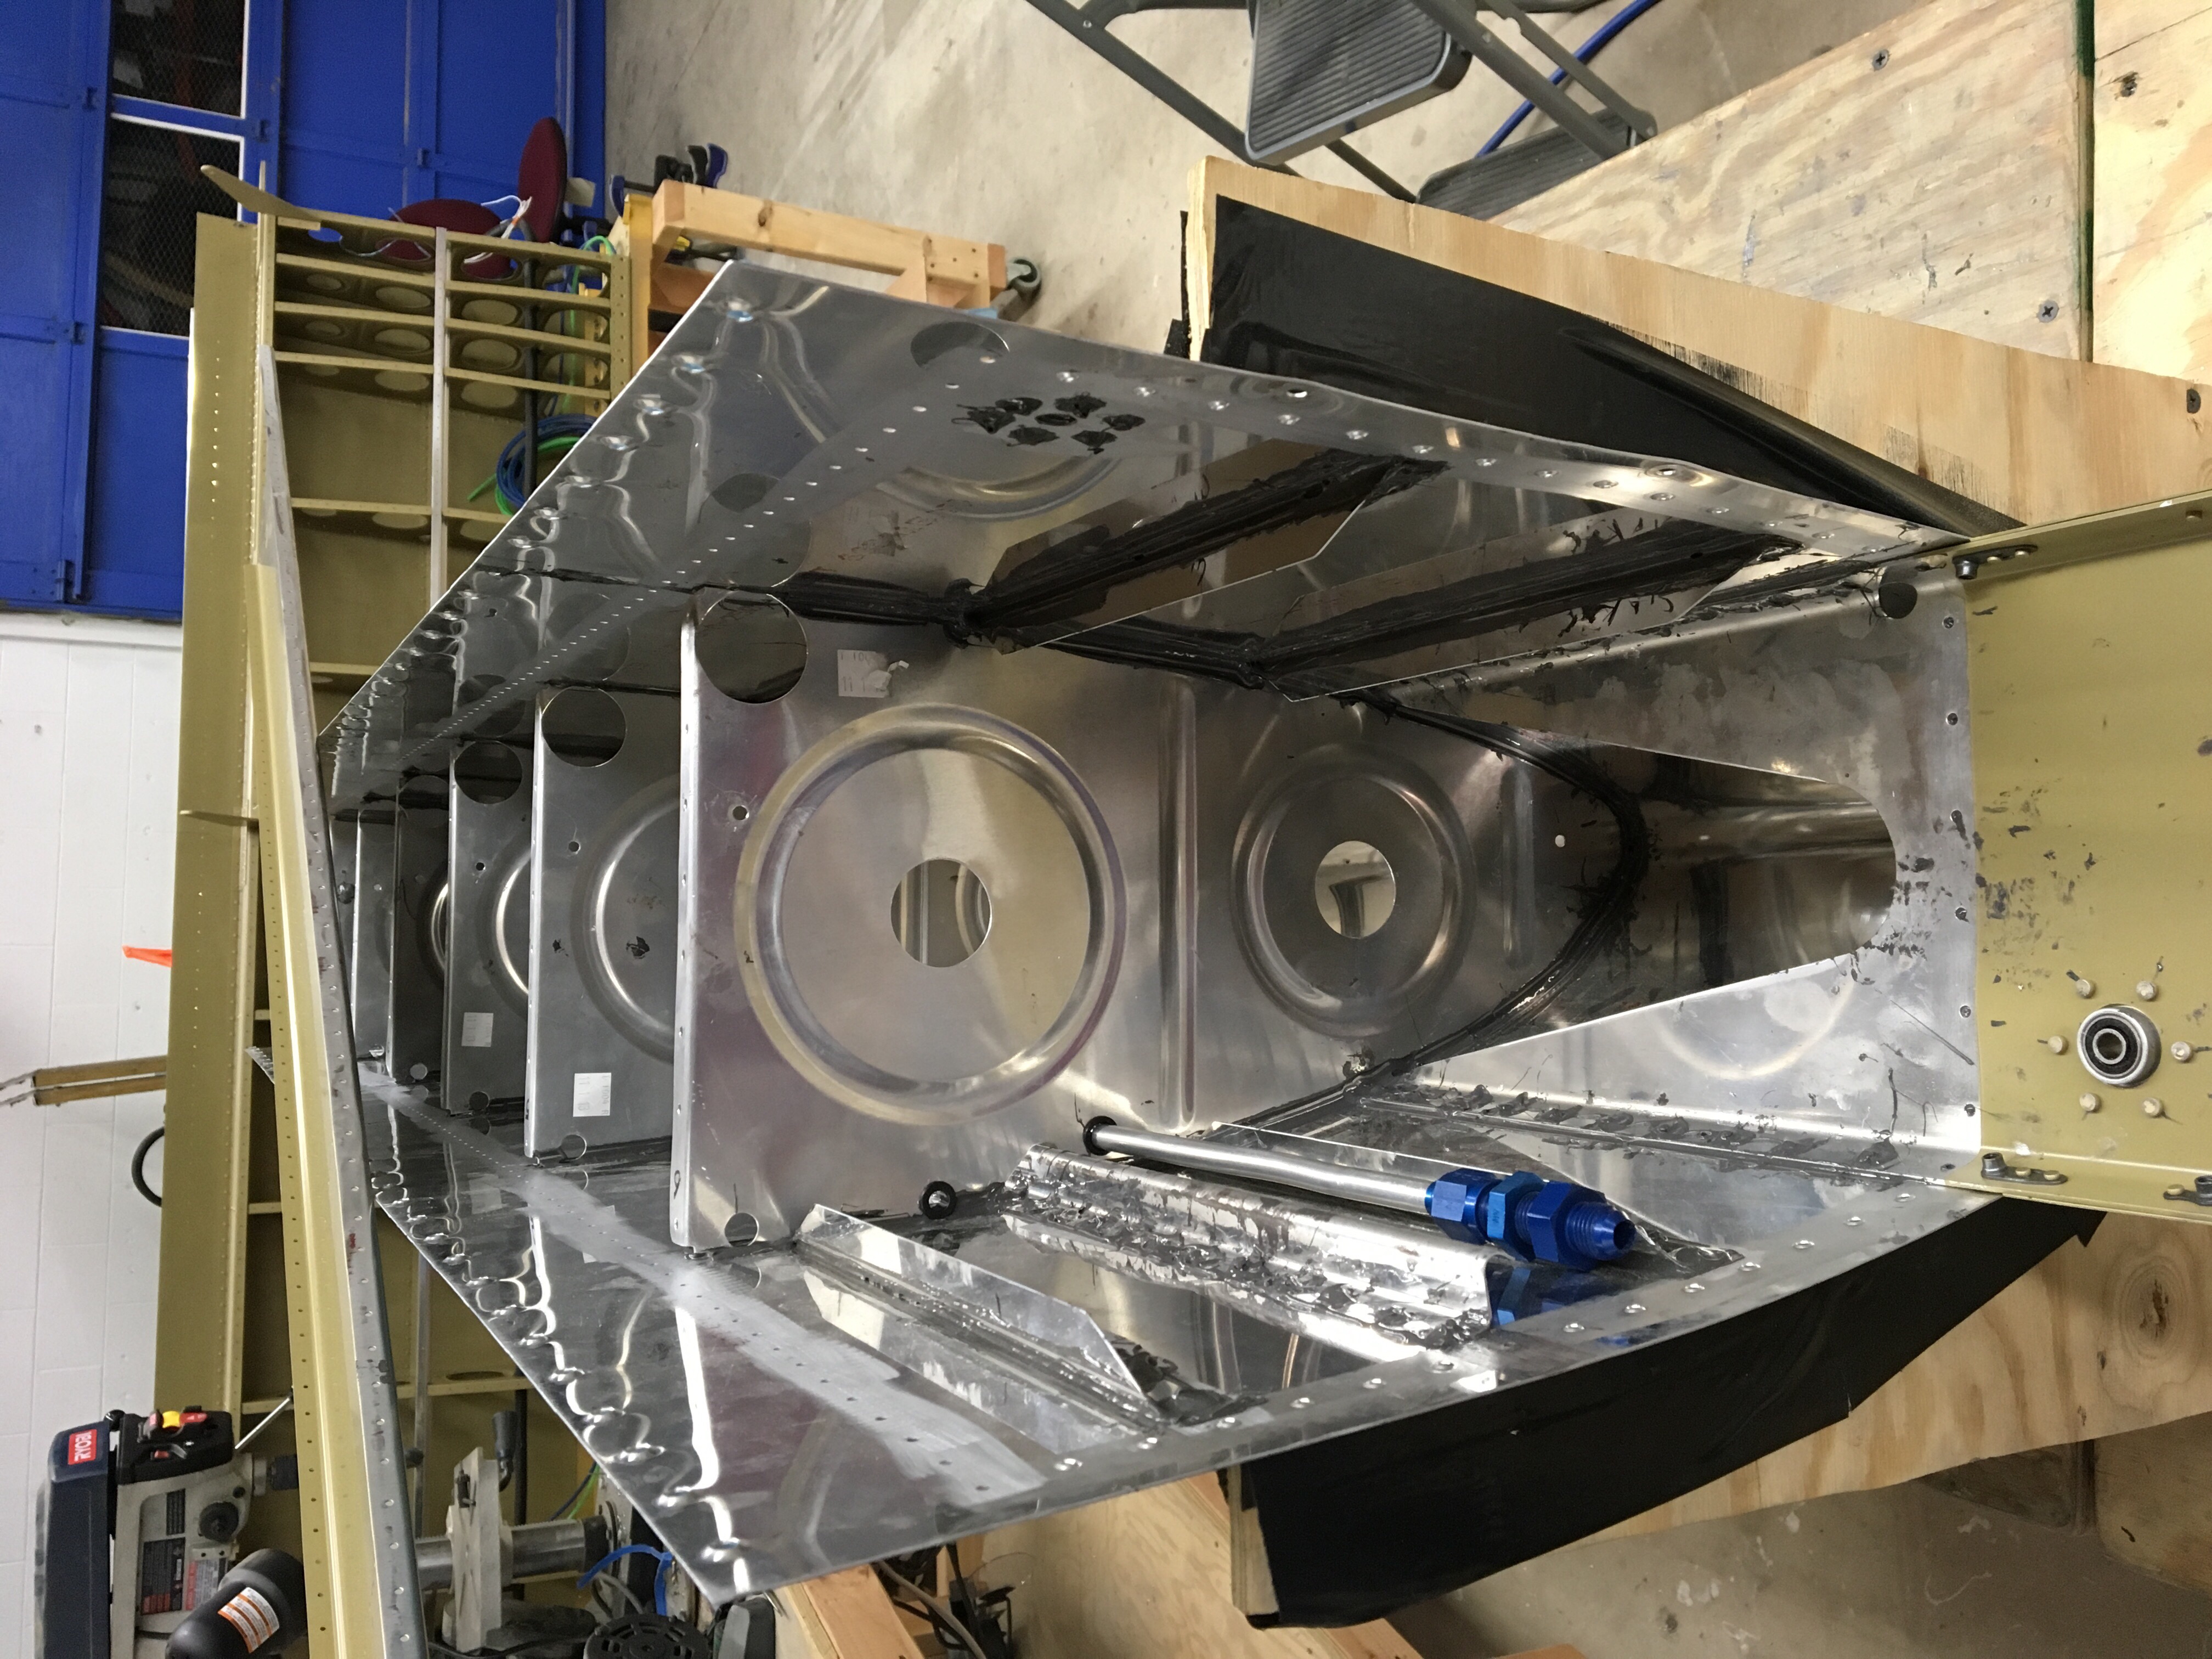
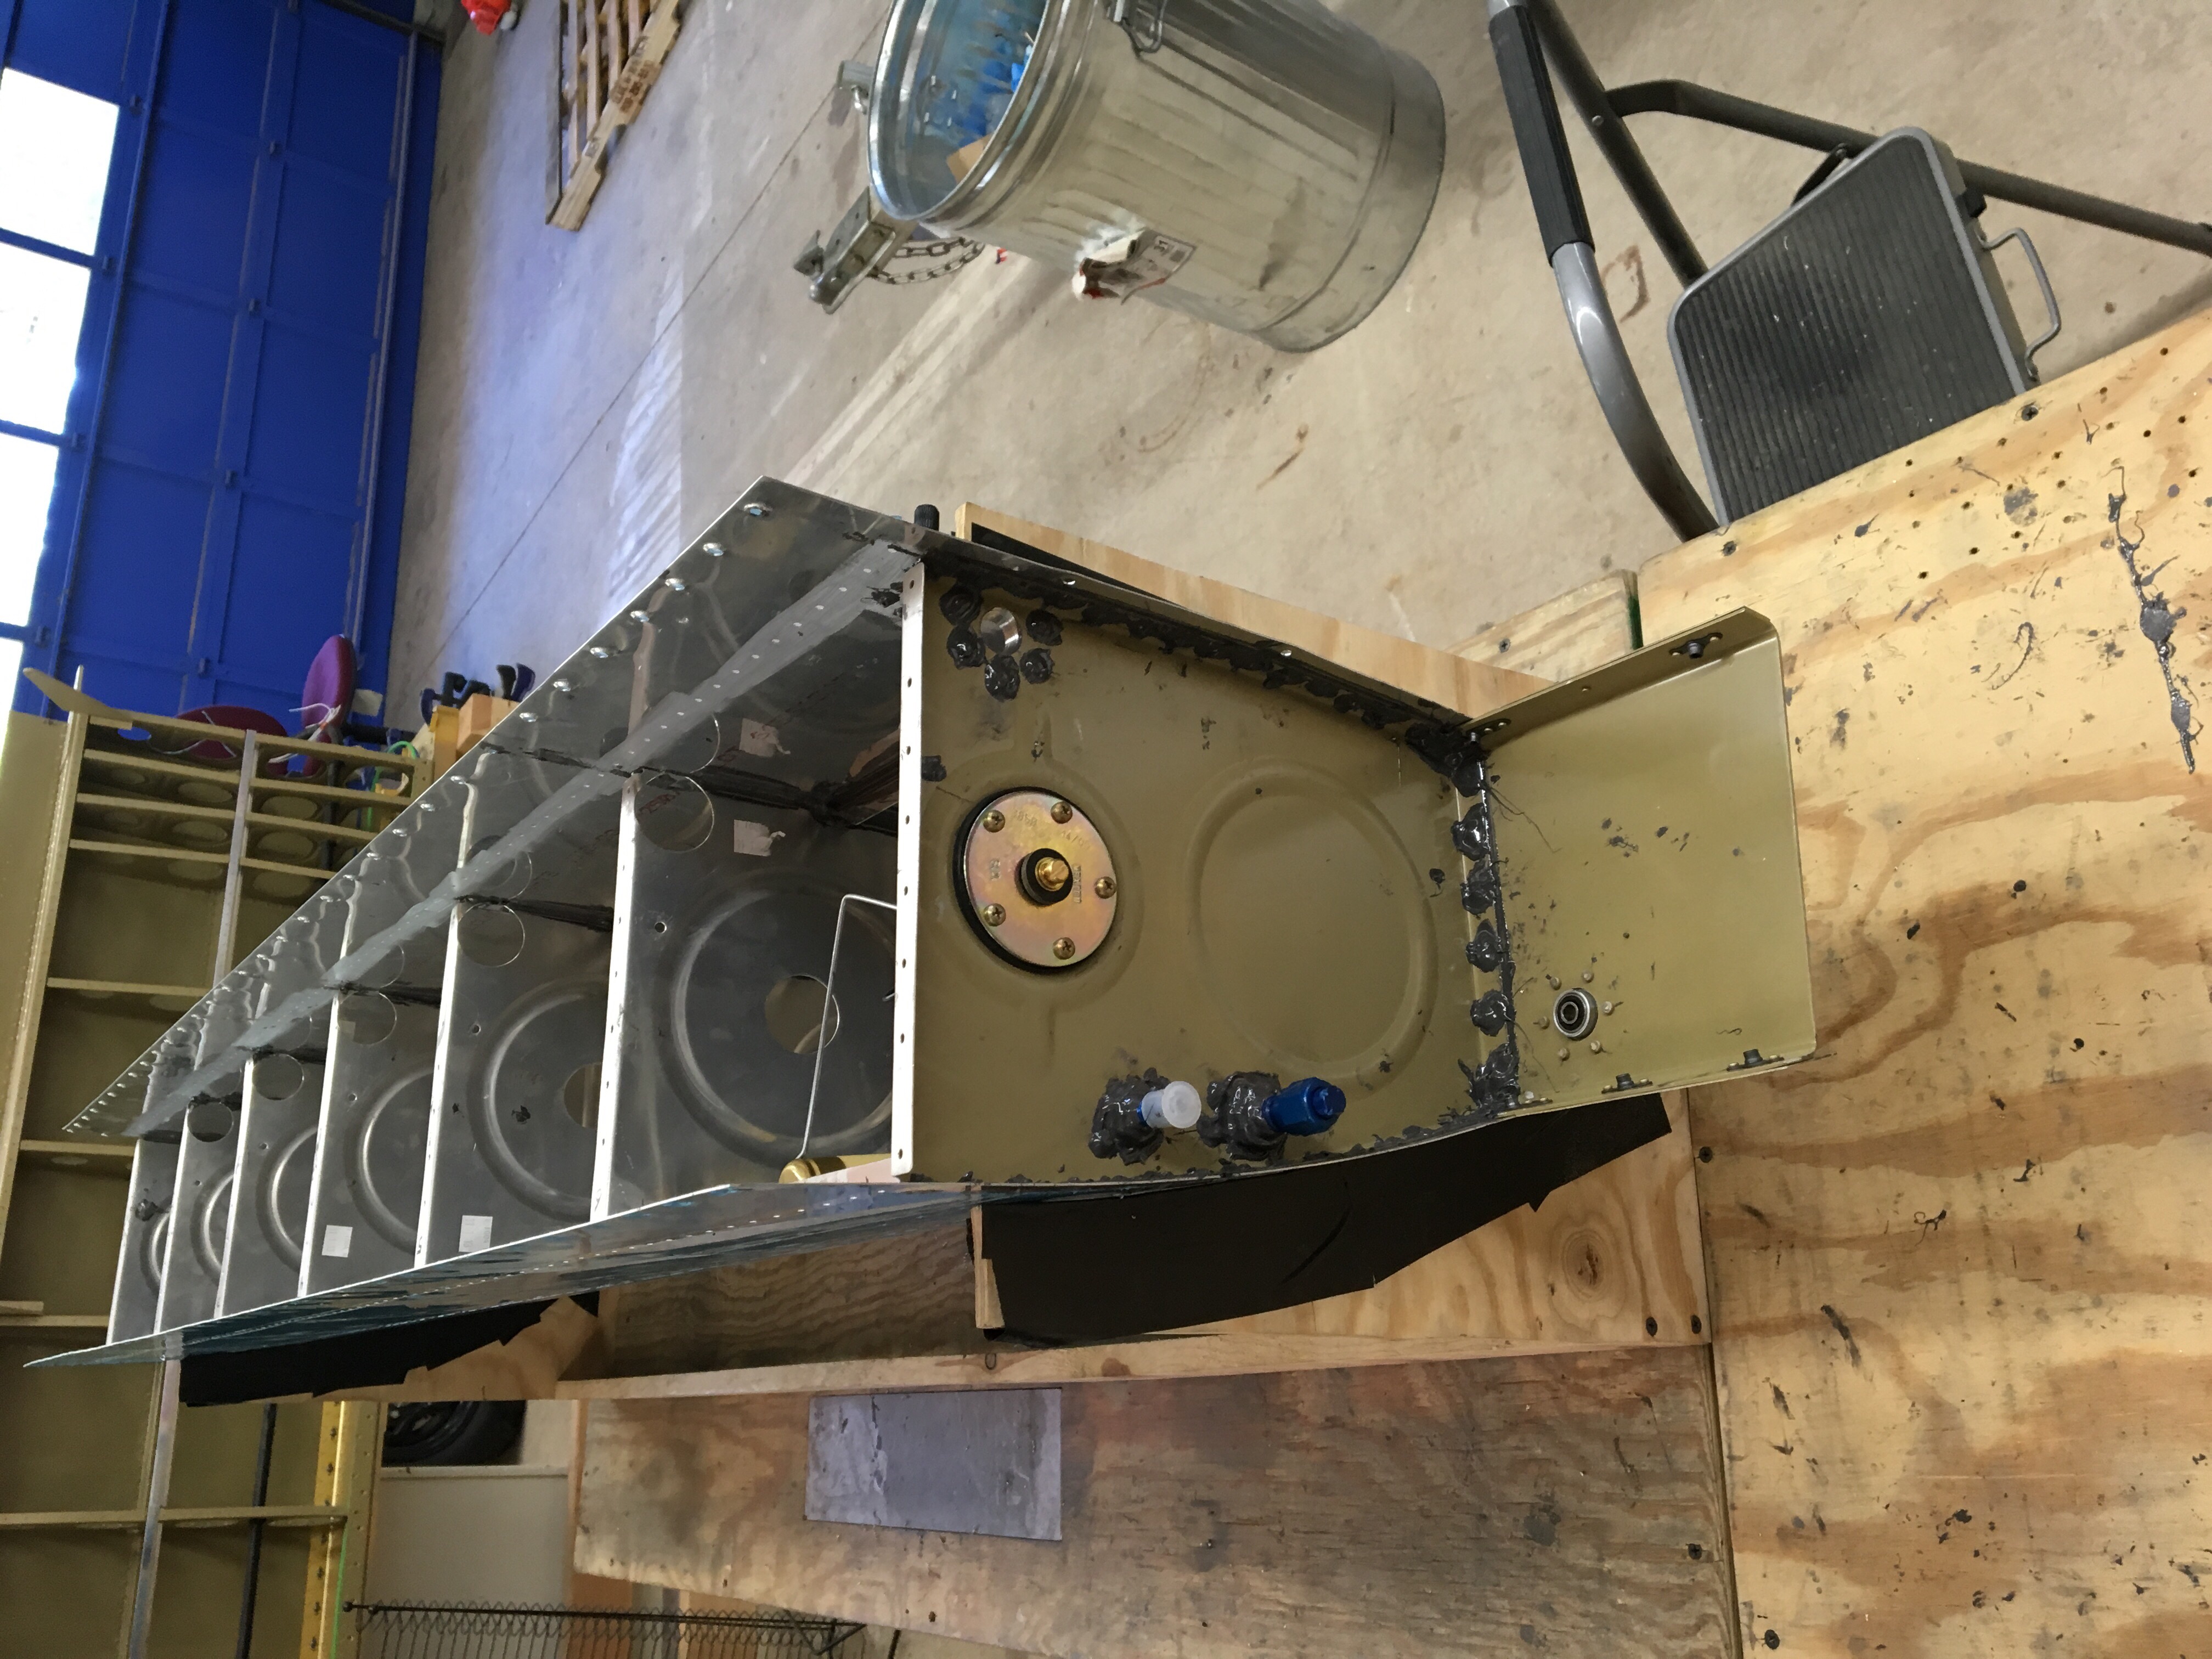
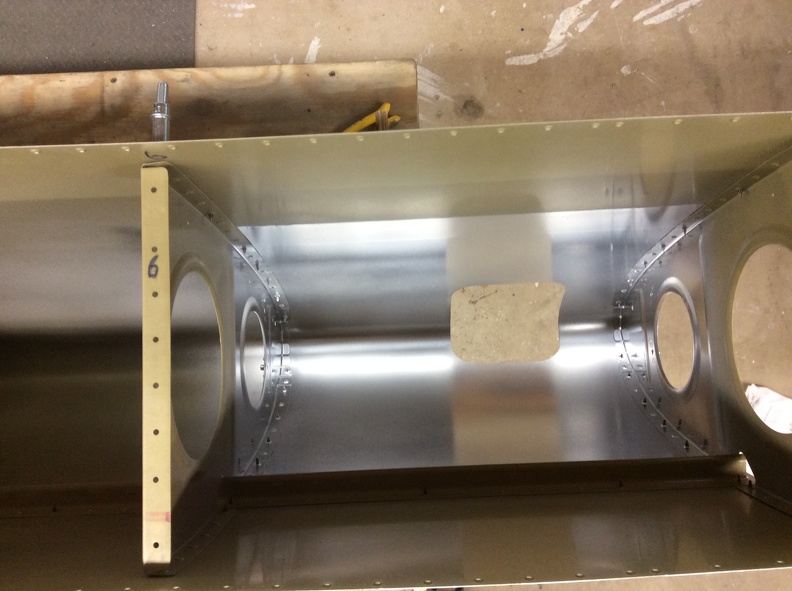
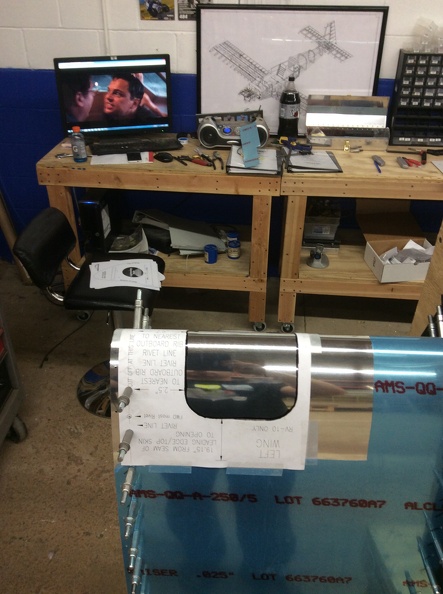
I have long ignored this page. Part of the problem was lack of time, photos all over the place. I have conceded to doing one long post with the pictures I have found. Shortly before my trip the Dominican Republic (which was a war, 85 degrees the entire week), I began riveting the left fuel tank. I used a process that I saw on Vans Airforce. Which involves applying a thin layer of proseal to the part to be riveted. then cleco’ing it place and letting it sit for a day. I had hoped to finish it up prior to leaving, but rushing never leads to good results. I have quite a few rivets that need to come out and alot of proseal to clean up. I apparently took no photos since of this either as I cannot find any.
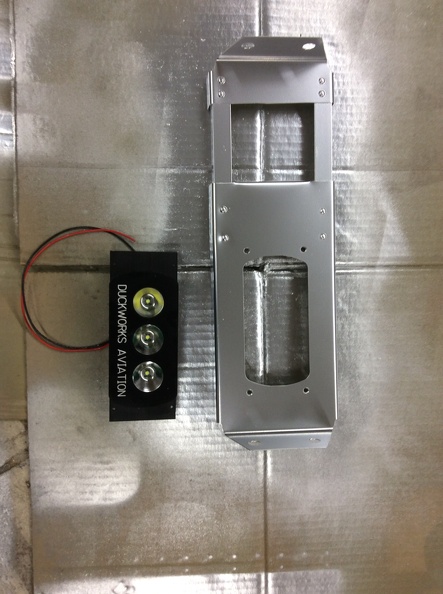
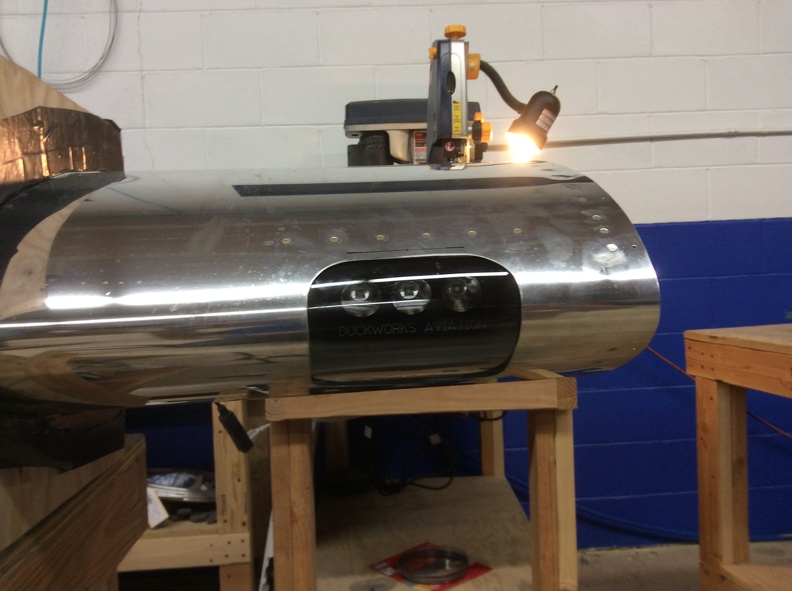
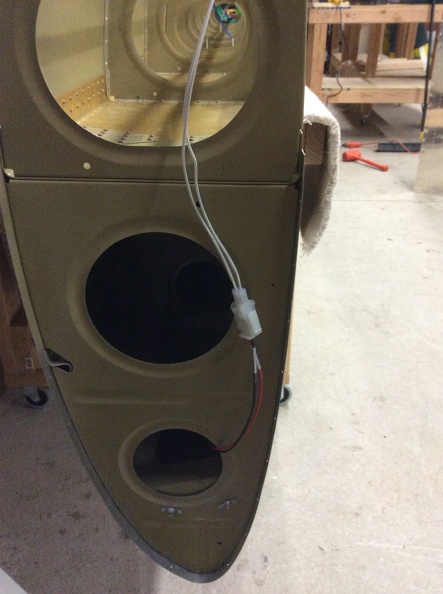
Since I got tired of cleaning proseal, I decided to work on the leading edges again. I had received my DuckWorks LED Landing Lights. Cutting the hole was extremely nerve racking, but looks pretty good. I bought chrome metallic spray paint to give it some reflective ability. Time will tell if this was worth it.

Next I began riveting the skins onto the ribs. This went by quite easier then the fuel tank did for some reason. (ignoring the proseal). I knocked those rivets out relatively quickly.

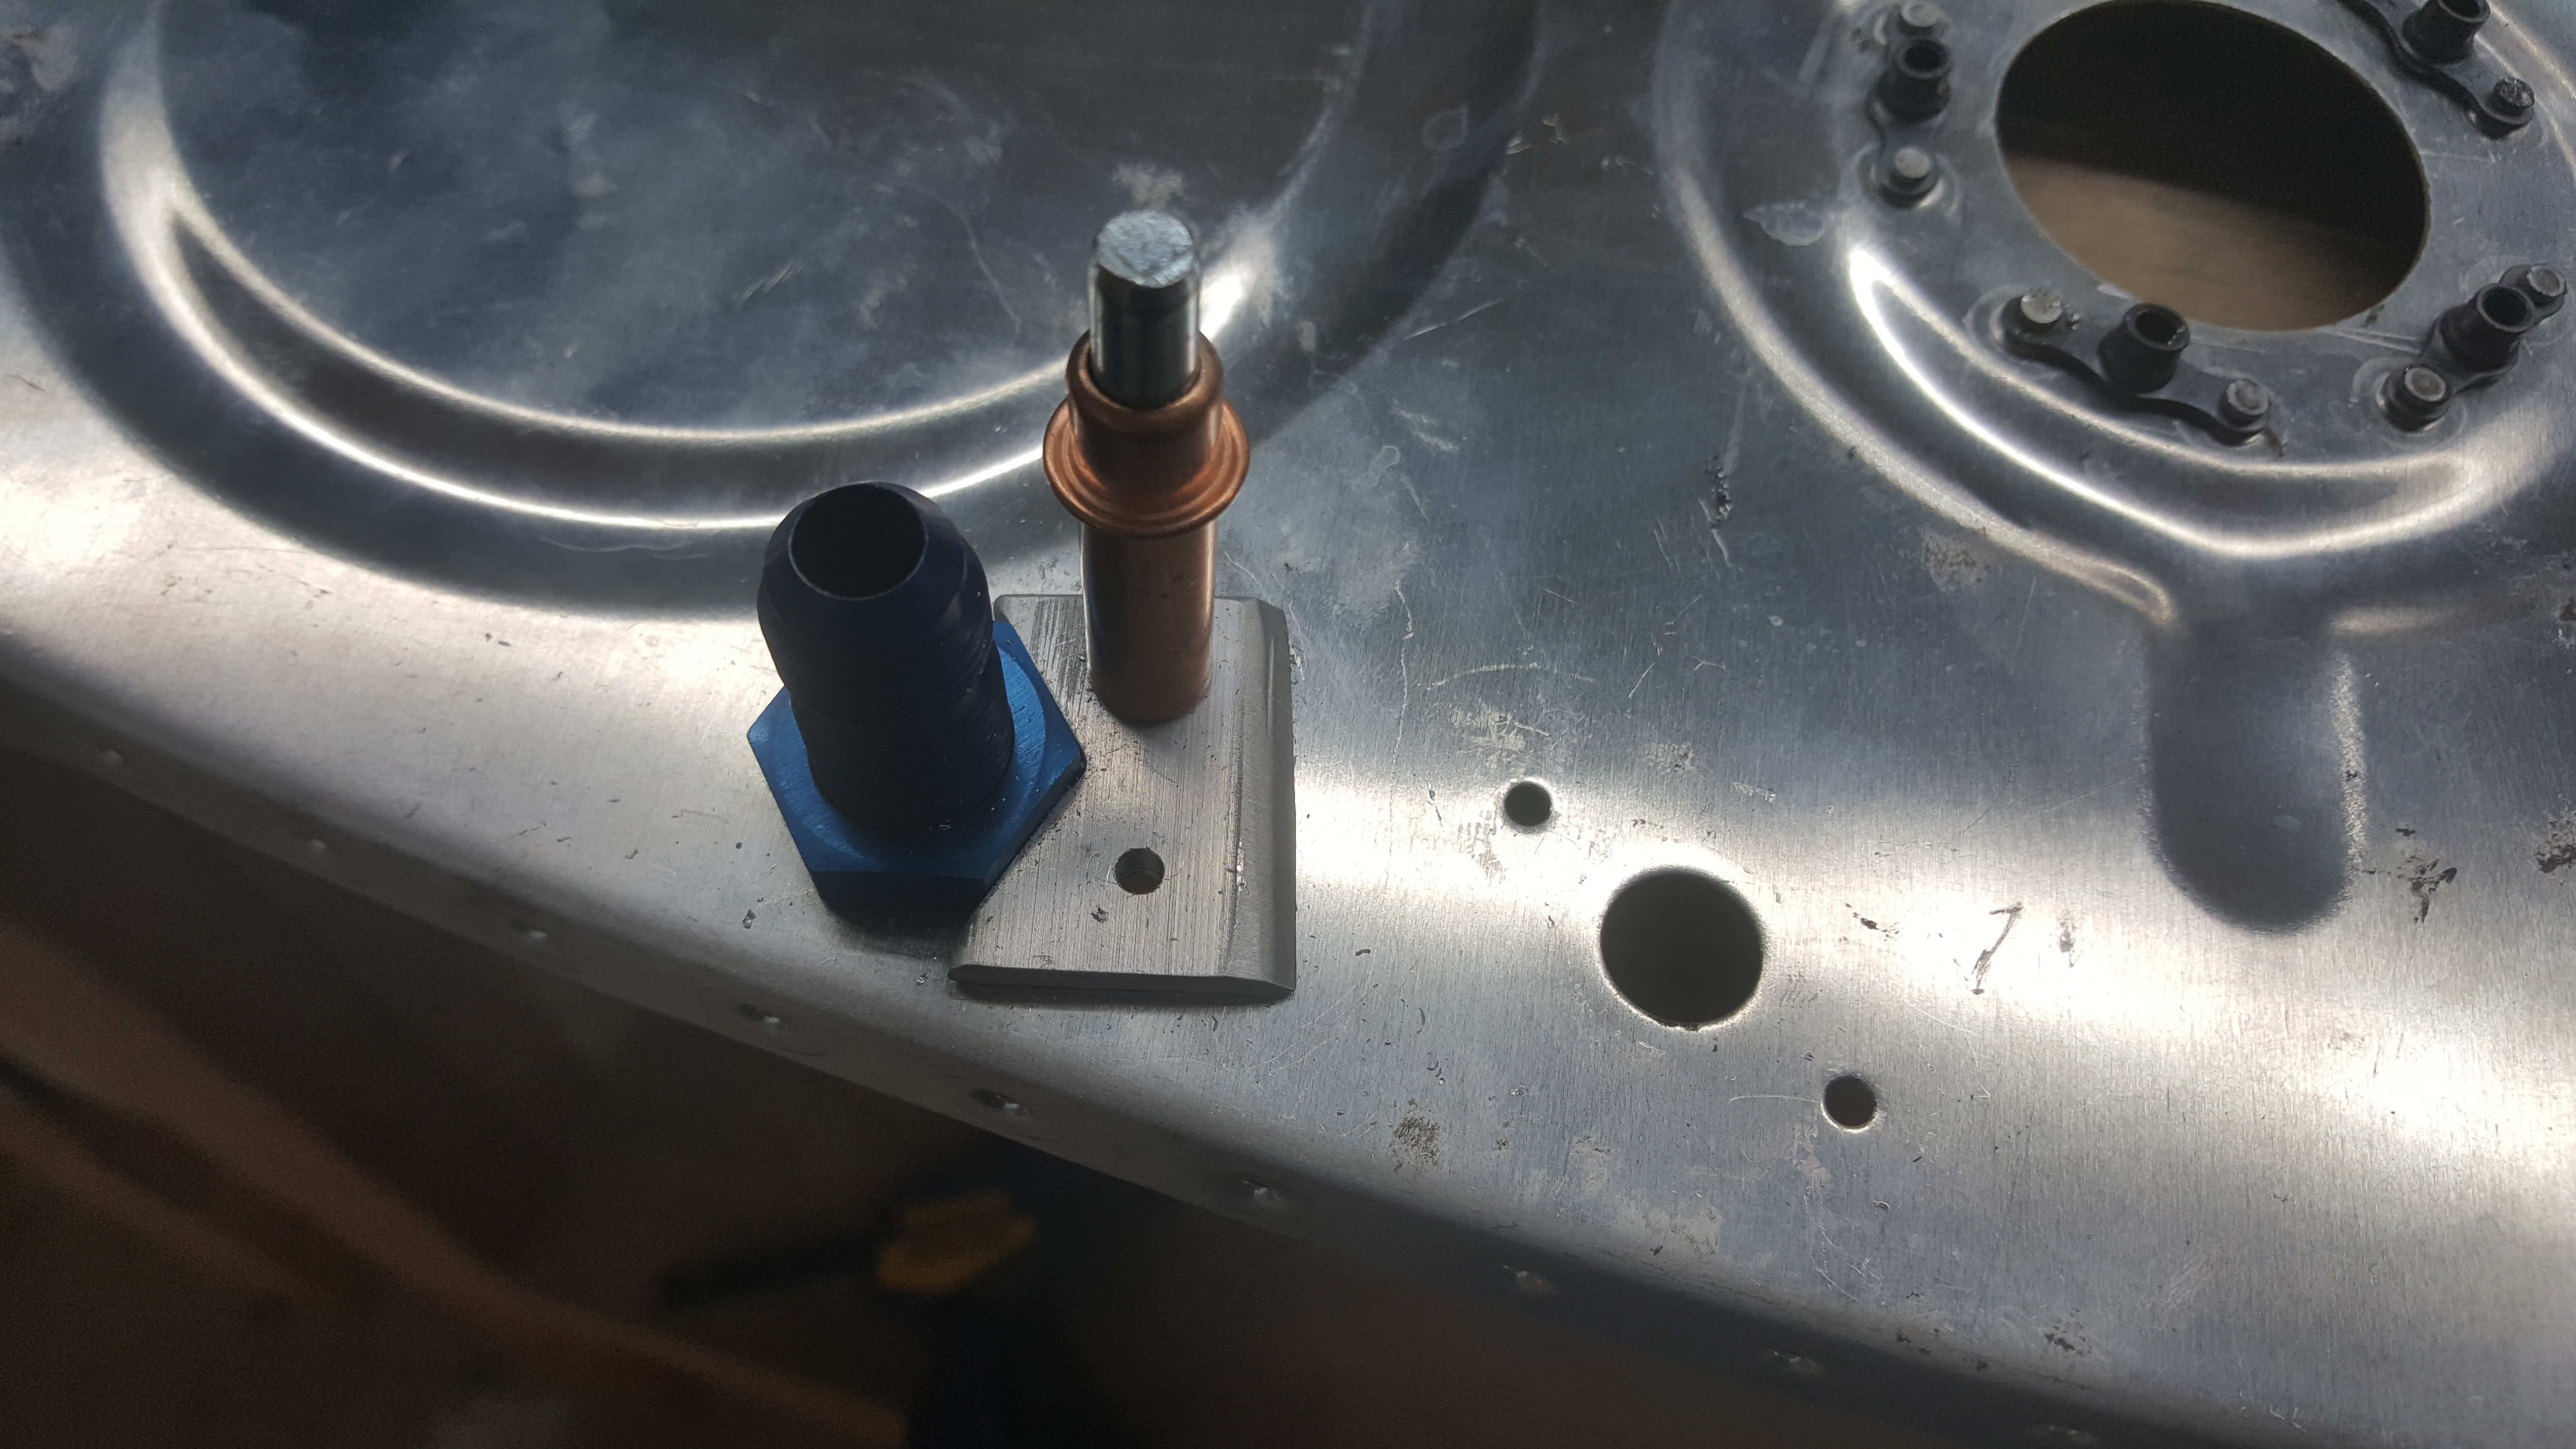
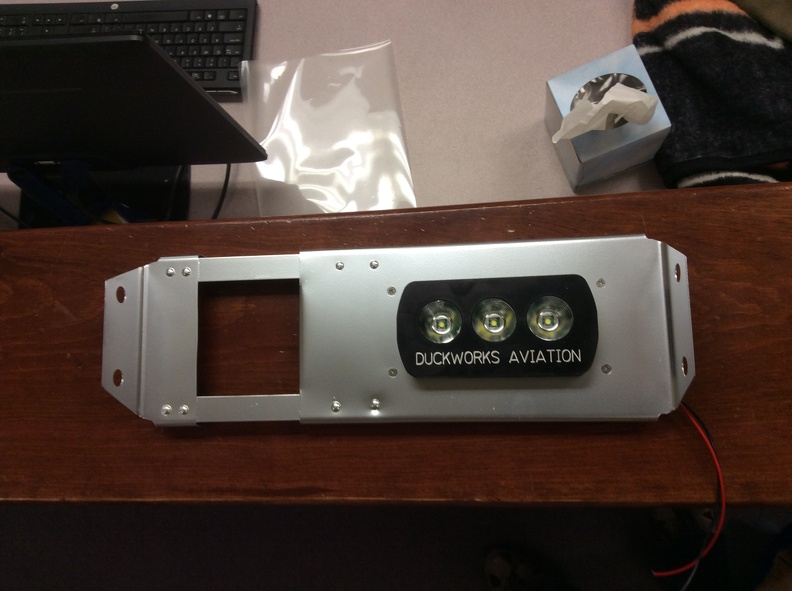
Next I proceeded with the lamp bracket. This was pretty straight forward. Cut the bracket per the instructions, Drill some holes & rivet.
Next I printed out some labels in MS Word by using a font size of 6. Cut them out and used clear heatshrink to hold them to the wires. This was far cheaper then some other really neat alternatives. I had found a label maker that could print directly to heat shrink, but the label maker was about $300 and the labels were $40 for 5 feet. Not really worth the cost.
Next I started working on the lens. This was a real pain in the butt in my opinion. I had it cut nicely and it fit well, but once I put it in place with the screws, I have a small gap. I will eventually come back and look at this in the future.
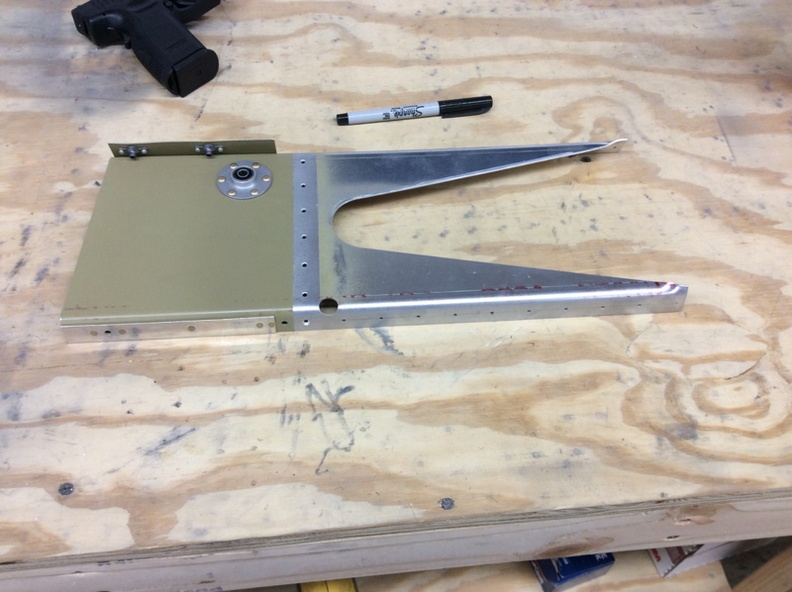
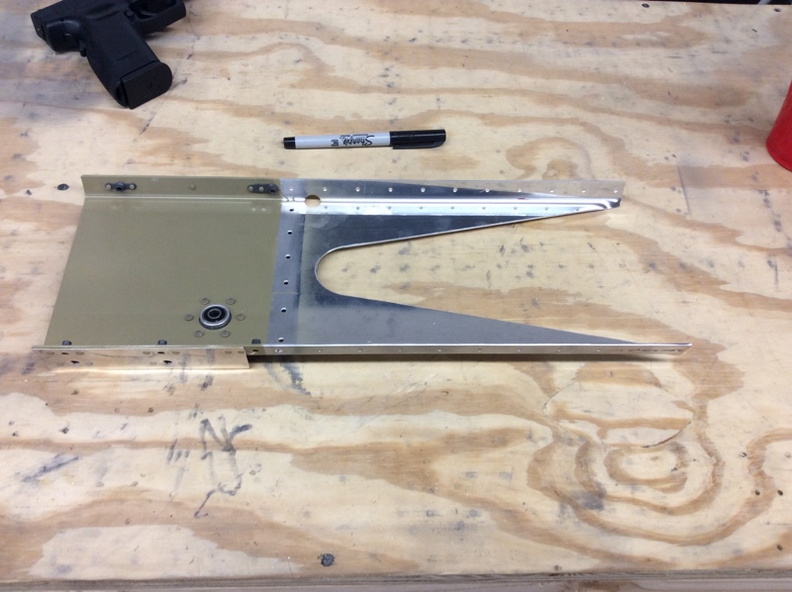
Next I had got some help and mounted the left wing onto the table and cleco’d the leading edge in place. Riveting here was pretty straight forward.
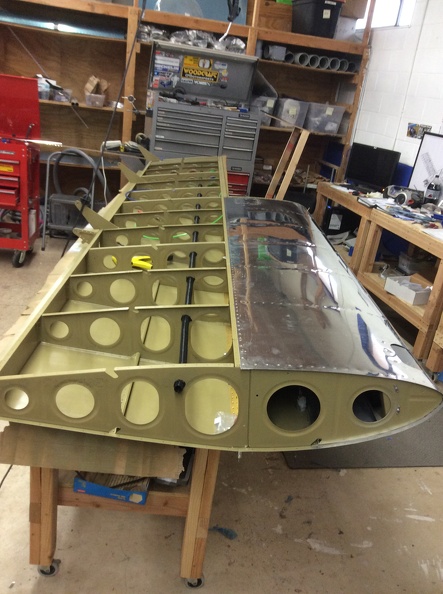
Next I had my dad help me put the wing back into its cradle. Its starting to really look like a wing now.

Next I decided to quickly swap out the bracket required for autopilot. That was a quick 30 second job

I believe I took about a week off due to work commitments, but then I started the right side leading edge landing lights.

I also picked up some #16 & 18 wire and ran the wire & a pull string for the landing lights on the left wing as well as the stall warning sensor. That was pretty easy.


Then once again I let everything sit for a while. I recently started deburring, scuffing, dimpling, and priming the right side leading edge parts. Once I finish dimpling the skin I will start riveting it together.