David's RV-10 Build

Just another RV-10 builders log

Category: 15) Rear Spar

SB 16-03-28 Cracking of wing aft spar web

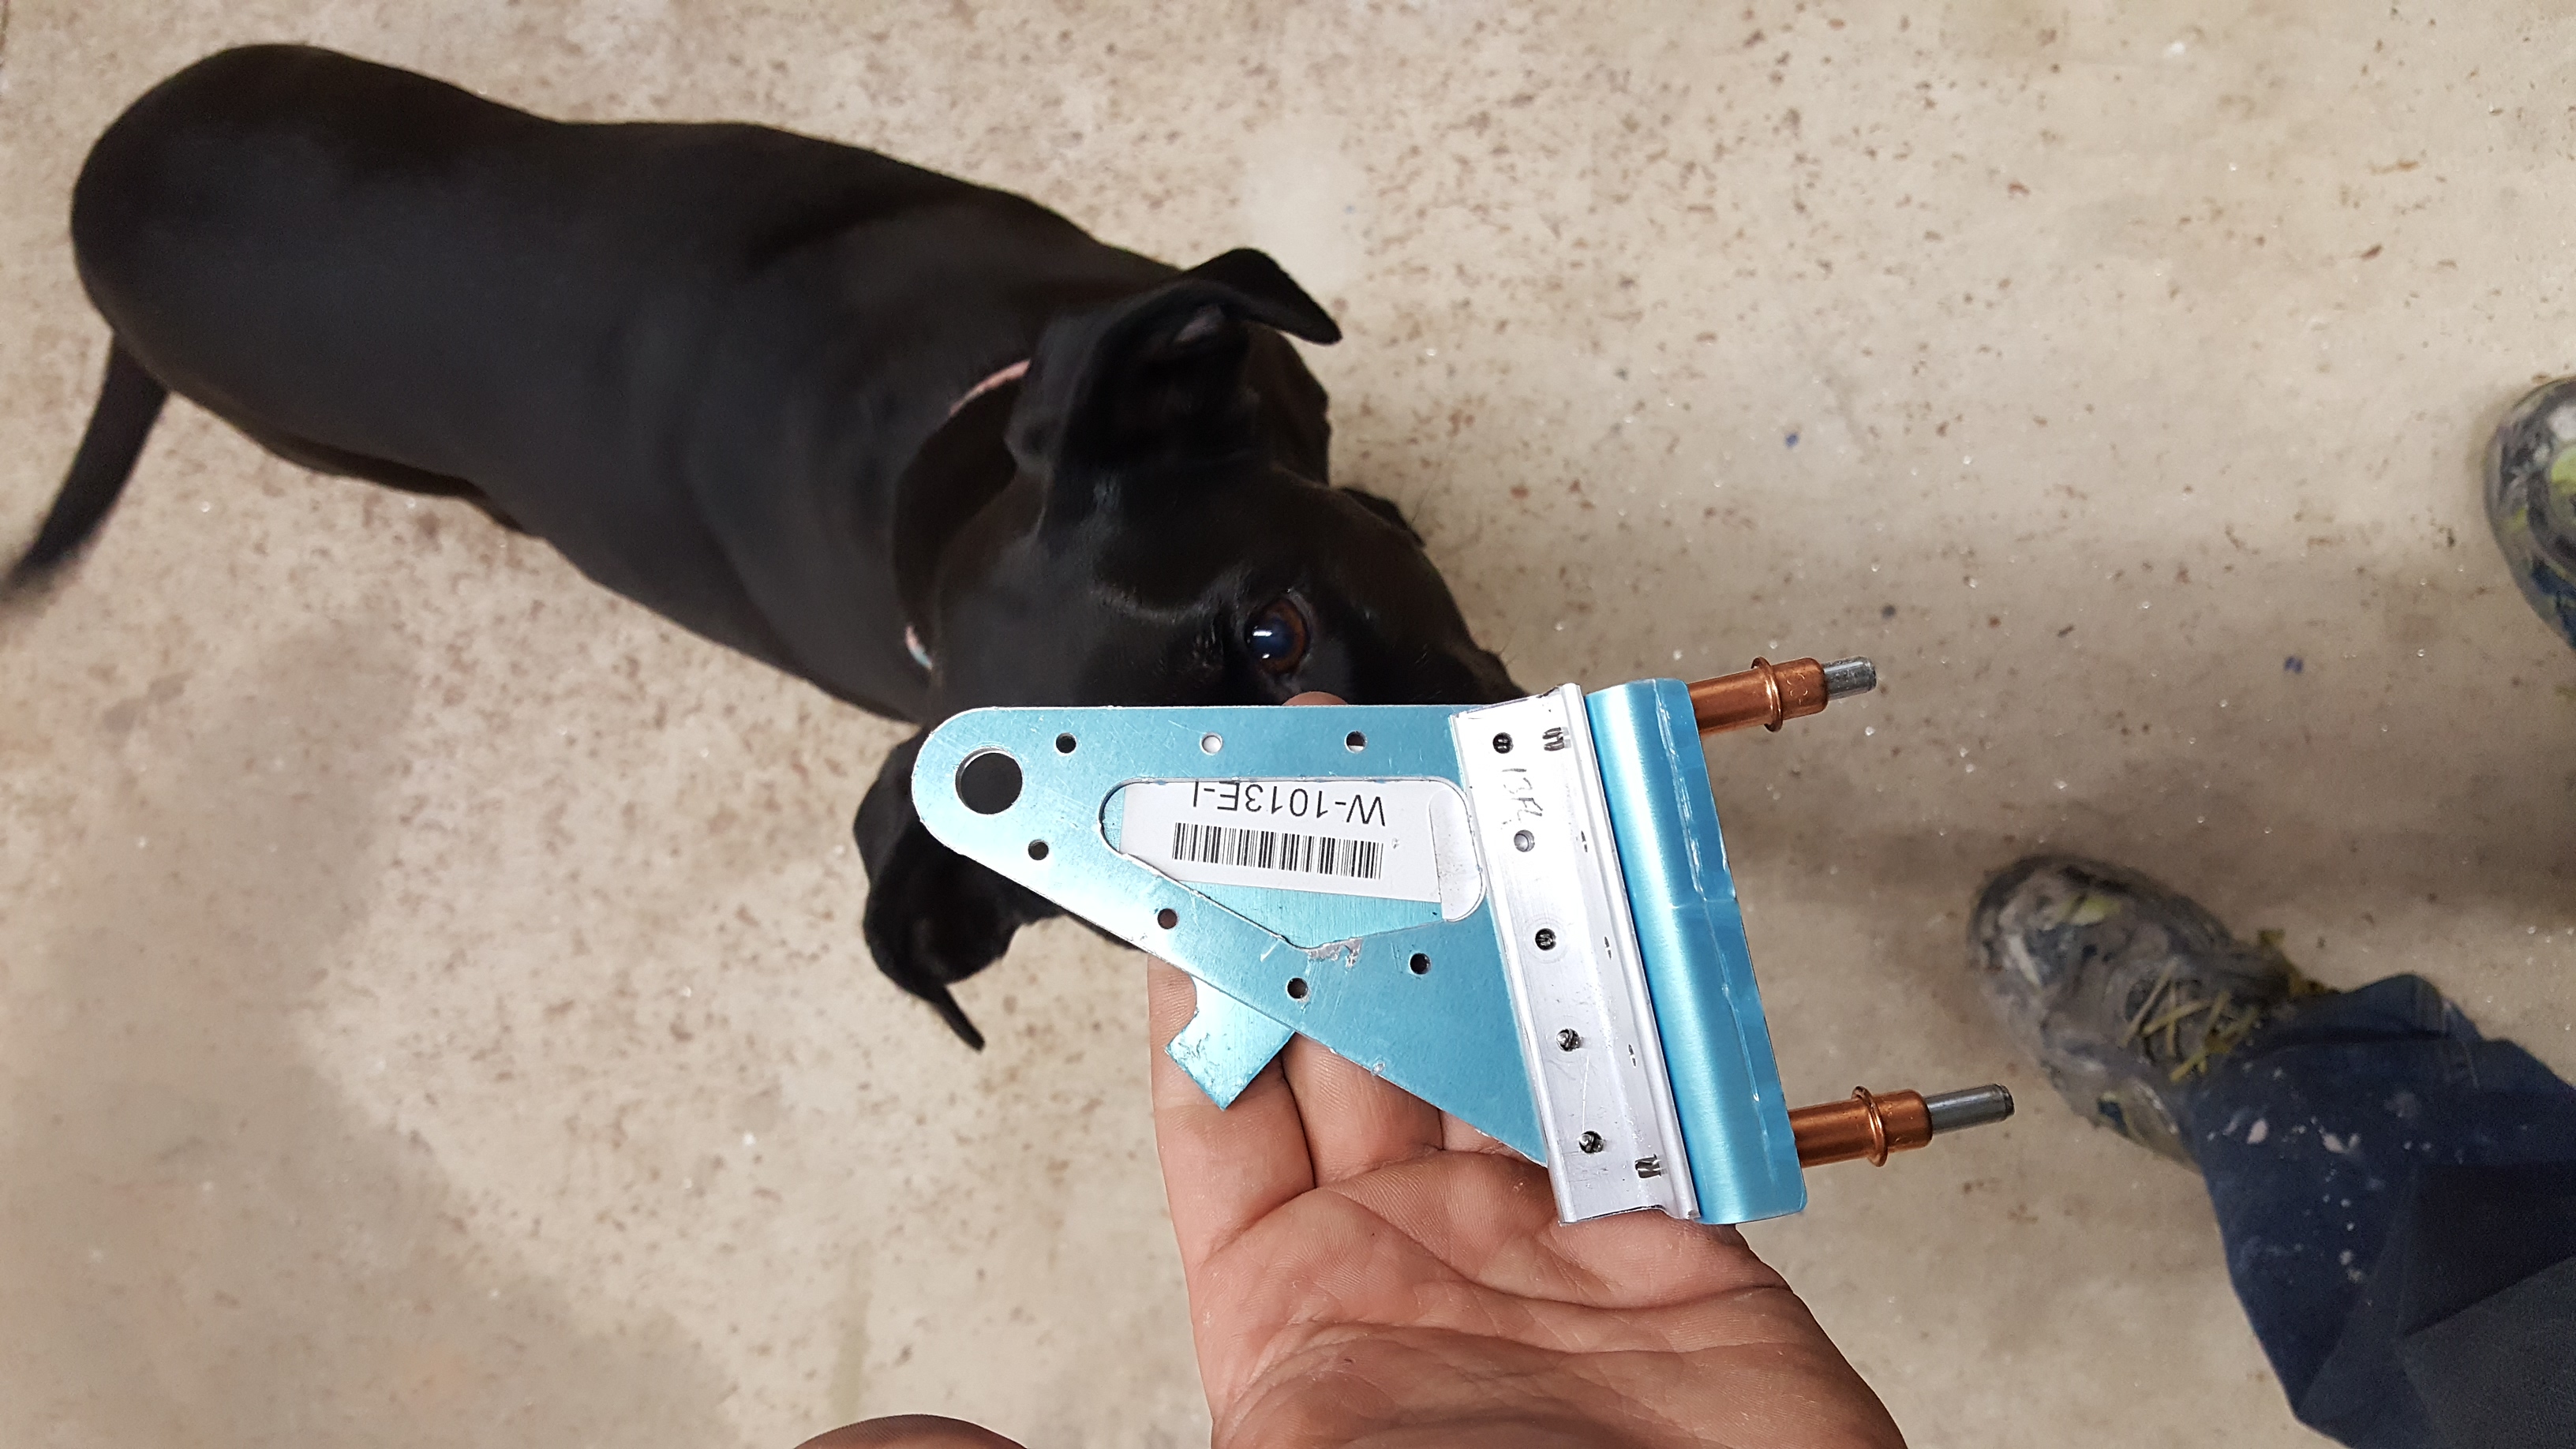
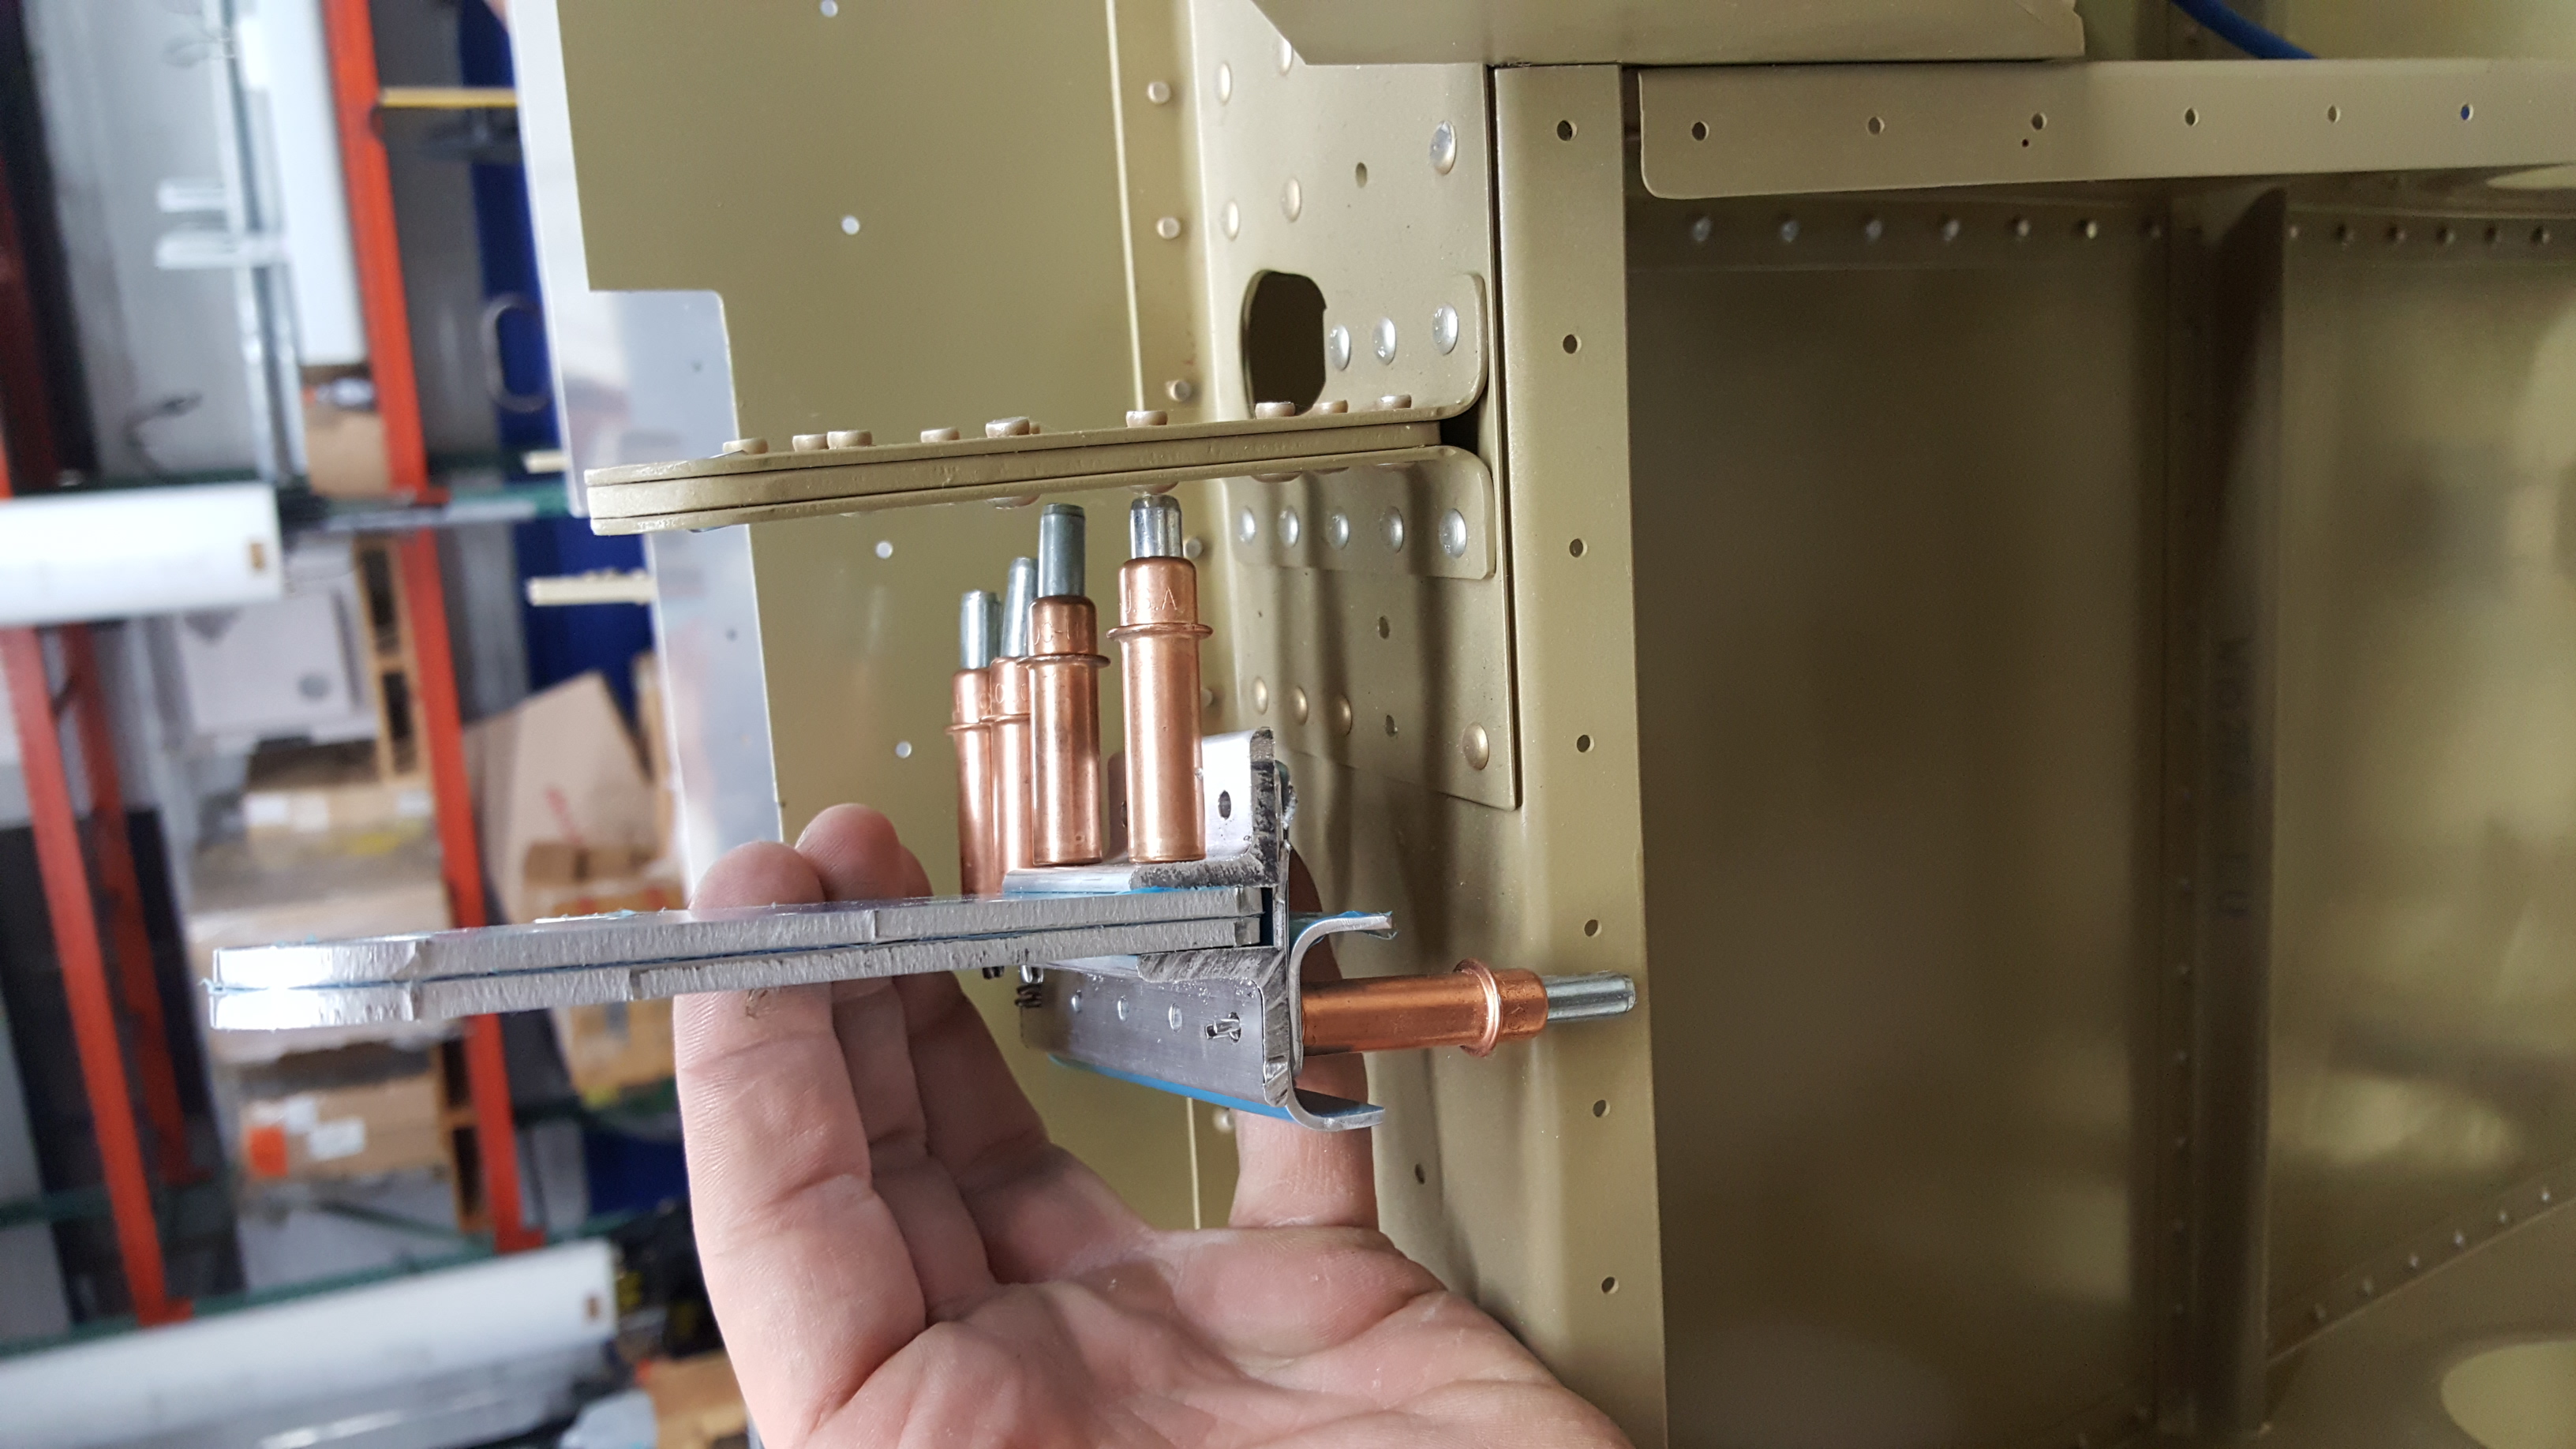
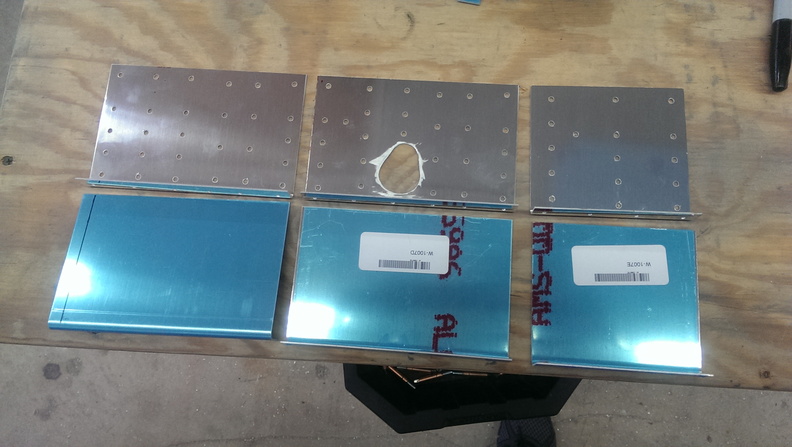
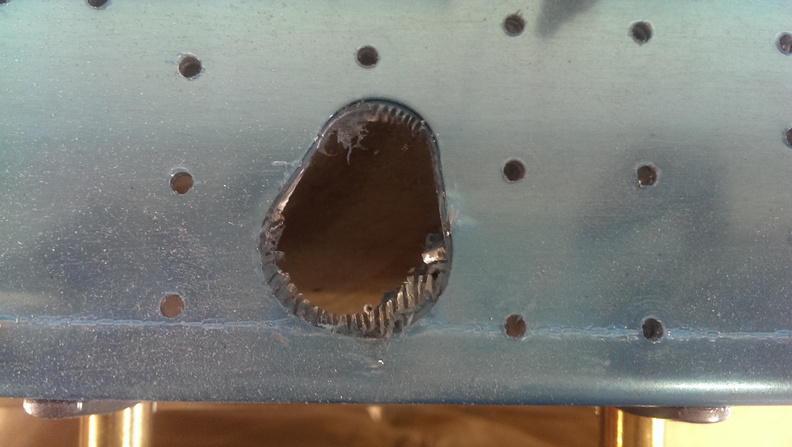
Several months ago Vans released a Service Bulletin that affected every model they make except the RV12. I promptly ordered the parts and when they came in I put them in the dust collector. I still have the fuel tanks to work on, but they kill off all motivation the second I touch them. So I elected to start doing other things and coming back here and there. This is also the perfect time as I have yet to put the Aileron Gap Fairings on. Opening up the kit was quite daunting at first. Not as daunting as a new kit delivery,  but more of how the heck does this go together. After a few minutes I got my visual and started at it. Once the pieces are cut apart, it is pretty easy to see how it goes together. After match drilling, deburring, cleaning, and priming, I started drilling out the old brackets. This way the parts had plenty of time to dry. The SB requires you reuse an old bearing from the original bracket so I took it apart per the instructions. Assembly was nice and easy. I even had it inspected by a certified sniffer.

Rear spar Complete

Today I ran over to Home Depot and picked up some new Dewalt 20V Drills. I really did not want to buy any of the 20V stuff, but they stopped producing the one drill I needed in 18V. So I ended up getting the 20V 90d Angle Drill (tool only) and a combo kit that had a 1/4″ impact, drill/driver, 2 batteries, a charger and a bag. Once I got to the shop I immediately tested out the 90 degree drill and it did exactly what I needed it to do. I was able to drill out the conduit holes that I neglected to do earlier. This was followed up by tidying up the shop a little bit.

Next I grabbed the rear spars and mounted the doublers to them and began match drilling.  After match drilling one spar, I had to make a hole in one of the doublers match the spar. My solution was to use a unibit to take out a big chunk of the material and then dremel the rest out. With a cutting blade I cut out what i could. then i cut little notches to the edge. Next I used a dremel drum sander to smooth out the roughness.

next i mounted the spars to the ribs and matched drilled those

once that was completed I began disassembling and deburring, cleaning and priming. Once the primer was dry I cleco’d everything back together and began riveting.

Aileron Brackets Completed

Didn’t do much today as well either. I did prime and complete the brackets I started yesterday though. After buying 3 more cans of EZCoat and placing an order for 2 cases. I primed the parts from yesterday. Next I used a 7/16 , 9/16 sockets and my vice to press the bearings into place.

next I cleco’d the assemblies together and  began riveting. I started with the flush rivets first and then randomly did the regular rivets. This is to attempt to prevent warping of the entire assembly. They looked straight to me.

Wing Rib’s Complete

Today I was greeted by a box from the UPS man from Avery Tools. I got my SafeAir1 kit as well as some other goodies. There really wasn’t much to accomplish today. I finished up the ribs in the left wing. After that I pulled all the parts for the rear spar and started on the Aileron Hing Bracket Assemblies. First thing was to trim 2 of the 4 spacer brackets. Then I cleco’d the assemblies together and match drilled the #30 holes. Afterwards I marked each assembly and began deburring and scuffing. I need some more primer so I called it a night.

safeair1 kit


David's RV-10 Build © 2015