On thursday my new rear spar came in and I quickly got to work drilling, dimpling and counter sinking it. I got tired of counter sinking about halfway through one of the trailing edges so I called it a day.
Month: February 2014
Dimpling again
Today I recruited my sister Kaitlyn to help with some dimpling. After a few minutes I learned that wasn’t the greatest idea. She placed a nice dimple hole in the rear spar where there was not a hole previously. I pretty much lost motivation to continue on after that. Although this wasn’t a too bad of issue. I ordered a new part from vans at a whole $18.00.
On a side note I picked up a new soldering iron from radio shack today. Radio shack is clearly doing terrible as they tried to sell me a $10.00 replacement plan for it. I told the guy I was feeling risky today and I’ll take a chance without it.
Dimpled
Today I finished off the skins for the most part (still need to hit the tabs). I also began dimpling the elevator ribs. Corey created some rivet lines for me on the skins and we called it a day.
Elevator Marathon
I arrived at my shop around 9 or 10 am and began quite literally a marathon session. I finished all the match drilling to this point. Worked on the trim cable access plates. and then began deburring and sanding. Good thing I had a computer with speakers as doing this without the ability to watch movies would be dreadful. After sanding I dimpled 2 skins, the trim cover doubler, & trim plate.
Elevator match drilling
Nothing too exciting today. Matched drill one elevator and called it a day.
Elevator Construction
Today I really kicked the crap out of the elevator section. I started by by cleaning up the ribs that I cut earlier. I also deburred all the edges of every part I had out. That took quite a while and was quite relieved when I finished that. Next the plans have you assemble all the elevator ribs and mark them as parts of sets. After that its time to cut the shear clips. They were quite easy to cut and fabricate.

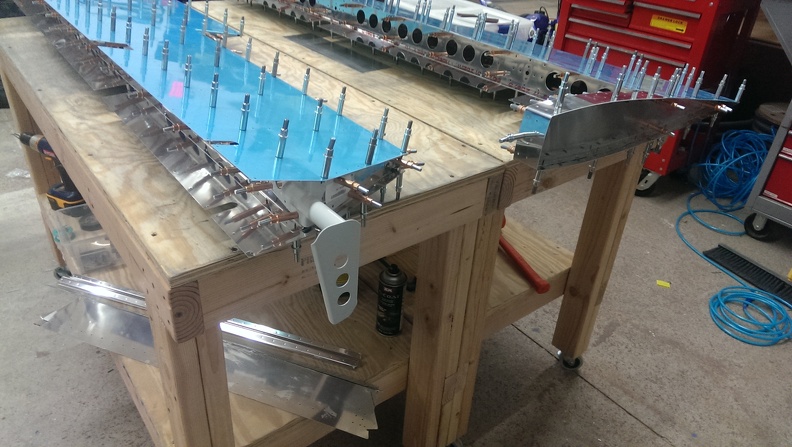
All the elevator ribs cleco’d together
Next I had to take the blue plastic off of one side of the skins. I managed to find one of my heat guns and this will by far make this task so much easier. The plans call for you to bend some tabs up on each skin. I grabbed a piece of aluminum that I had laying around to give me a nice flat surface to bend against.

Skins laid out
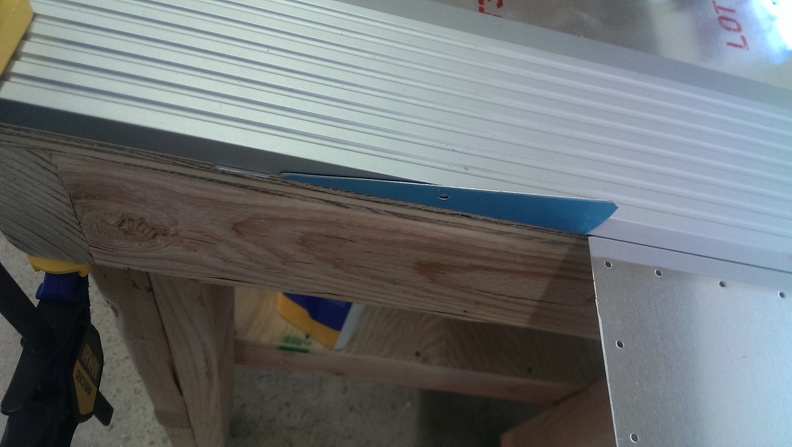
tab bent up
Next began the process of creating the elevator itself. I had to match drill some stiffeners to the spars, as well as dedicate a #30 hole and make it a 5/8″ hole for the trim cables. Next after clecoing the front spar to the lower skin I began to attach the ribs as well as the rear spar. This was followed up with match drilling all the holes as they lined up.

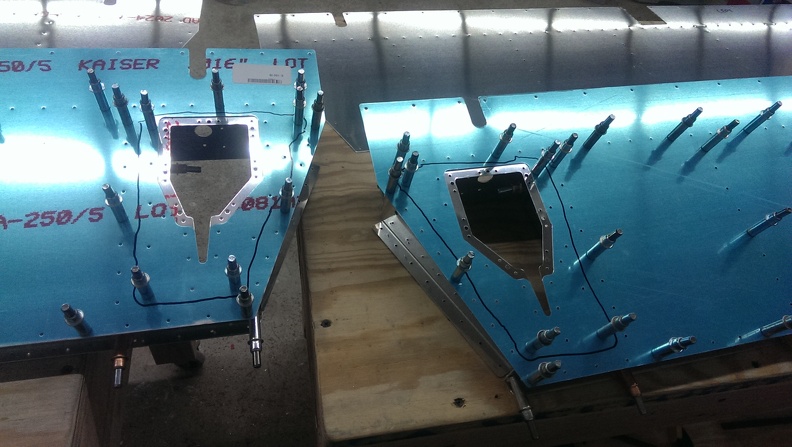
Next I set and match drilled the trim access cover reinforcement plates. I used a sharpie to identify which holes I wanted to match drill
Next the plans call for you to install the outside ribs and various other bits and pieces. Getting the outside ribs on can be tricky if you are not paying attention. A lot of stuff going on in that one area that things can get caught on.

After that I placed the top skin on and made sure it was cleco’d well. With everything firmly in place I grabbed the trailing edge piece and cleco’d it into place. Once that was set I marked the edges on each end and moved it to the other elevator and repeated. Once I had my cut marks done I cut the trailing edge into 2 pieces. Next was onto the shear clips I cut earlier. Those were lined up on the rear spar and appear to strengthen the aft most part of the elevators. I finished the day by mounting the elevator horns and match drilling with a #30 drill bit.

Elevator Ribs
Not much to discuss today. I cut all the elevator ribs in half per the plans and called it a day.

All the parts laid out from gathering on Wednesday
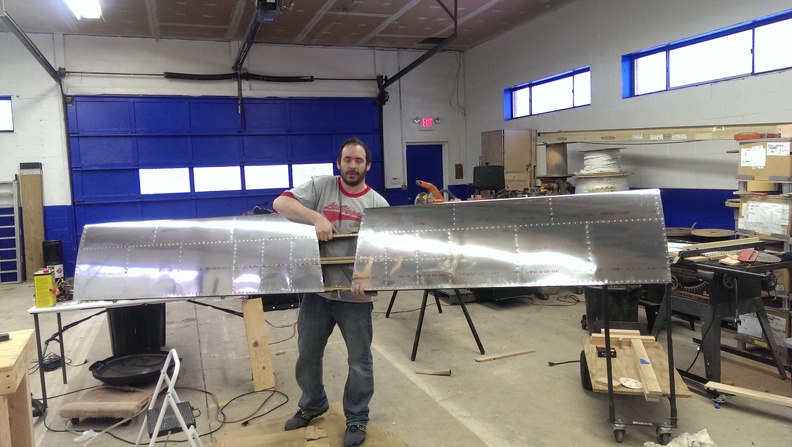
Horizontal Stabilizer Complete!
Today I finished up the Horizontal Stabilizer. I had all sorts of help today. I was on the bucking bar, Corey was on the rivet gun, Dad was on the cleco pliers, and Jason was on the rivets. Dad would clear out the cleco, Jason would insert the rivet and Corey & I would set the rivet. We flew past the remaining rivets today. Amazing. Everyone signed the rear spar that helped out as well. I told my Dad he had to sign on the other side of spar so that the weight of the ink was balanced between both sides. Stupid humor I know. But we laughed.


Corey & Jason

After words I gathered all the parts for the next step. The elevators!
HS Skin Riveting Pt 2
Today I didn’t have much time to work on the skins. Corey helped me out again and we got one side of one skin completed.
HS Skin Riveting Pt 1
Today I started off by riveting the nose ribs. Corey gave me a hand with the center section ribs. Once we got that done we placed the front spar and began to rivet it. I could have done this solo, but having a helper makes this so much easier. At one point Dad & Jason showed up and they also helped out in riveting the skin to the front spar. After getting all the rivets in the spar I began riveting the rest of the ribs in place on the spar wit LP4 rivets. I also secured the end rivets with some AN470-4-? rivets. After that I just cleco’d everything in place so it will be lined up for tomorrow.

Corey (L) and Me (R)
