David's RV-10 Build

Just another RV-10 builders log

Category: 10) Tailcone

Slacking

Over  the last 2 weeks I ahven’t done anything large by any real standard and its hard to post about putting a screw in here or there. So i’m just going to add it all into one post.

  • Installed the Trim Servo & Cables. Eventually took the trim servo out so I could connectorize it. That still needs to go back in. I forgot to order the cases for the DB9 connectors and those will be here Monday.
    • Need to figure out why the left elevator trim will not go as high as the right side. It barely goes above the left elevator, but is even when in the down position.
  • Mounted all of the elevator & rudder fairings.
    • While installing the bottom rudder fairing I installed the Rear Strobe Mounting bracket I received from Cleveland Aircraft Tool. This is a nice looking bracket that should make strobe mounting a breeze.
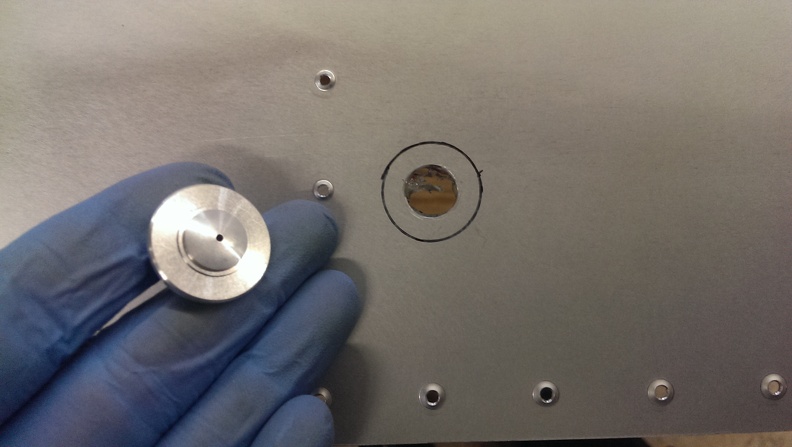
  • Installed the Flush Static Air ports from Cleaveland Aircraft Tools
  • Rebuilt the right trim tab. This looks much nicer then the old one. Still need to do the left side

I also going to create a tasks to do page. So I can easily remember what I still need to do for when i skip steps or move onto other areas if I get bored.

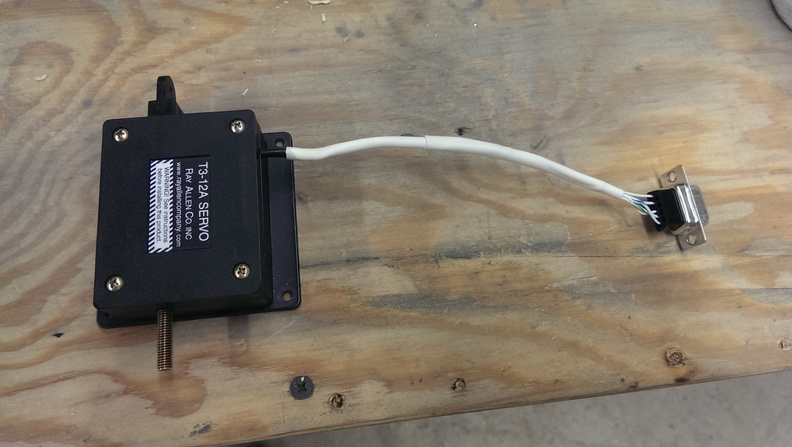
Trim servo with white writable heatshrink & db9 connector

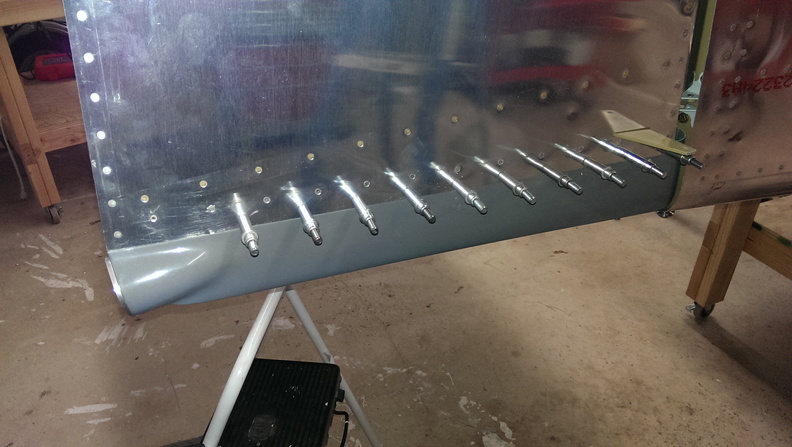
lower rudder fairing being installed
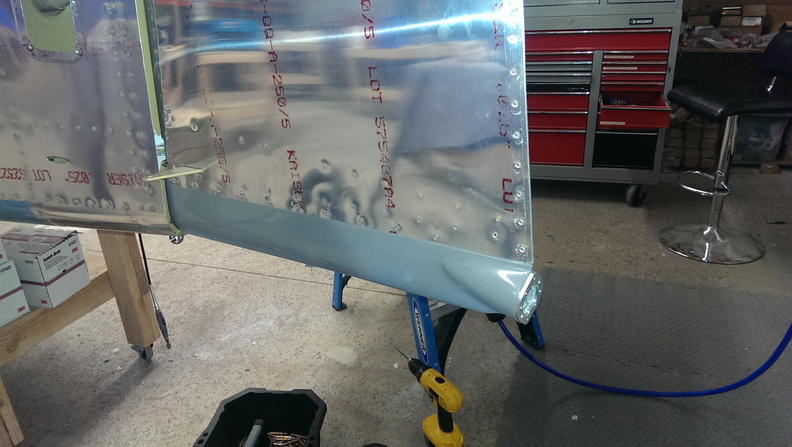
tada

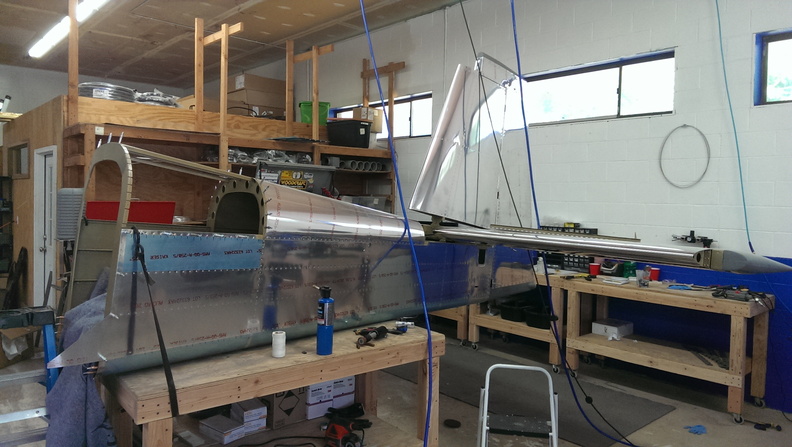
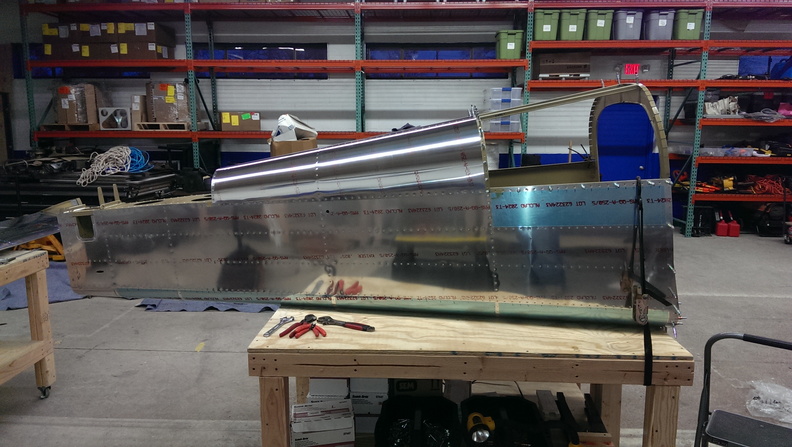
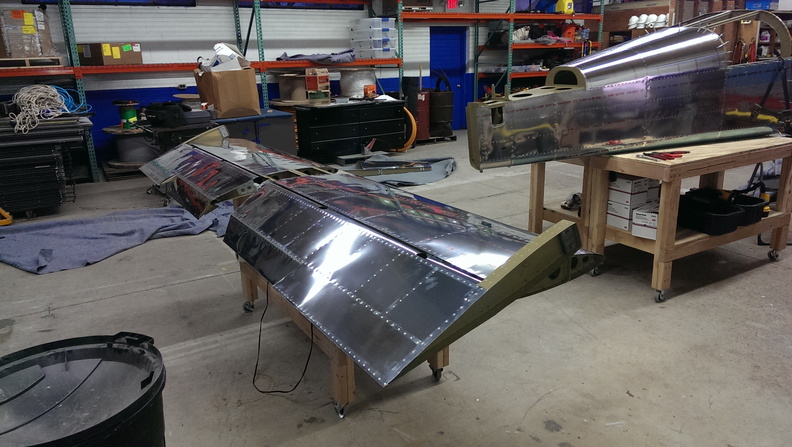
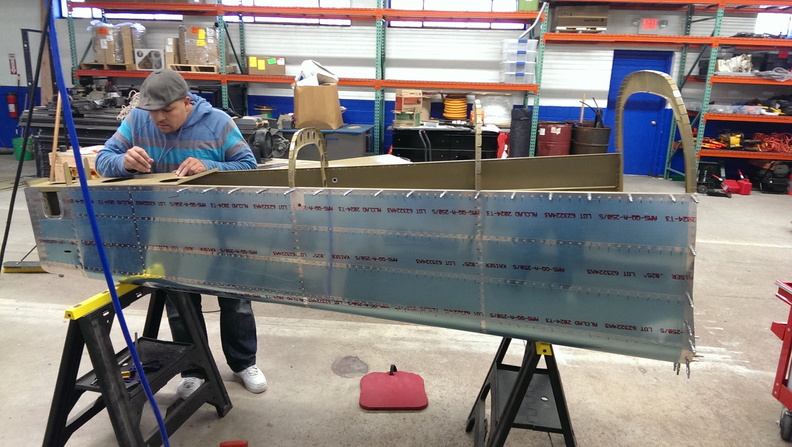
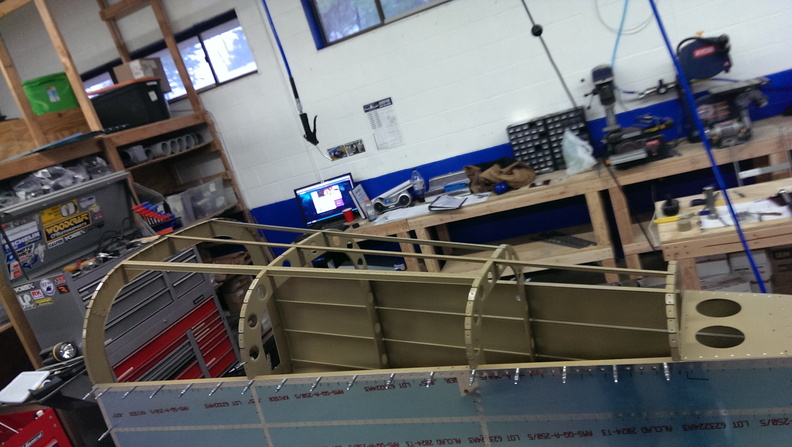
the plane as it sits

trim tab off waiting to be replaced

much nicer looking trim installed. moves much easier this time with graphite applied.


Tailcone Complete!

Today Corey & I wrapping up the tail cone rivets. I luckily happened to have a bunch of old moving blankets that we acquired for some reason. This made great padding for working inside the tail cone. Once we generated a game plan, I crawled into the tail cone and began back riveting the rivets. After a while it became lunch time and we had ourselves a healthy meal of KFC and played some Diablo 3. (As you can tell we had a very busy day at the office). After defeating Diablo we went into the back and Jason helped finished riveting while Corey & my Dad gave me the infinite wisdom on whatever came across their minds. I don’t know what they said 99% of the time as I had my ear muffs on.

Corey & I riveting

Tailcone skins completed!

Since I could & have been waiting for this day. Jason & I temporarily attached both the Horizontal & Vertical Stabilizers.

The excitement quickly died down as I decided to take off these pieces so I could finish the rest of the tail cone section without worrying about cleco failure.

Next I began by assembling the bellcrank assembly and installed it into the tailcone. Afterwards I installed the rear seat belt attachment points.

After this little bit of excitement I stripped the majority of the blue plastic off of the tailcone.

Then I cleaned off a workbench and proceeded to mount the horizontal stabilizer to it. I held it down using 4 1 5/8″ drywall screws that I had left over from building the tables. I did a pretty poor job of pictures from here (just 1). But it involved installing Rod End Bearings into both elevators. I got a little bit ahead of myself and mounted both elevators to the horizontal stabilizer. The next time I get to work on this I will remove one of the elevators and follow it step by step again. 

Tailcone riveting pt3

Today I had nothing going on at the shop so I had one of my guys help me finish the bulkheads & bottom skin. Once we got done with that we did the F1037 bellcrank ribs. I did put a nice dent in the bottom skin when the rivet gun slipped from my hand and bounced where it was not requested to bounce. We did get the majority of it out though. You can still tell its there though. I will try working on getting it out a bit more in the future when I have some time.  I swear the worst rivets were the ones in the bends. We struggled with those quite a bit. After riveting the skins to the point where I had no more clecos in. I began working on the F1014 Aft Deck. Eventually I got that all riveted together and put the top skin on and called it a night.

Jason putting rivets in the aft deck

aft deck riveted ready for more rivets for pieces

all done (minus additional nuts & bolts)

installation of stiffeners

top skin cleco’d on

Finishing right side prep

I started off by finishing off the dimpling I didn’t finish yesterday. After that I busted out the ol unibit and drilled a half inch hole for the Static Port to go. I really like the way it looks sitting in there. Since I am currently short of Proseal, I will have to hold off on epoxying it in for final use for now. I guess I could use JB Weld if I really want to get it done now though.

I marked it with a sharpie so I knew where to tape off for the proseal. Next I marked the strips of blue plastic to come off for riveting. I know I could of just taken it off completely, but I rather not risk putting major scratches in the aluminum while I am flipping it all over the place. Finally I got to wash the skin and prime it. I am so glad I found my mask for when I used to paint my race bikes. This made the priming part so much more bearable.


I made sure the Static port was kept clean by placing some tape and cutting it to shape.


Right around now my friend Chad called me up and asked if I wanted to go hit some golf balls so that ends my night pretty quickly. Tomorrow I plan on attaching the skin and start working on the left side skin.

Tax Day!

To celebrate National Tax Filing Day, I went through the lengthy and fun process of cleaning and priming the lower skin. I also primed the edge of the lower skin that will be overlapped by the side skins.

After the primer dried, I began clecoing the bulkheads to the lower skin. I finished by attaching the side skin stiffeners and the right side longeron.  I called it a day after this

David's RV-10 Build © 2015