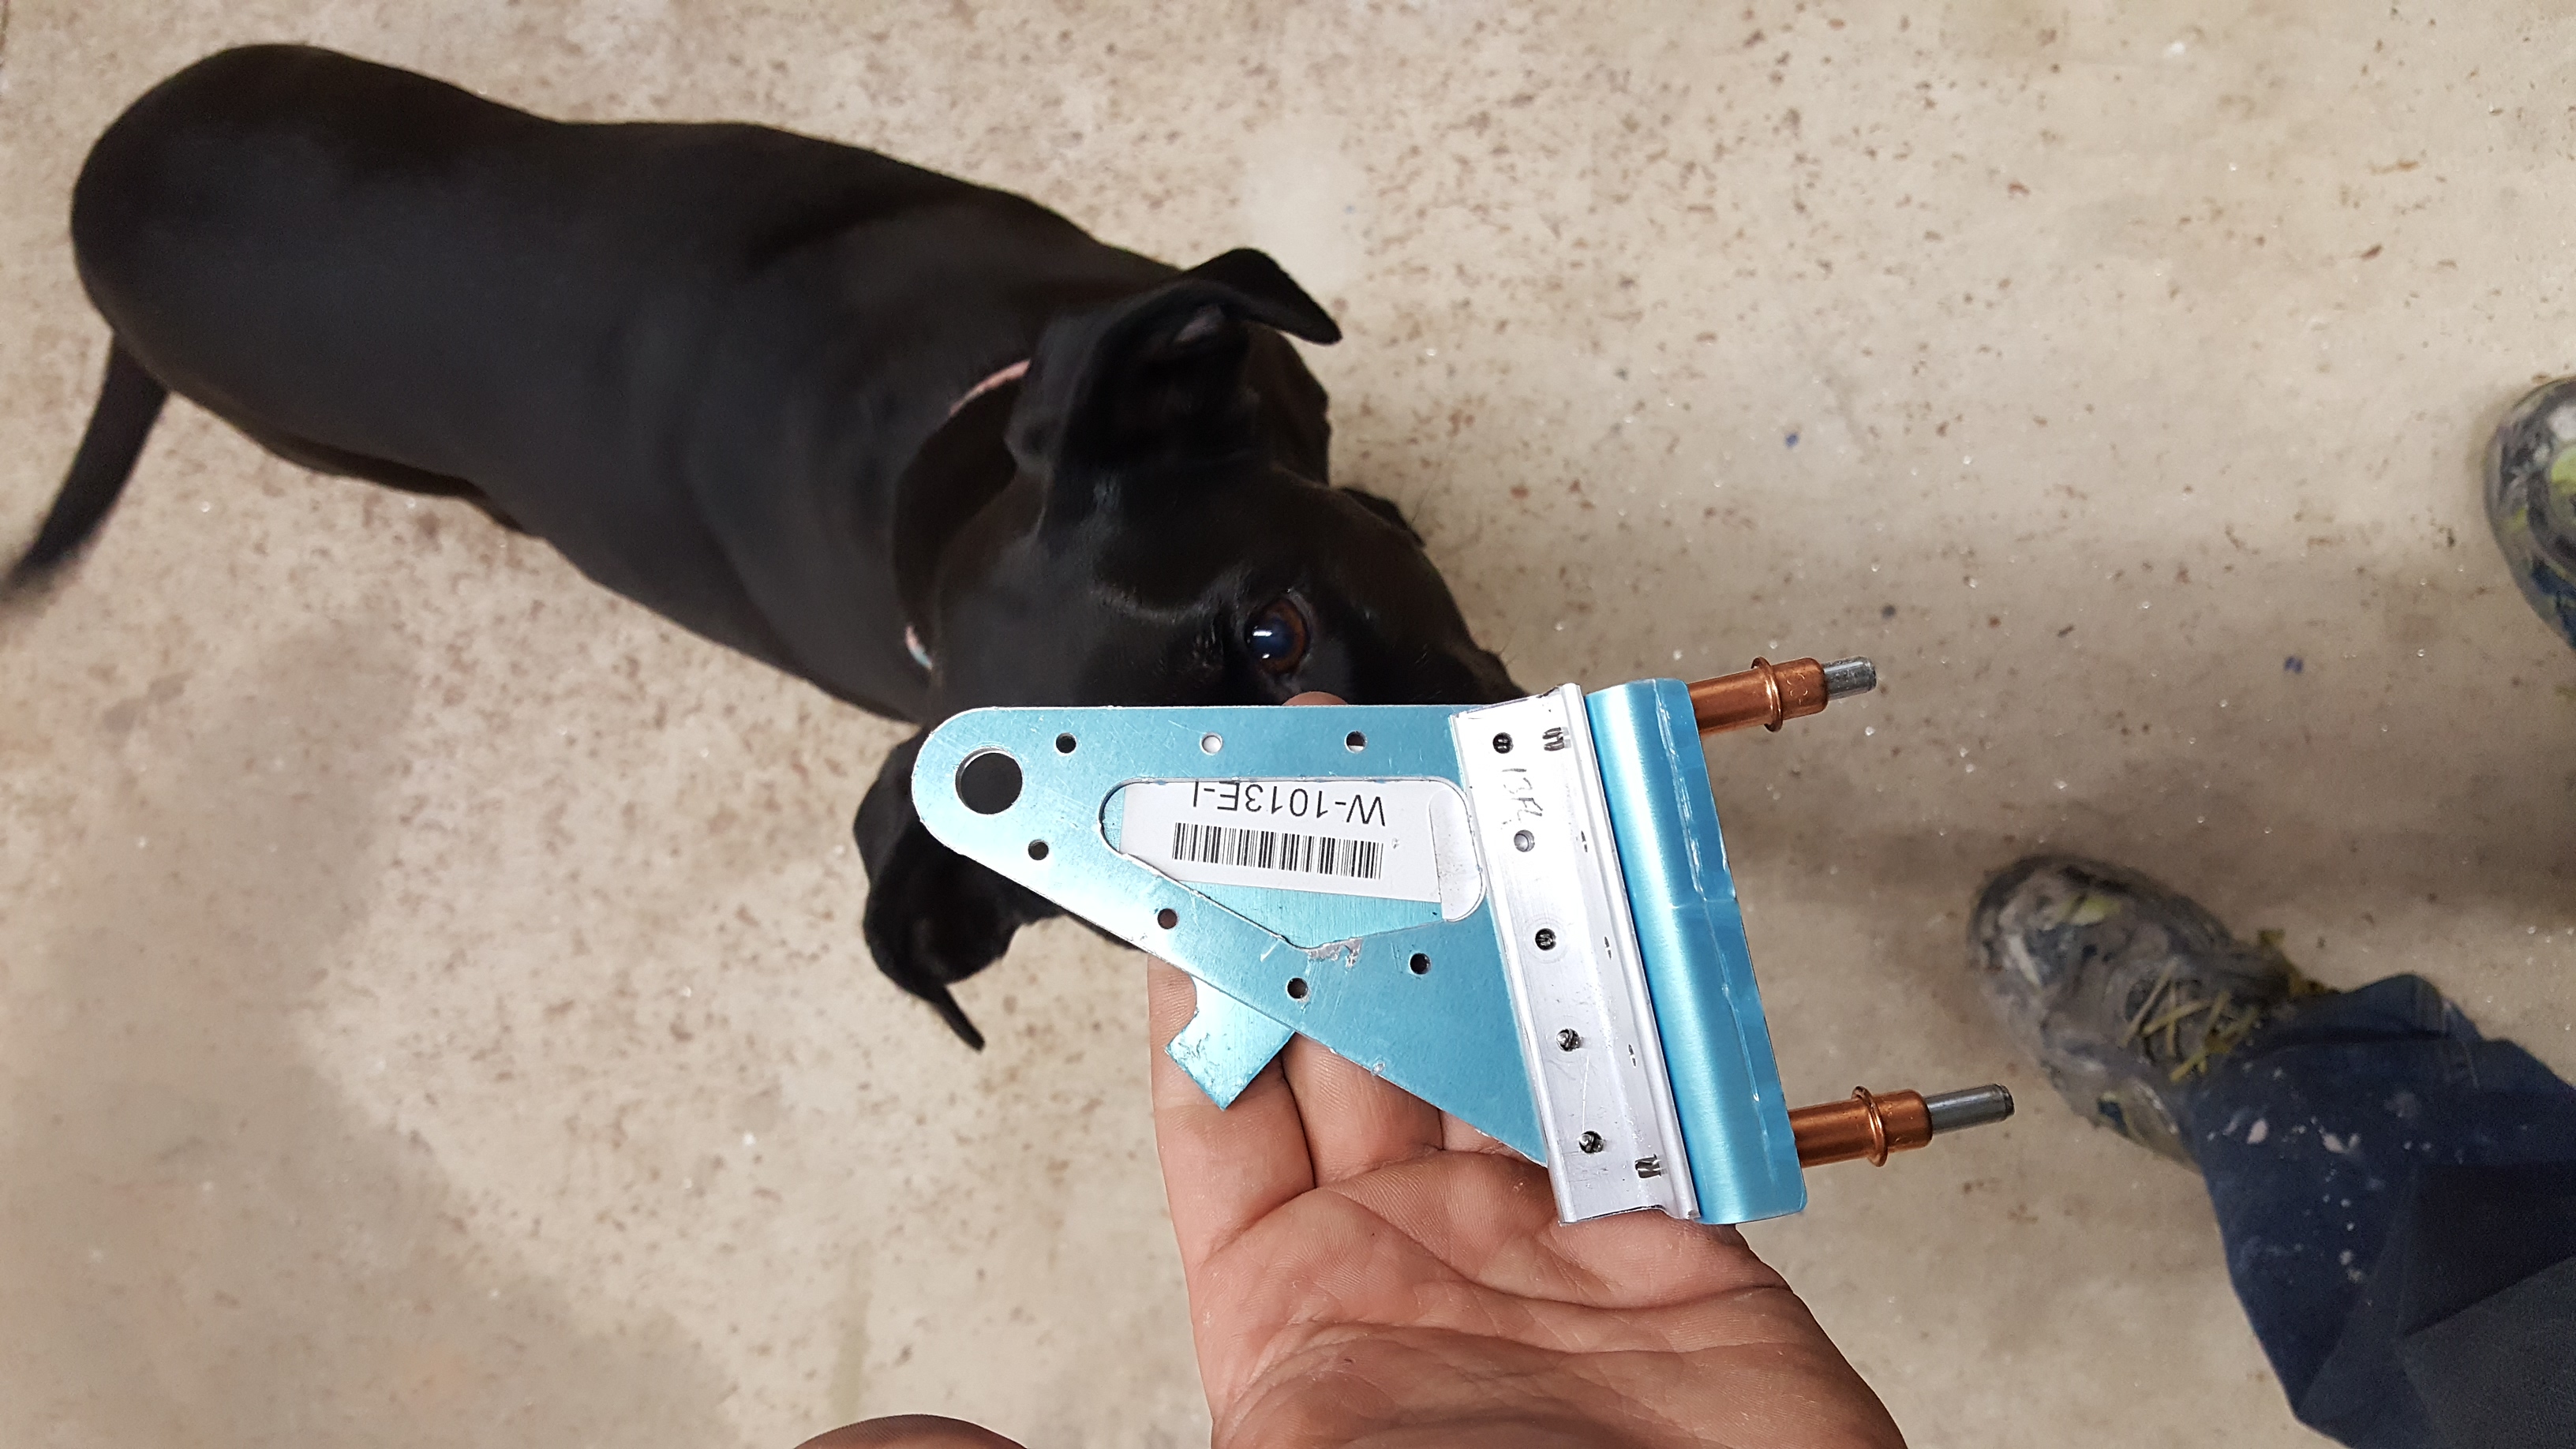
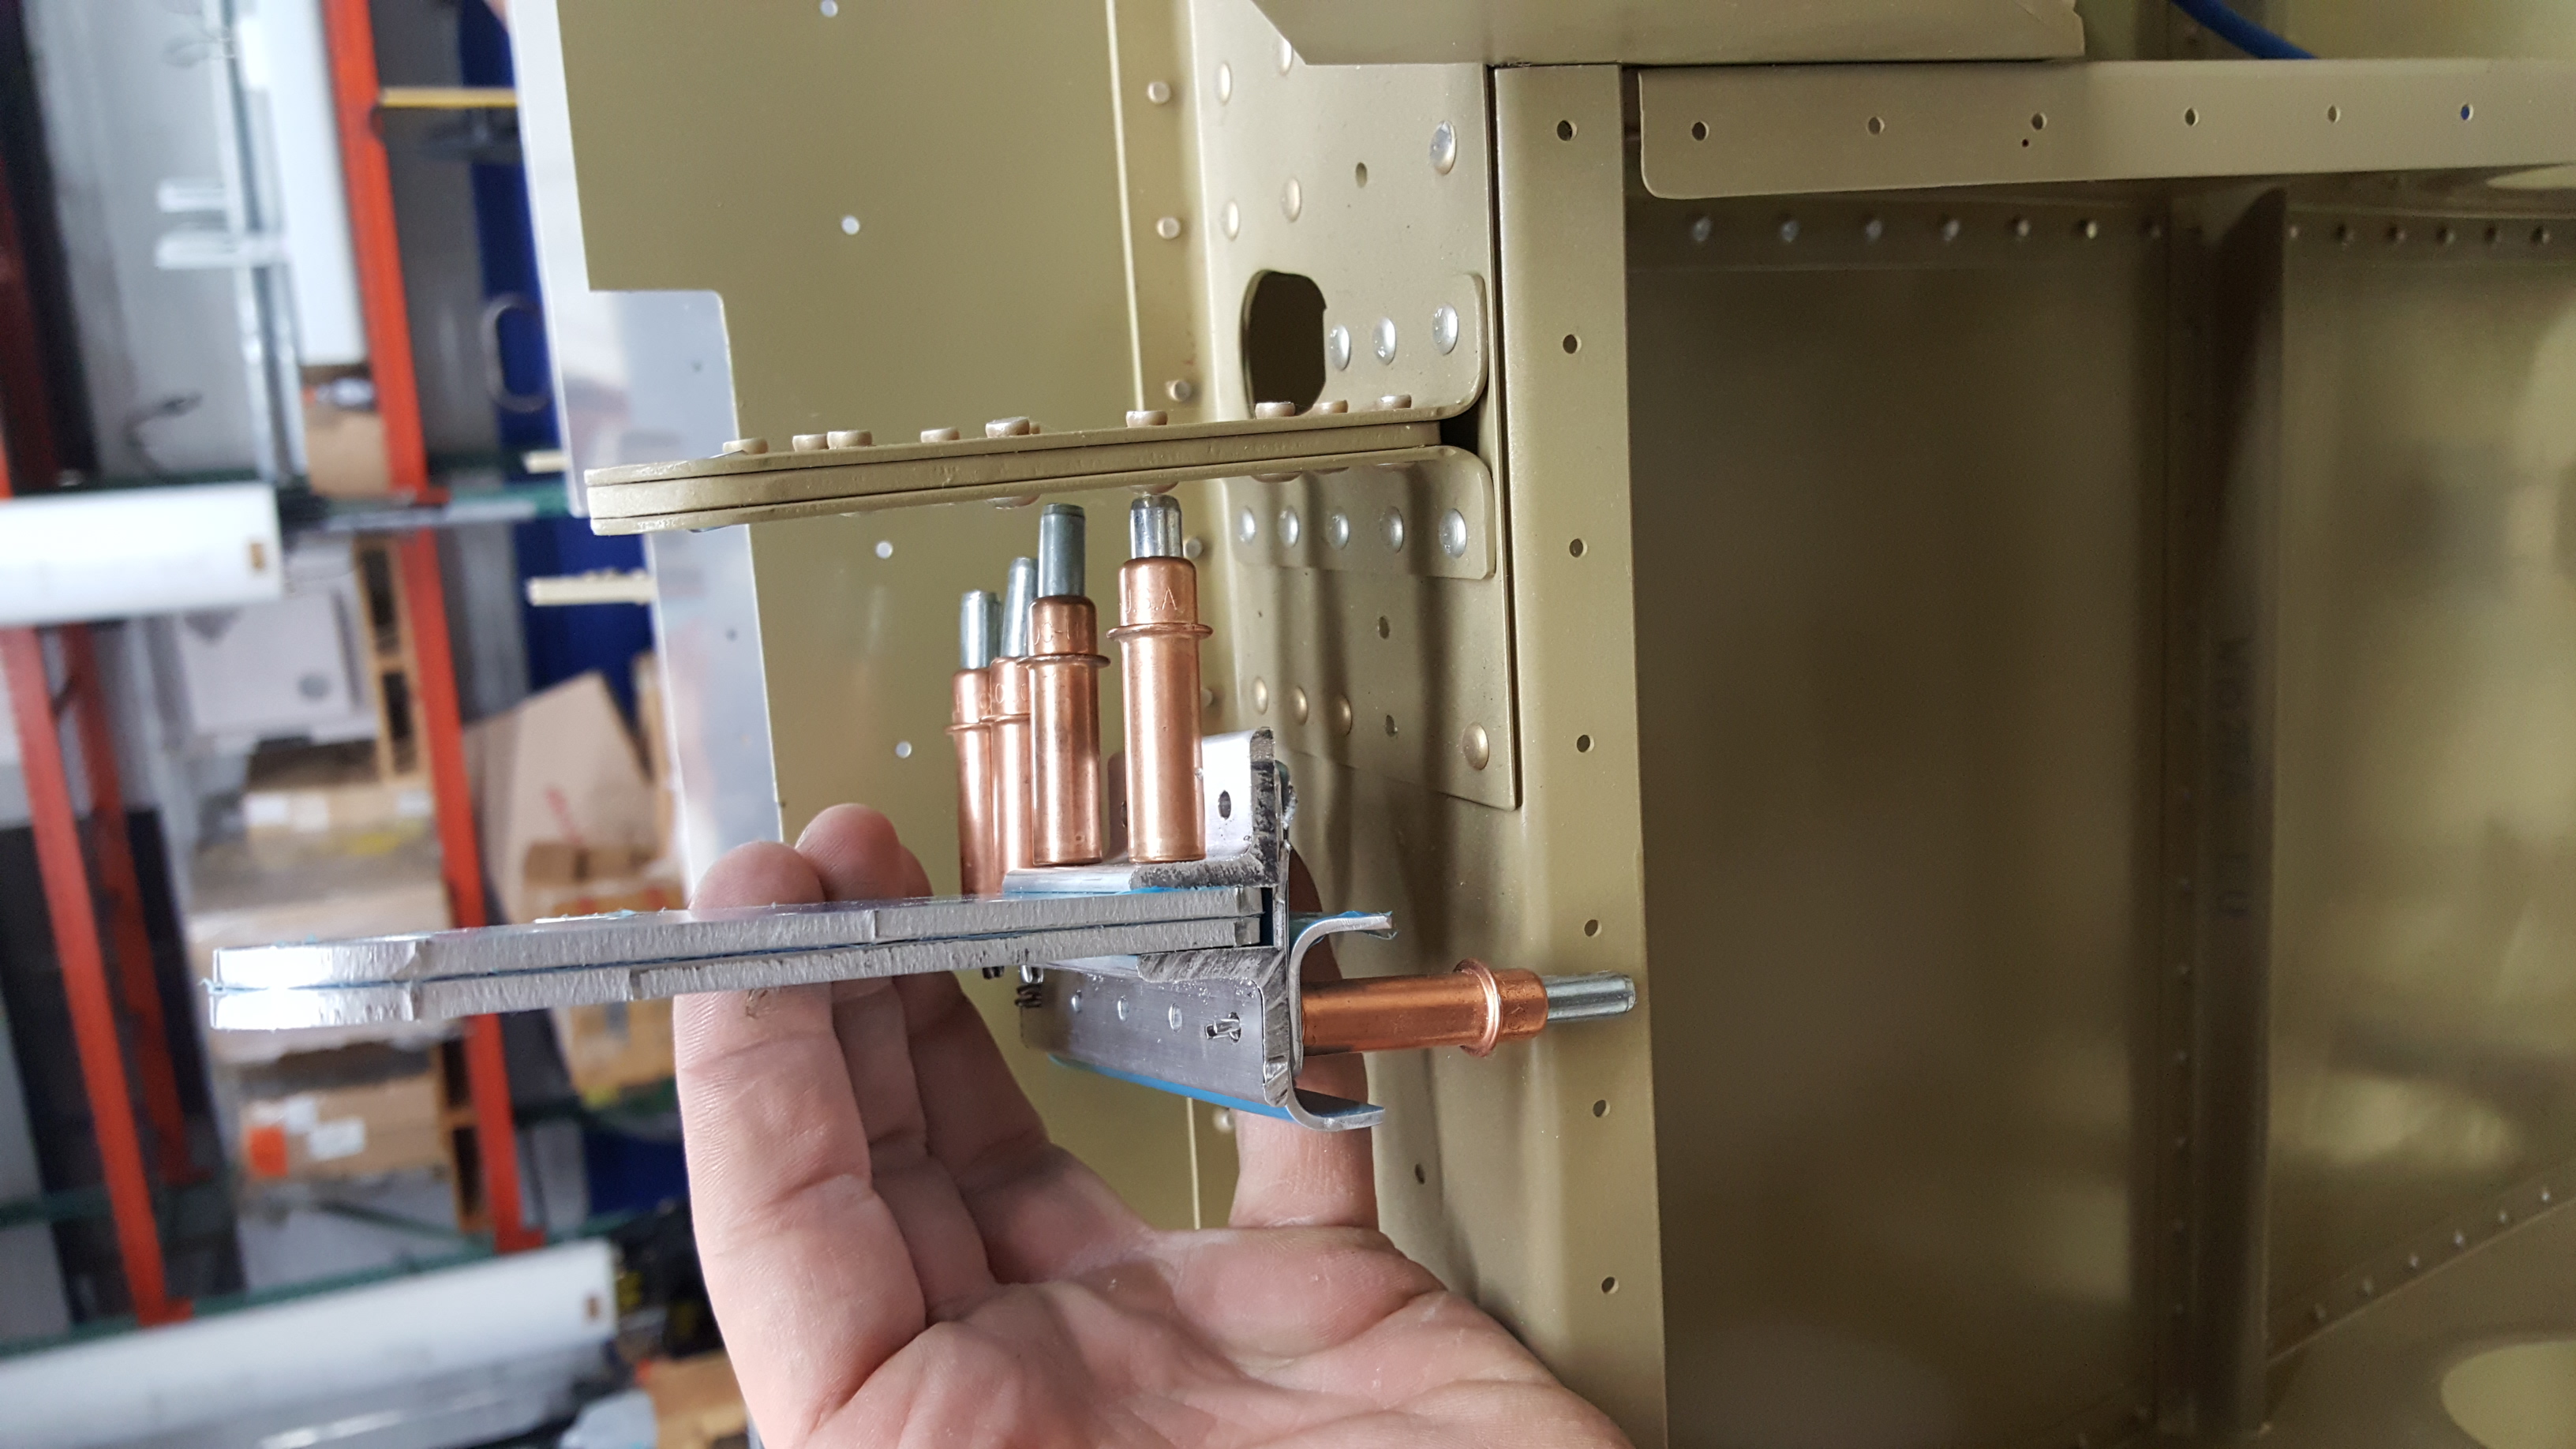
Several months ago Vans released a Service Bulletin that affected every model they make except the RV12. I promptly ordered the parts and when they came in I put them in the dust collector. I still have the fuel tanks to work on, but they kill off all motivation the second I touch them. So I elected to start doing other things and coming back here and there. This is also the perfect time as I have yet to put the Aileron Gap Fairings on. Opening up the kit was quite daunting at first. Not as daunting as a new kit delivery, but more of how the heck does this go together. After a few minutes I got my visual and started at it. Once the pieces are cut apart, it is pretty easy to see how it goes together. After match drilling, deburring, cleaning, and priming, I started drilling out the old brackets. This way the parts had plenty of time to dry. The SB requires you reuse an old bearing from the original bracket so I took it apart per the instructions. Assembly was nice and easy. I even had it inspected by a certified sniffer.
Categories
- 06) Vertical Stabilizer
- 07) Rudder
- 08) Horizontal Stabilizer
- 09) Elevators
- 10) Tailcone
- 11) Empennage Attach
- 12) Empennage Fairings
- 13) Main Spars
- 14) Wing Ribs
- 15) Rear Spar
- 16) Top Wing Skins
- 17) Leading Edge
- 18) Fuel Tanks
- 19) Stall Warning System
- 20) Bottom Wing Skins
- 21) Ailerons
- 24) Wing Tips
- Empennage
- Fuselage
- Misc.
- Service Bullitens
- Tools
- Wings
- Workshop
Websites of Interest
Other RV-10 Builders
| M | T | W | T | F | S | S |
|---|---|---|---|---|---|---|
| 1 | ||||||
| 2 | 3 | 4 | 5 | 6 | 7 | 8 |
| 9 | 10 | 11 | 12 | 13 | 14 | 15 |
| 16 | 17 | 18 | 19 | 20 | 21 | 22 |
| 23 | 24 | 25 | 26 | 27 | 28 | |


