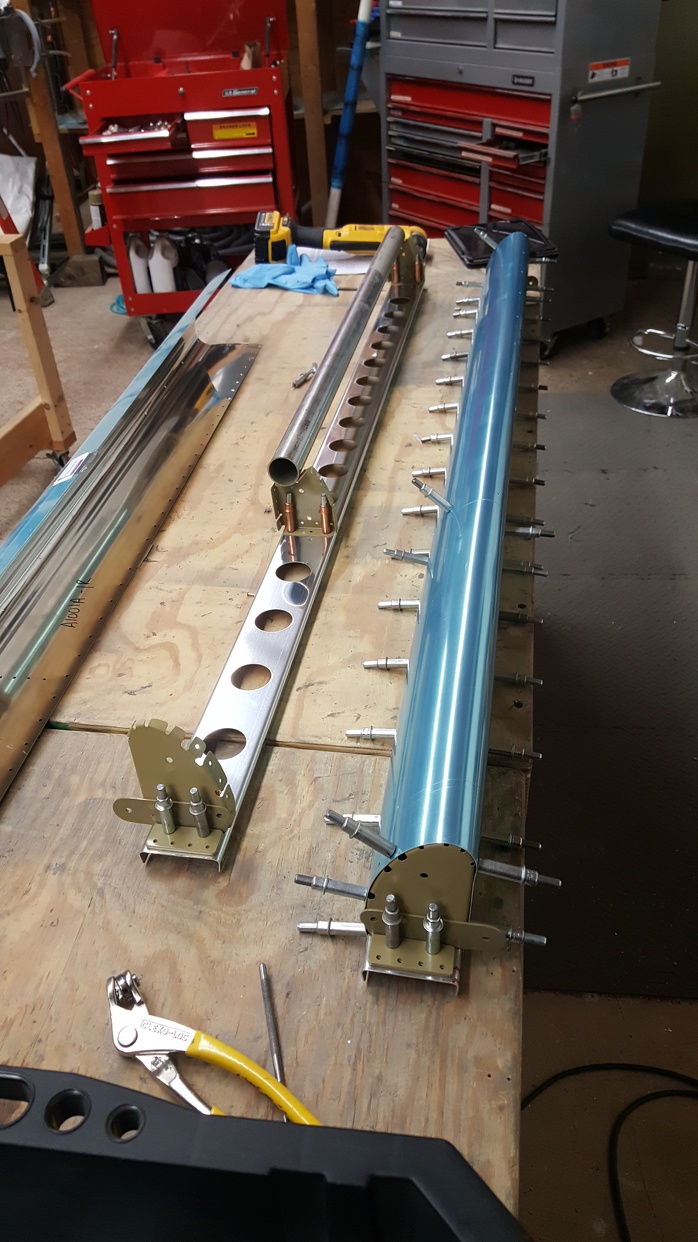
This week I got the first of the bottom skins riveted on the left wing and made a start on the ailerons.
Before riveting the bottom skins I marked up all the rivet callouts with sticky notes and a highlighter so I could tell at a glance which rivet goes where. This made the whole job much easier and I’d recommend it. Riveting went slow at first while I got the hang of it again. I checked every rivet with the gauge until I trusted my technique, then just spot checked each row after. A few had to be drilled out and replaced, and a couple holes earned oops rivets, but overall the first skin came out great. It took several sessions spread over a few days thanks to the heat.
I’m holding off on the outboard skin because my pitot heat controller hasn’t arrived yet, and it mounts right in that area. Getting to it after the skin is on looks like a pain, so that side waits.
When I pulled the skin off the other section, I found my long-lost tape dispenser and a pair of pliers living inside the wing. So that’s where those went. After cleaning everything out, I confirmed the autopilot bracket was already swapped in, so nothing was stopping me from riveting this section.
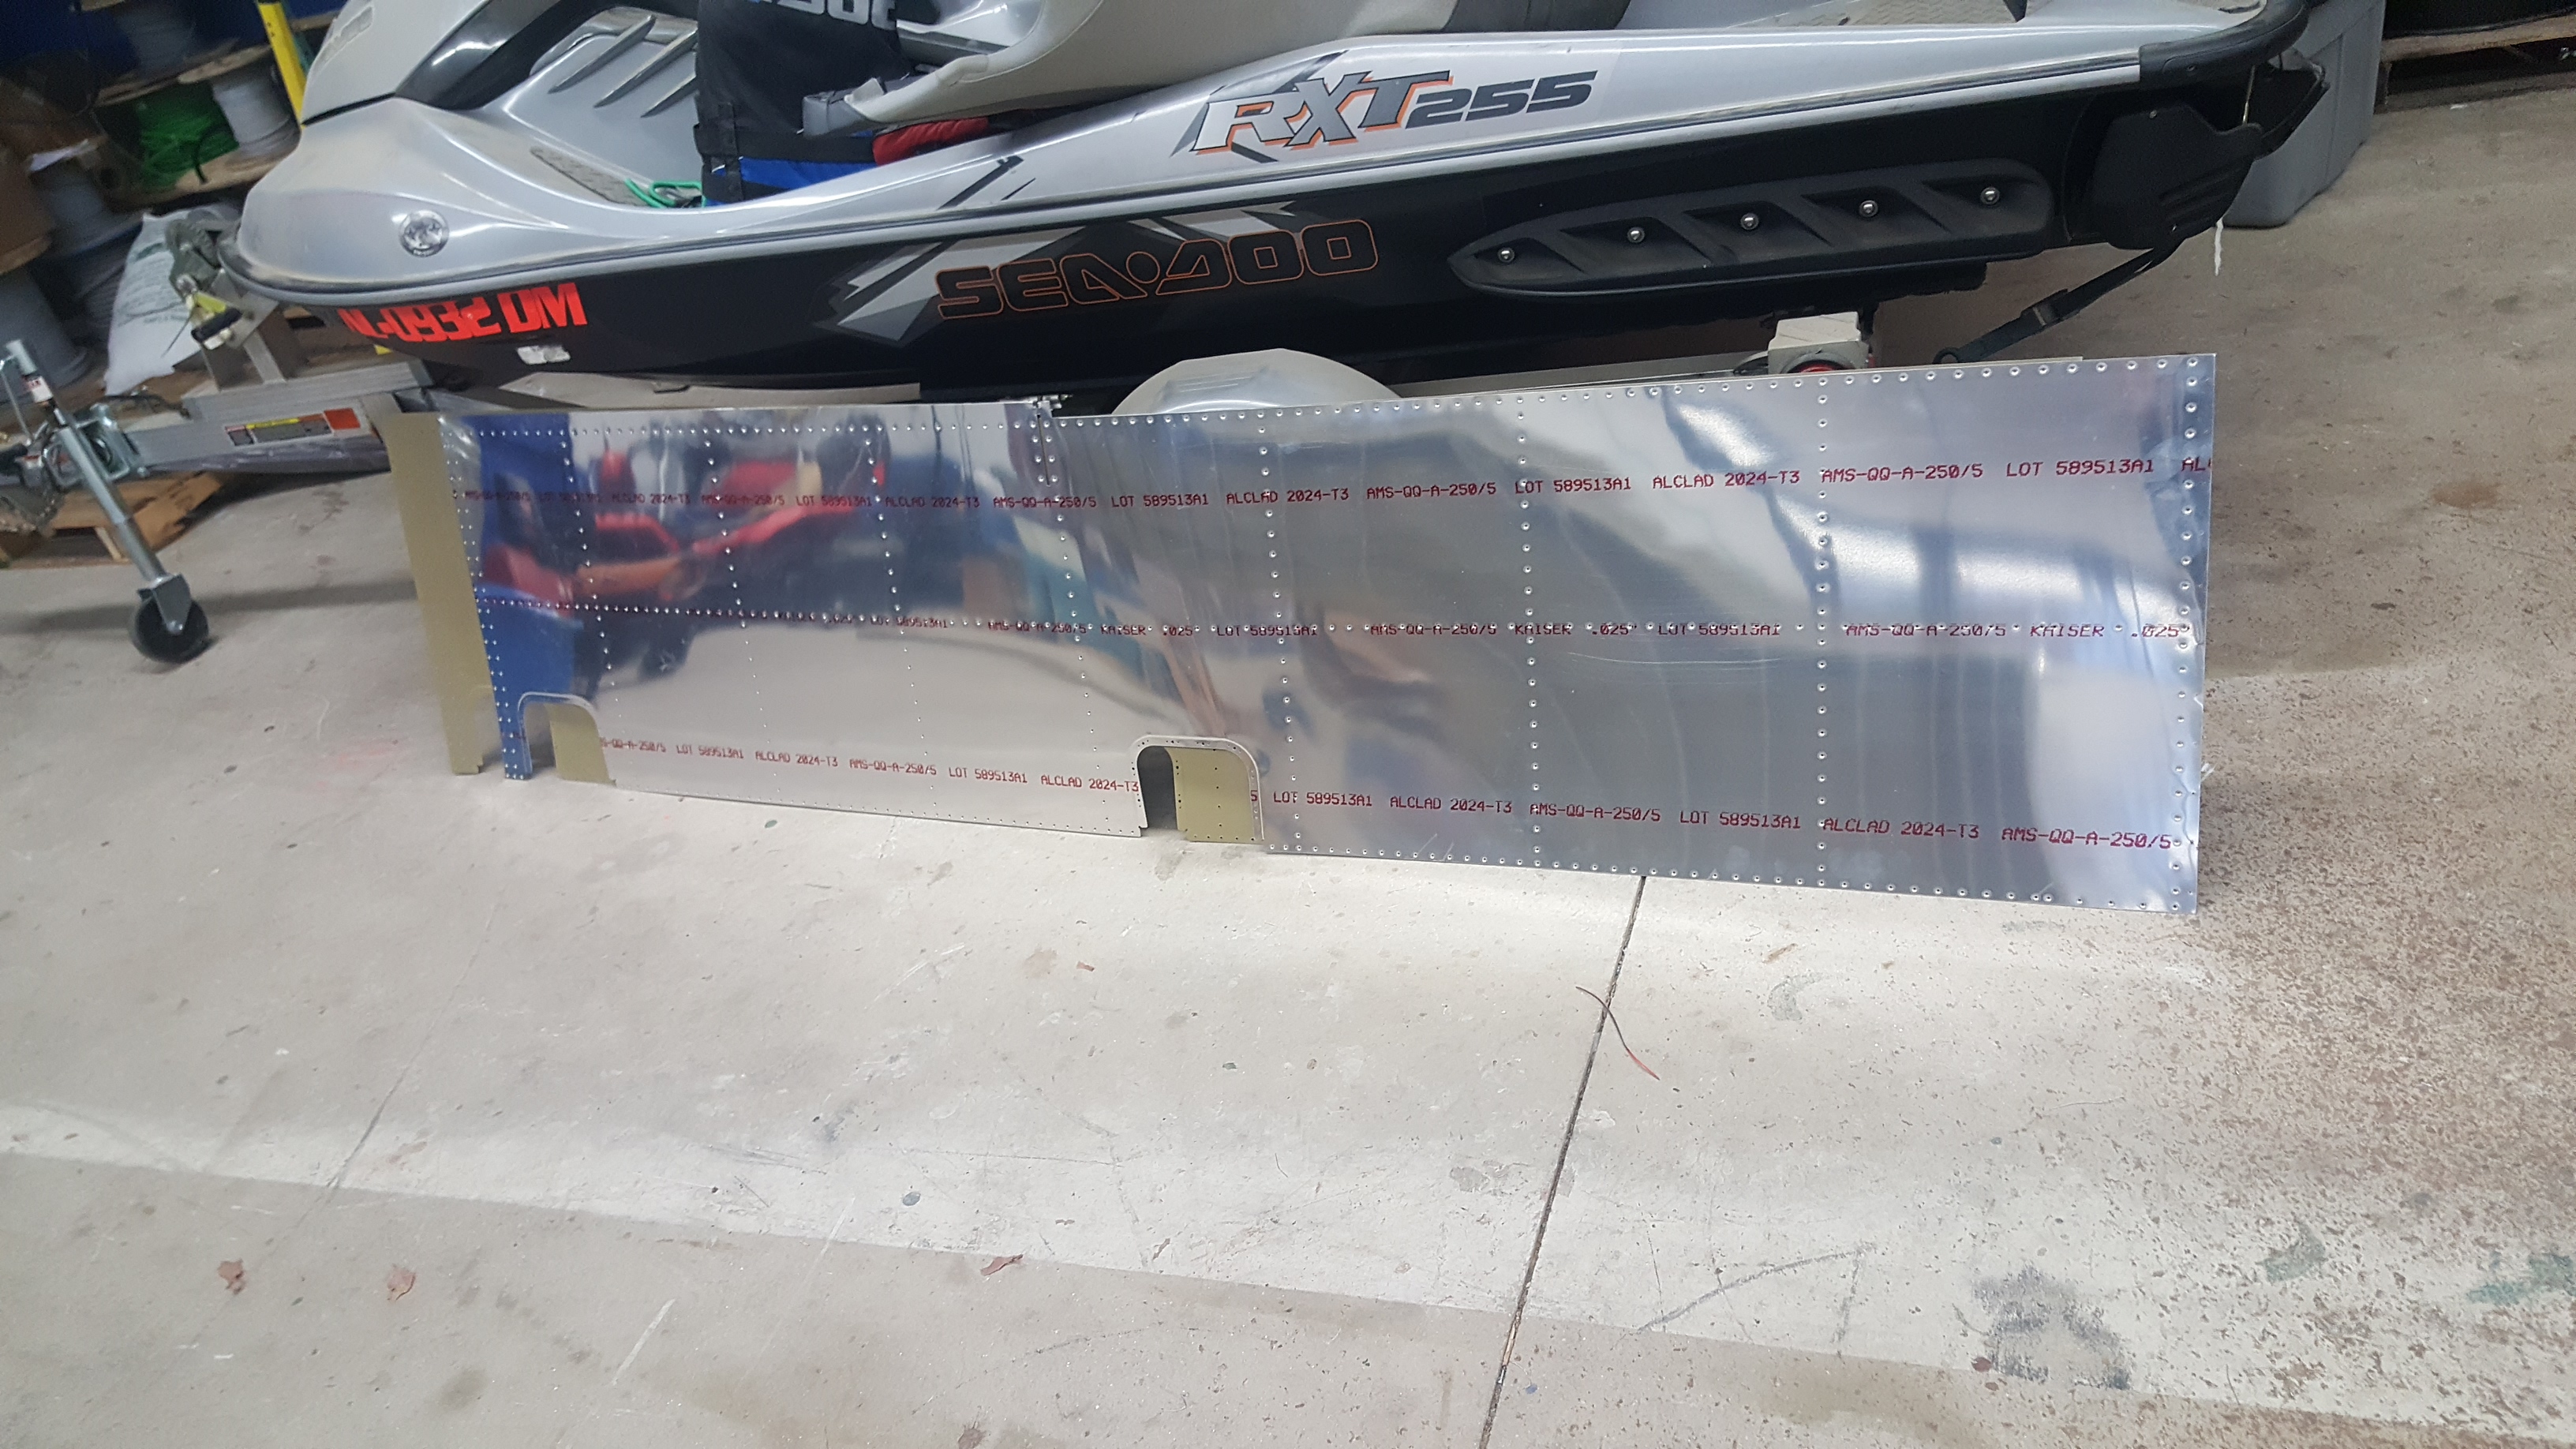
Then came the big one. While drilling out a rivet I didn’t like, the bit slipped and punctured the skin. Way too big, so that skin is getting replaced. Fortunately I had only done the top row of rivets, and it’s the smaller of the two skins. I also decided to order the quick build fuel tanks this week, so the replacement skin goes on the same order and saves me shipping. I nicked the rear spar getting the rivets back out, I think it’s fine, but I may add a doubler on the back side with longer rivets for peace of mind.
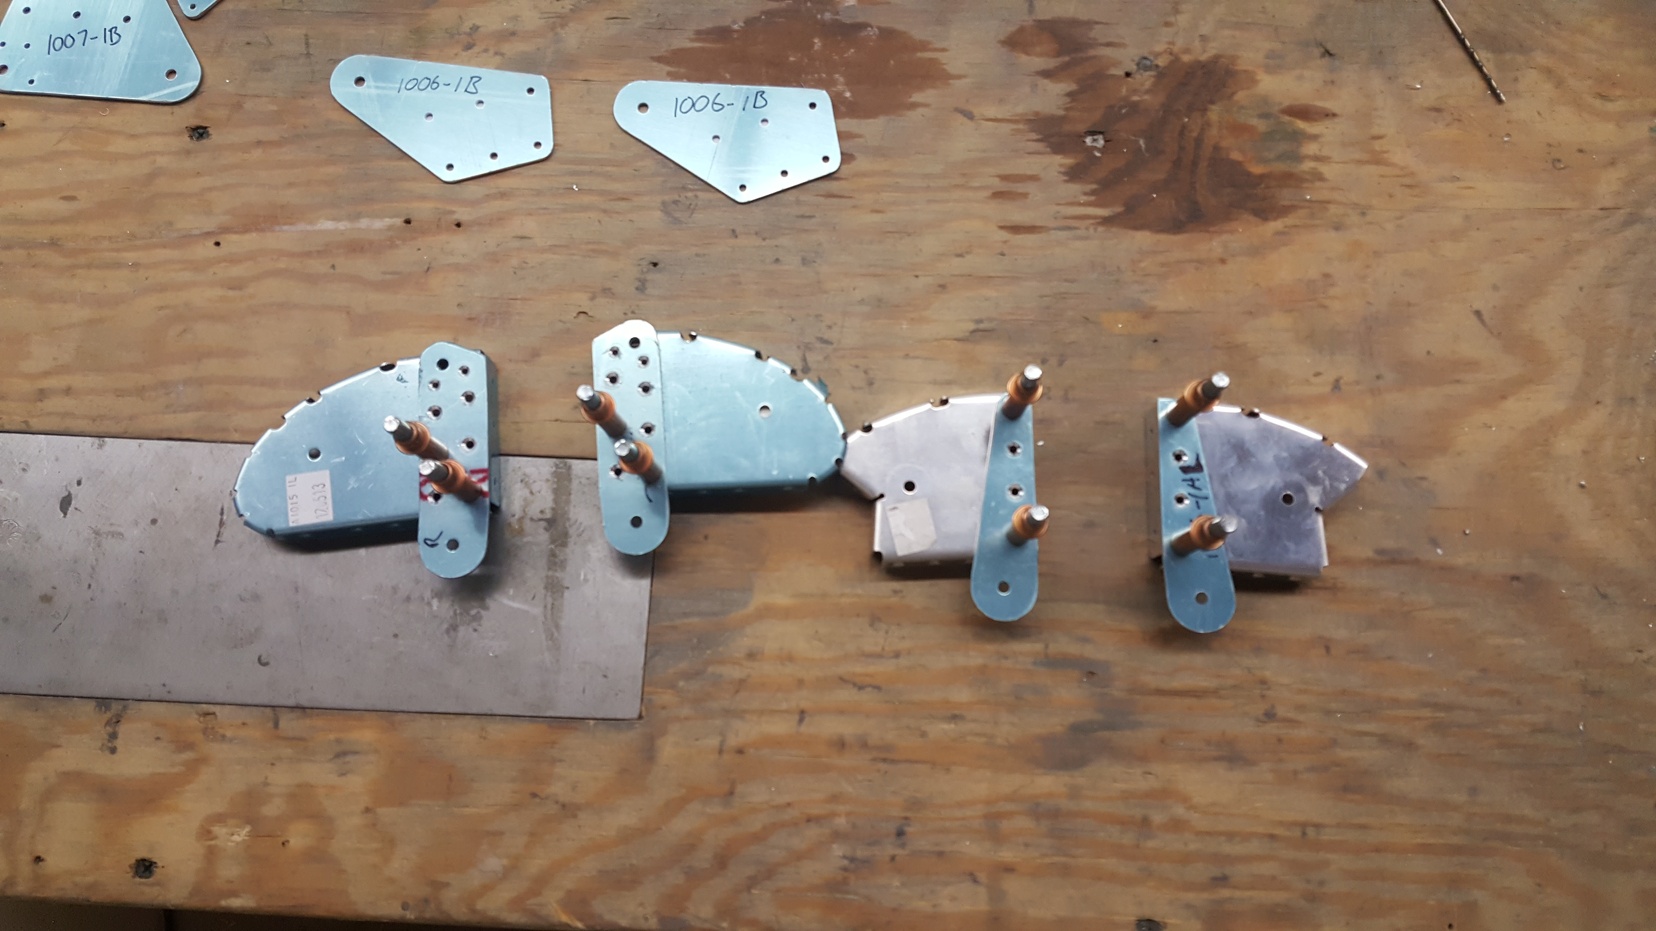
With that on hold, I moved to the ailerons. I tore the right one apart thinking I had skipped steps, but it turns out I just never checked them off in the plans — so I got to reassemble and match drill it all over again. Countersunk the #30 holes in the leading edge and found the counterweight was already prepped from whenever past-me last touched this thing. Then it was the usual wash, acid etch, and prime routine. At 100 degrees outside the primer was drying about as fast as it hit the parts.
A tip for other builders: I got tired of mentally flipping the plans while working on the right aileron, so I downloaded the PDF and mirrored the pages. Now the drawing actually matches the part sitting in front of me. Wish I’d thought of this a long time ago.
I got the ribs riveted to the spar and the top skin riveted on minus one rib I had to drill back off because its tab was facing the wrong way, which I of course noticed only after half the skin was riveted. The last thing standing between me and a finished right aileron is tank sealant, which I can’t order until Monday. I need a batch anyway for when the quick build tanks show up, since I’ll likely be opening those up to sort out the fuel caps and add a return line for my fuel injection.
While waiting on primer to dry I also started a shop upgrade: mounting a cord reel in the corner that has no usable power. There’s still a conduit running back to the panel, so a junction box and a new outlet will finally fix that.