David's RV-10 Build

Just another RV-10 builders log

Category: 14) Wing Ribs

Rear spar Complete

Today I ran over to Home Depot and picked up some new Dewalt 20V Drills. I really did not want to buy any of the 20V stuff, but they stopped producing the one drill I needed in 18V. So I ended up getting the 20V 90d Angle Drill (tool only) and a combo kit that had a 1/4″ impact, drill/driver, 2 batteries, a charger and a bag. Once I got to the shop I immediately tested out the 90 degree drill and it did exactly what I needed it to do. I was able to drill out the conduit holes that I neglected to do earlier. This was followed up by tidying up the shop a little bit.

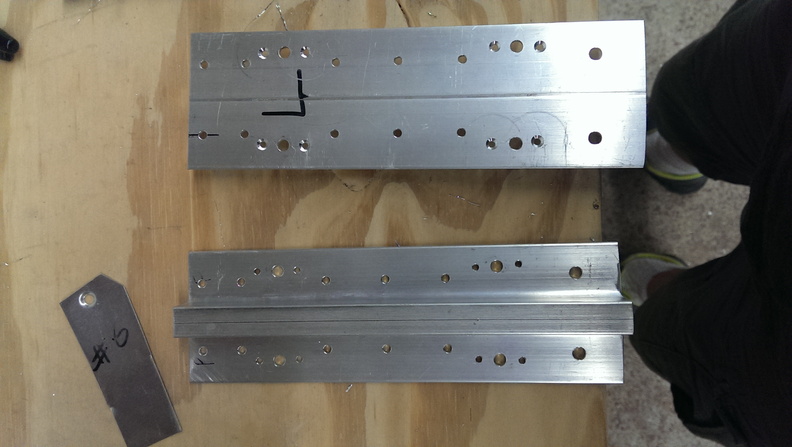
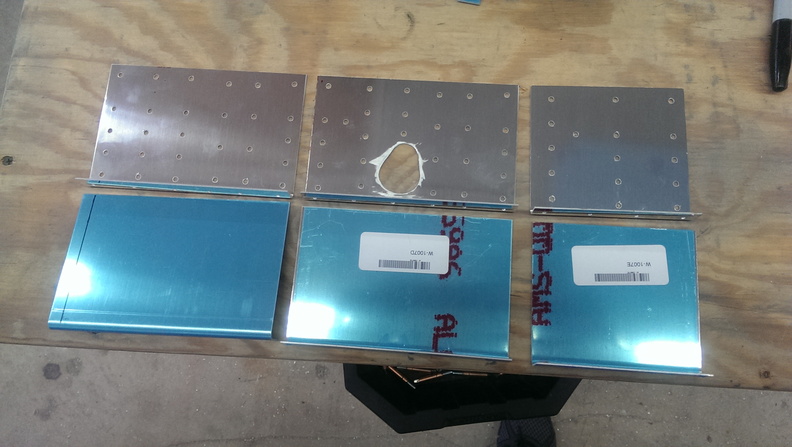
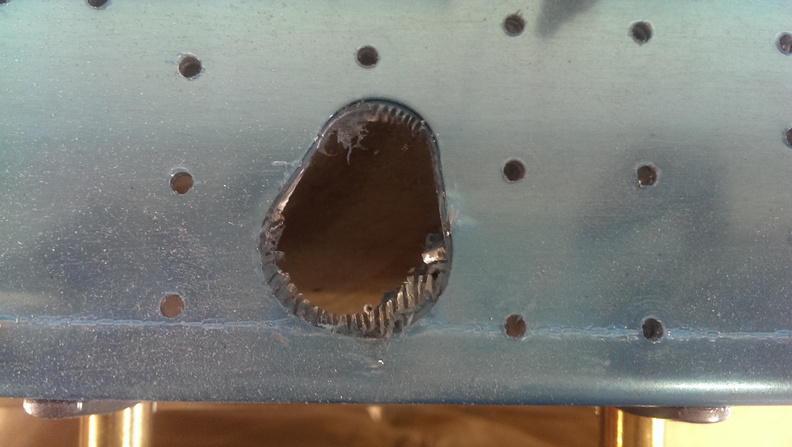
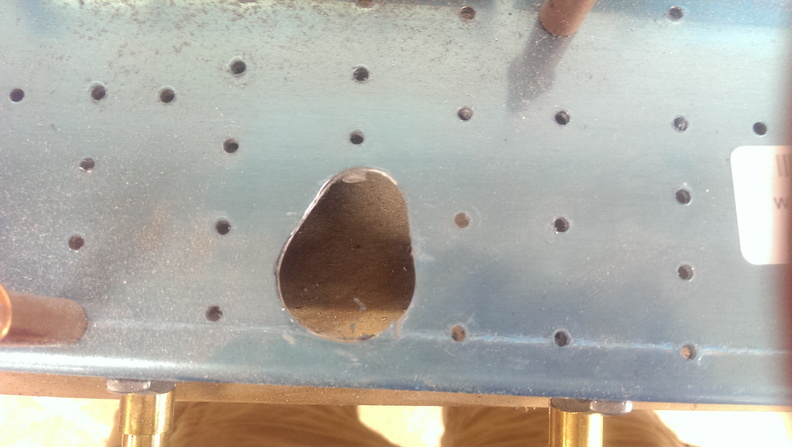
Next I grabbed the rear spars and mounted the doublers to them and began match drilling.  After match drilling one spar, I had to make a hole in one of the doublers match the spar. My solution was to use a unibit to take out a big chunk of the material and then dremel the rest out. With a cutting blade I cut out what i could. then i cut little notches to the edge. Next I used a dremel drum sander to smooth out the roughness.

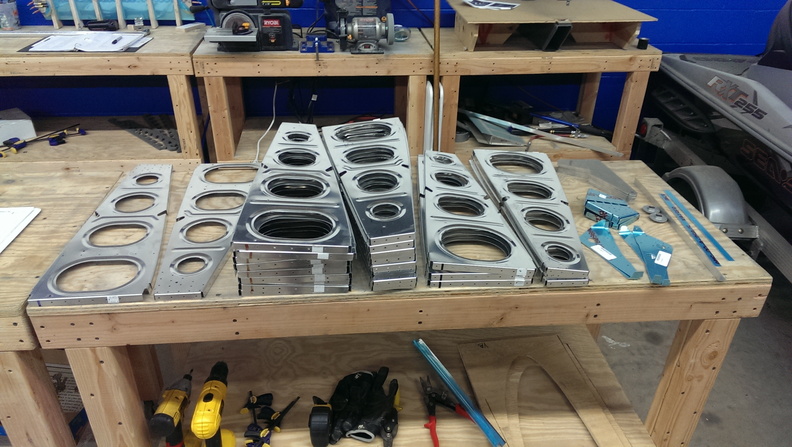
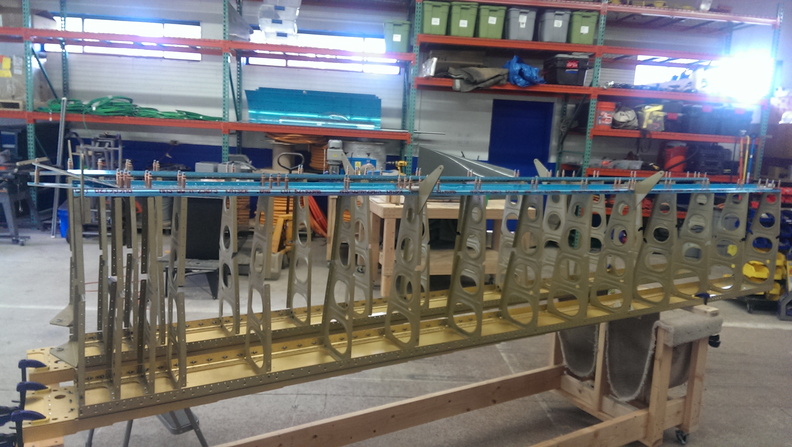
next i mounted the spars to the ribs and matched drilled those

once that was completed I began disassembling and deburring, cleaning and priming. Once the primer was dry I cleco’d everything back together and began riveting.

Wing Rib’s Complete

Today I was greeted by a box from the UPS man from Avery Tools. I got my SafeAir1 kit as well as some other goodies. There really wasn’t much to accomplish today. I finished up the ribs in the left wing. After that I pulled all the parts for the rear spar and started on the Aileron Hing Bracket Assemblies. First thing was to trim 2 of the 4 spacer brackets. Then I cleco’d the assemblies together and match drilled the #30 holes. Afterwards I marked each assembly and began deburring and scuffing. I need some more primer so I called it a night.

safeair1 kit


Right wing complete (mostly)

Today I completed the Right Wing ribs for the most part. I put a post on VAF regarding conduit sizes. I was unable to locate 3/4″ conduit locally so I want to use 1″. But im not sure if the structure will support the hole size. Getting the rivets in wasn’t so much a hassle, but the bolts were difficult in figuring out what went where as its so tiny. Tomorrow I plan on finishing up the left wing and starting the rear spar.


Primer Time

I have recently discovered how the egyptions built those pyramids and it really works. I had 4 people + me scuffing, deburring, and cleaning the wing ribs. I think we got all of them done in under 2 hours. After they dried a bit in direct 90 degree sunlight. I blindly primed all these ribs. I was able to get everything primed with just shy of 2 1/2 cans of primer. Which was good as I was running on empty on the last rib. Tomorrow I am going to call SEM and see how to become a dealer so I can get this stuff cheaper. I buy it buy the case 2 or 3 at a time and no one will offer price breaks. I also ordered the SafeAir1 kit from Avery today as well as some other bits and pieces. Those should be here in 2 days.


im pretty tired and i forget what these are called, but here it is.


all the ribs mounted on the spars ready to rivet.

i also drilled out the pitot holes to 3/8″ of an inch. The plans call for 7/16 but the SafeAir1 kit uses smaller snap bushings. I also had to add a 2nd hole for the AOA line. I just measured 1″ x 1″ off the edge. I*HOPE* this does not cause an interference issue in the future.

Tomorrow I am going to try to locate some 3/4″ innerduct for the cable run. If I cannot find any I will see if I can use the 1″ that I have laying around.

Wing Ribs start

I have to admit, this was probably the most confusion section yet. You would think all the -L parts would go on the left wing and all the -R parts would go on the right. That is not the case.  The parts are mixed up every which way possible. I didn’t take alot of pictures today. I started off by cutting & fabricating W1029C angle, W1029D & W1029E spacers for both left & right wings. Next I started working on the W1029A-L Torque Tube Support bracket. This part was very difficult to get aligned into the W1010R rib. From here I decided to work on the left wing only for now. Next I drilled & cleco’d the Flap attach brackets to the ribs required. After that, i cleco’d all the ribs to the main spar. Once I had the left wing ribs mounted I marked each rib starting from the root 1 through 15. Then I proceeded with the right wing. Rinse Wash Repeat. These were marked 16 – through 30. After all this was set, I began drilling all the #12 holes, followed by match drilling the #30 & 40 holes.

Next I realized I needed to order some parts, such as the Pitot tubing & conduit. I created a nice shopping cart of stuff I wanted & needed. I’ll call Avery in the morning to place the order.

Main Spars Complete!

Today I finished up the main spars. I started by drilling all the #40 holes near the end of the spar as well as some #30 holes. After countersinking I attached some nut plates and began with the tie down brackets. this was pretty easy.

can you see what i forgot?

Next I bolted the brackets to the main spar using some AN3-5A bolts. During this process I also attached the W823PP Aileron Bellcrank brackets. Once I got done with the Left main spar I began with the right Right spar. After getting the bracket on and a few rivets driven. I noticed I missed 2 rivets on the nut plates.  So after carefully drilling the rivets out. I placed the last 2 rivets and finished mounting the tie down bracket.

Since this was done I cleaned up a little bit around the shop and then started pulling parts for the next section.

David's RV-10 Build © 2015