David's RV-10 Build

Just another RV-10 builders log

Category: 06) Vertical Stabilizer

Vertical Stabilizer Complete!

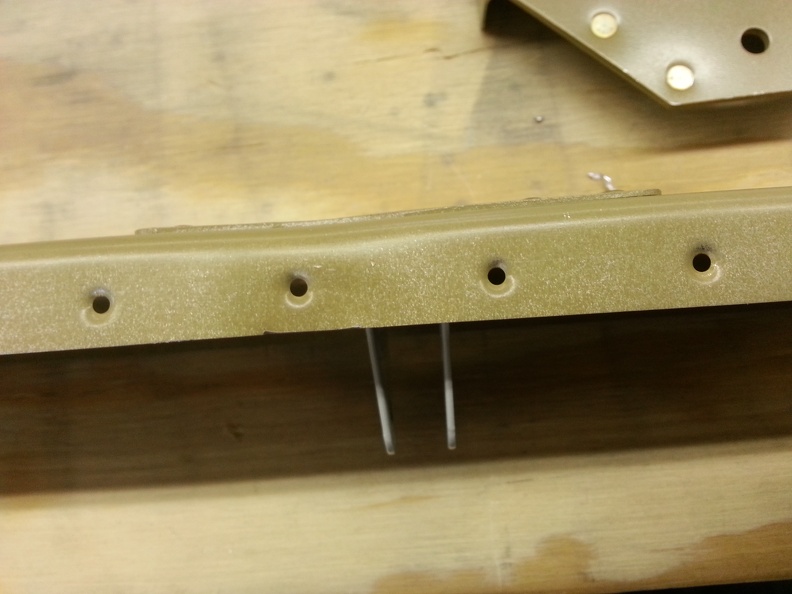
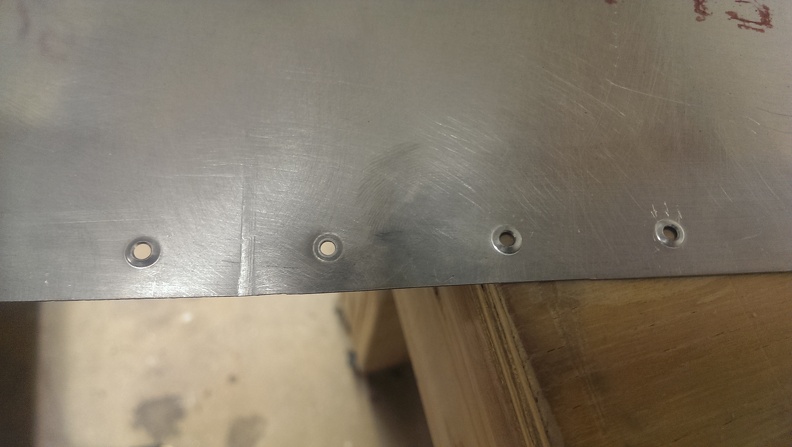
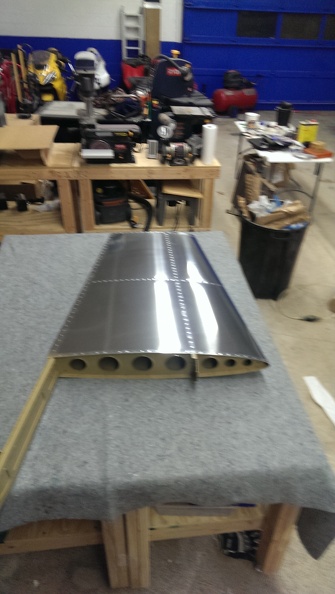
Promptly at 9:30 the nice fedex lady dropped off my new VS Rear Spar and some other parts. I promptly went to work and started cleco’ing and match drilling. After deburring, counter sinking, and dimpling, I washed the parts with soap, set them in acid for 30 minutes, and primed them. What I like about SEM EZ Coat is that is practically dry to the touch within 30 seconds of applying.While waiting for the acid to set, and the primer to dry. Corey & I worked about riveting some of the internal hard to get to rivets on the skin. (This is a bit out of order, but we had time to kill). Once we completed the forward spar, Corey had to go home. About this time I had determined the primer had dried long enough and began to process it back together. Its amazing how much nicer it looks the 2nd time around.


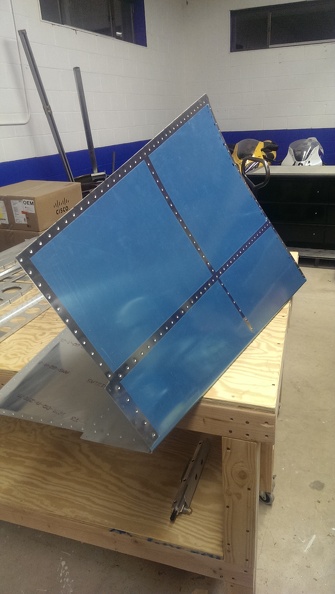
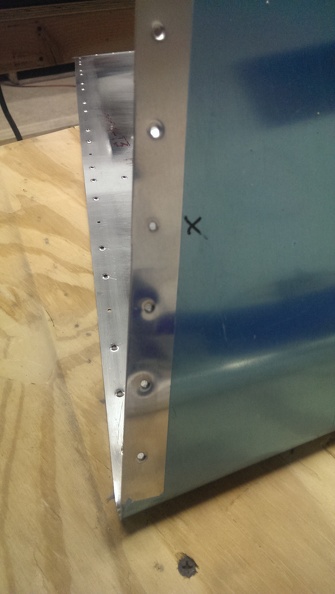
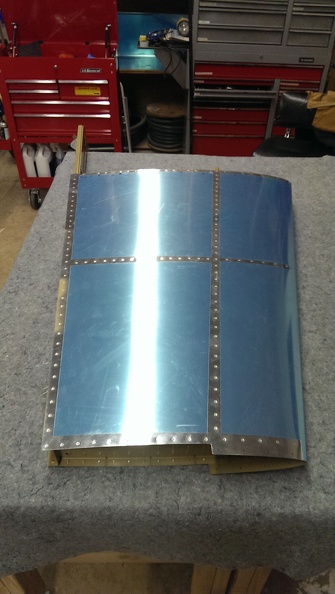
Once I had this completed I began to attach it the skeleton. Once I made sure everything would line up, I used my offset rivet  set and buck’d them into place. Then I proceeded to finish riveting the skins to the skeleton. This went relatively smoothly all though i had to drill out a few rivets here and there. I grabbed a moving blanket from one of the many I acquired when renting a uhaul trailer earlier this year to prepare to protect my newly minted airplane piece. Next I took off the blue plastic. I have no desire to let this stuff sit on here and become semi-permastuck.


And the obligatory selfie to prove that yes I indeed build this part

Rivet Time / First Parts Order

Today started off great. I had parts primered, ready to rivet. First step was to attached the Rudder stops to the top of the bottom Rudder attach bracket. This came out great.


Next I reattached the rear spar caps, rear spar double, to the rear spar with clecos. After that I began riveting per what the drawing showed. Everything was looking great till I had to do the inside holes of the top rudder attach bracket. Not really sure what I was thinking, but it wasn’t anything smart. I ended up squeezing the rivet with my squeezer upside down and collapsed the rear spar. It wasn’t pretty and no amount of trying to straighten it out was helping. So I ended up ordering another one and I expect it to be here tomorrow. I had a blast drilling out all the rivets. The pictures of don’t really give it justice. In the mean time I finished up what steps I could. Which really wasn’t much. I got the interior of the skeleton riveted together which was about a grand total of about 15 rivets. I also mounted the skeleton inside the skin so I can really get a look and generate a game plan on how to rivet the skin on. I am not looking forward to that yet.


Prime Time

Today I got my acid etch and prime time. The acid etch is POR-15 Metal Ready, This was recommended from my paint supplier. I’ve never heard of it before but I’ll give it shot. I elected to use SEM EZCoat for my primer. I am skipping the alodine step. It seems to be either too expensive to get here, or too much of a hassle. I also picked up some underbed totes from Walmart for dipping tanks. Turns out one is cracked and I noticed it after I dumped the POR15MR in to it. After some creativity I managed to salvaged about 95% of it. I didn’t take any pictures of the process, but I did take pictures of the final layouts. I’ll let these sit for a day to firm up the primer and then begin riveting


First mistake

Today I received my DRDT-2 Dimpler. This thing is pretty bad ass. For those who don’t know, the sole purpose of this machine is to place little dimples in the aluminum so the rivets will sit flush. It does seem there is a divide in who likes it and who doesn’t. Personally I have ZERO desire to whack a hammer 3,283,394 times to get the perfect dimple. It’s getting covered in paint and I doubt there is enough of difference to justify it. The number one downside is its pretty easy to get on a roll while dimpling, more on that later.


After I got the table built, I began to start dimpling away at the Vertical Stabilizer skin. As fate would have it, With only 6 holes left to dimple, I dimple  a hole that should not be dimpled. While this on its own right was not the end of the world. I made it worse. I knew I wanted to use my steel back rivet plate so I had a hard smooth surface. But in a stroke of genius, I decided to use a bucking bar on top of the dimple with my rivet gun. This put a slight crease in the skin about 2″ long. I’m still on the fence if I should replace this.


I also picked up some SEM EZ Coat primer for long term protection. I had to order some Acid Etch and that will be in on Tuesday. But I gave a test run of 2 coats on some scrap and it looks pretty good. I’m not sure if I’m sold on the color yet though.


Match Drilling Time

Today started off with removing half of the clecos I had holding the skin on. After what seemed liked forever, I got to start drilling. Once done with that, move the clecos over 1 hole, drill again. Jason one of my employees told me, this plane doesn’t ever get finished, you just keep moving clecos. It sure feels like that. Once I got done match drilling, Jason & I marked off each hole that is not to be dimpled. Next after disassembling the entire I structured, I began the process of scotchbriting everything. Once done with that, I used my new Cleveland Aircraft Tools Sub-Structure dies and dimpled the substructure as required. Are these necessary, I don’t know, but they worked just fine. I also noticed that on the skin I have a slight bulge where the middle rib was. It doesn’t appear to be too bad.


Vertical Stabilizer continued

Today I continued with the skeleton of the vertical stabilizer. After deburring the edges I removed all the blue plastic. There is a lot of it and it sucks. Putting together the structure was pretty easy. It was followed up by match drilling all the holes that were currently clecoed  together. 

After building the skeleton we had to take a bunch of clecos out to fit the skin. This was a great step in the process as it really felt like I was building an airplane and not playing with metal. The hardest part here was lining up the center rib. It just felt like it wanted to fight me the entire time. I am glad I had my dad there to help out on this one.

Tomorrow I will have the joy of removing a bunch of clecos and match drilling the skin

Section 6: Vertical Stabilizer

It dawned on me today that the only reason I haven’t started my kit was because I didn’t have my dimpler. I didn’t want to start without finishing my practice kit, but the only thing I really want to practice on is riveting. So today I started doing all the machine work for the vertical stabilizer. I did a real poor job of taking pictures on this. The first task is to cut the spar caps. Not really much here, just cut a section out of the long side. Next after clamping both spar caps inside the rear spar was to match drill the holes from the rear spar into the spar caps. Next was the addition of the rear spar doubler and the hinge brackets. This required taking all the clecos off, placing the required pieces, and putting all the clecos back on. After all the holes were match drilled, I had to take the rear spar doubler off again for counter sinking. Thinking back on this, I could of probably got away with it still cleco’d to the rest of the parts. This is probably the most interesting part of the day. I had never used a microstop counter sink tool before, so I had to make sure it was set properly. My first counter sink is a little deep, but I’m not worried about it. After using this, I wish I had it back when I was a machinist.


David's RV-10 Build © 2015