David's RV-10 Build

Just another RV-10 builders log

Category: 07) Rudder

Rudder Complete!

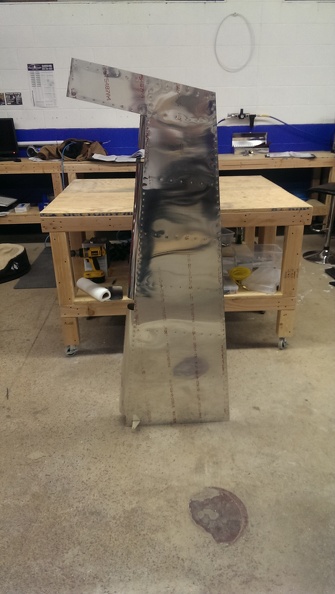
After letting the rudder sit for the last week, I started to complete the rudder. I first started by running a test piece on on the practice kit. After feeling pretty good about the results I popped out all the clecos and installed all the rivets and held them on with some rivet tape.

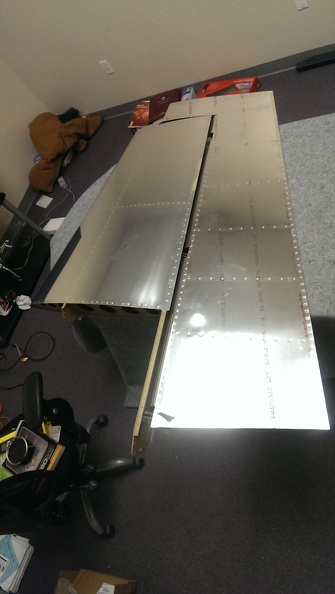
Next I started working on the counterweights. I did mess up here by putting the crease in without the weight (doh). I do believe I did a good job fixing the crease. Getting the counter weight on was relatively easy. Next I backed up a few steps and rolled the leading edge of the rudder. This was a gigantic pain in the ass. To be honest its the only section that I think looks terrible. But luckily its hidden by the Vertical Stabilizer. After that I pulled off the blue plastic and pretty much called it a night

Proseal The Trailing Edge

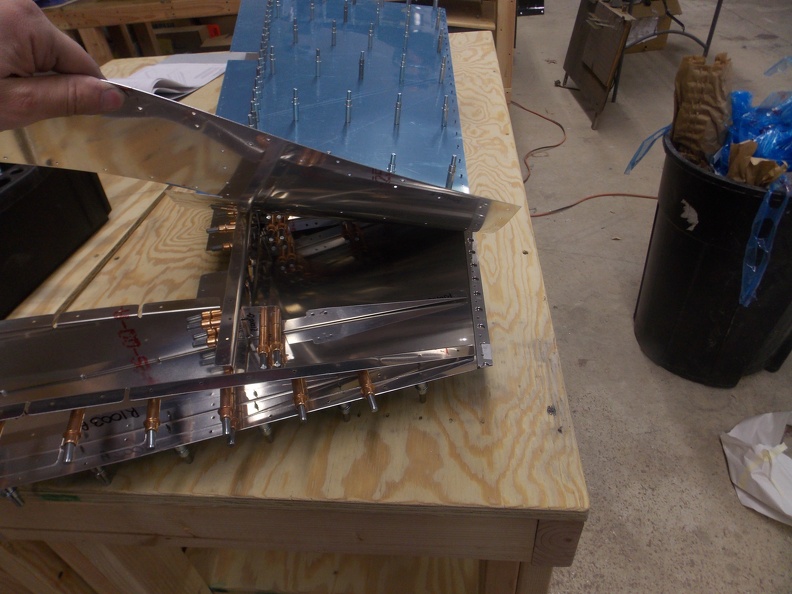
Today I began a step that I wasn’t quite interested in doing. Vans has you use an epoxy to secure the trailing edge. This is because during the riveting process you really can’t have any clecos. As I’ve read in the past this is some nasty stuff. After I bought the mini-tube, I discovered that I will be using it again, So in attempt to save the rest. I bought a mixing cup and used about half of it. Next  I verified alignment of the trailing edge and began applying a thin layer of proseal on it. Once I had proseal everywhere (literally everywhere, its so easy to make a mess with this stuff). I laid the second skin on top of it and began clecoing it. I went ahead of the plans here and installed the skeleton next. After installing the skeleton I left it to dry for a few days


Rudder Skins

Today I riveted the stiffeners to the skins. This was a relatively easy task to do. The R1003 ribs were pretty easy as well. The R1004 ribs is where it got a bit tricky. I was able to squeeze all but the last 2 rivets near the trailing edge. I ended up bucking the 2nd to last. After trying several various methods (including indirect back riveting) I elected to use a pop rivet that is called out for the other side. At least they will match now.  I also installed the shear plates (which I forgot to take pictures of). I decided to stop here as the plans call for the use of proseal and I didn’t have the time to commit to the next few steps.


Dimpling & Priming

Today I began the fun process of dimpling and priming. There must be more holes in the rudder skins than the entire vertical stabilizer combined. I’m sure ill say that about something else later. The cleaning process was the same, soap, rinse, acid, rinse. I let the acid sit for 35 minutes. Once I was able to make sure the parts were all dry I grabbed a can of SEM EZCoat. This stuff is the bee’s knees (yeah I went there). I swear it dries the second it is applied to the part. I still give it about a half hour to dry prior to flipping it over and doing the backsides. I fully intended to stop here, but I couldn’t I stop. I decided to rivet a few small pieces. So now I’ve riveted the R1004s to the rudder horn, the spar stiffners, as well as the nut plates. I stopped there as I wanted to make sure the skins dried over night as they were the last pieces I primed.

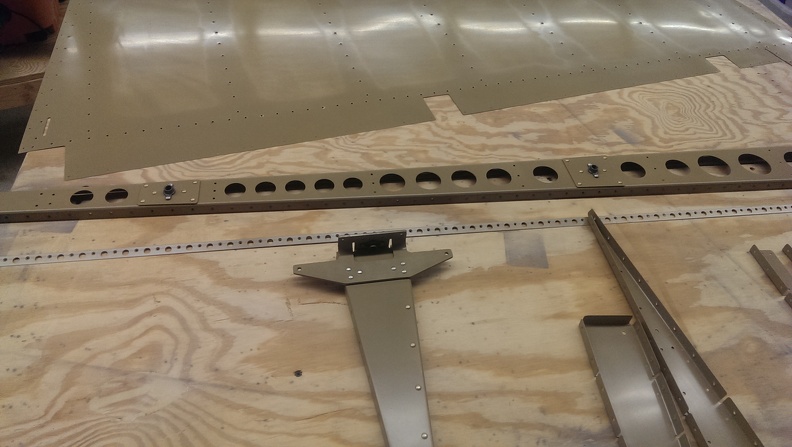
Dimpled, Ready to prime

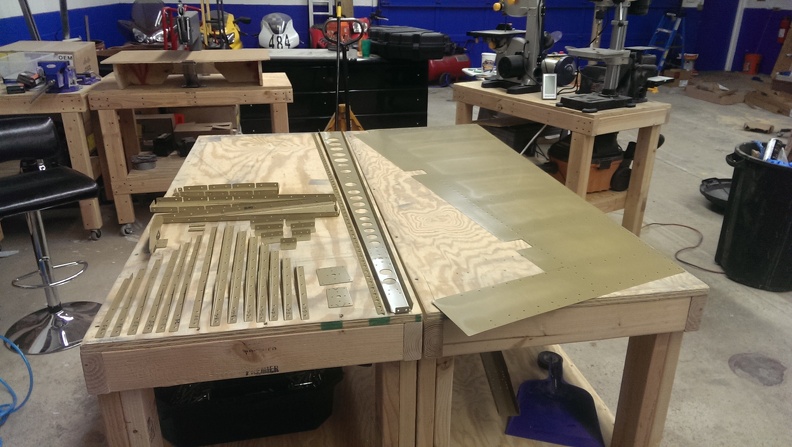
Parts primed

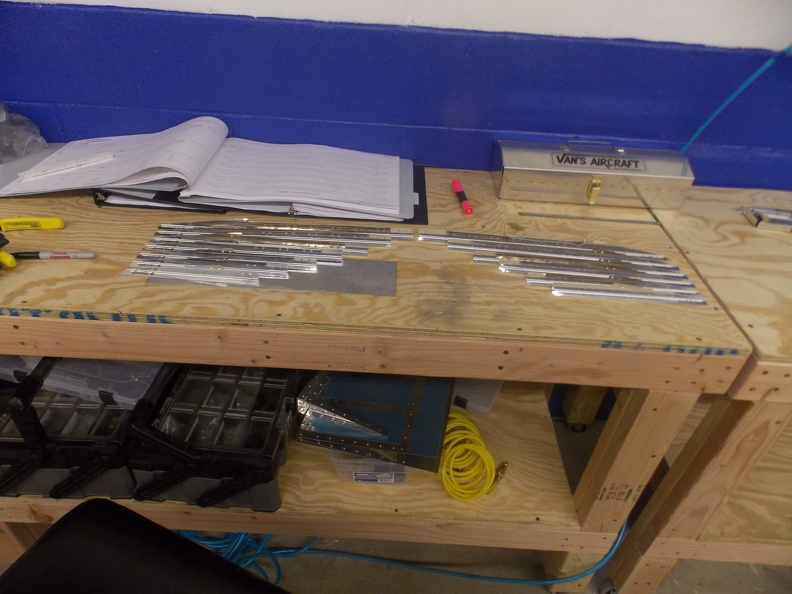
Riveted parts

More match drilling

Today I received my stiffner I ordered from Vans. They were nice enough to cut it in half so it would save on shipping. Not too much to talk about today. Just finished making the stiffner, match drilling and taking everything apart.


Rudder Start

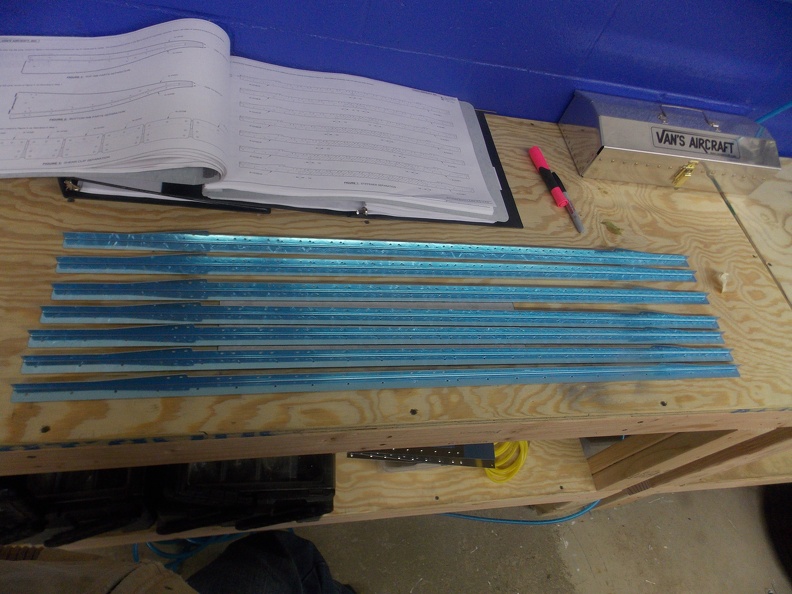
Today I started the rudder construction. After gathering every piece for this section, I began by separating the R1003 & R1004 Ribs, & the R1010 Shear Clips. After smoothing all the edges I began on the R1015 Stiffners. Now whenever I have to cut something, I follow the age old adage “Measure Twice, Cut Once”. However, this rule doesn’t work as its intended, when you measure from the wrong spot. I ended up cutting the R1015G-R Stiffner too short by about 2 inches. I’ll end up getting a new one ordered tomorrow.
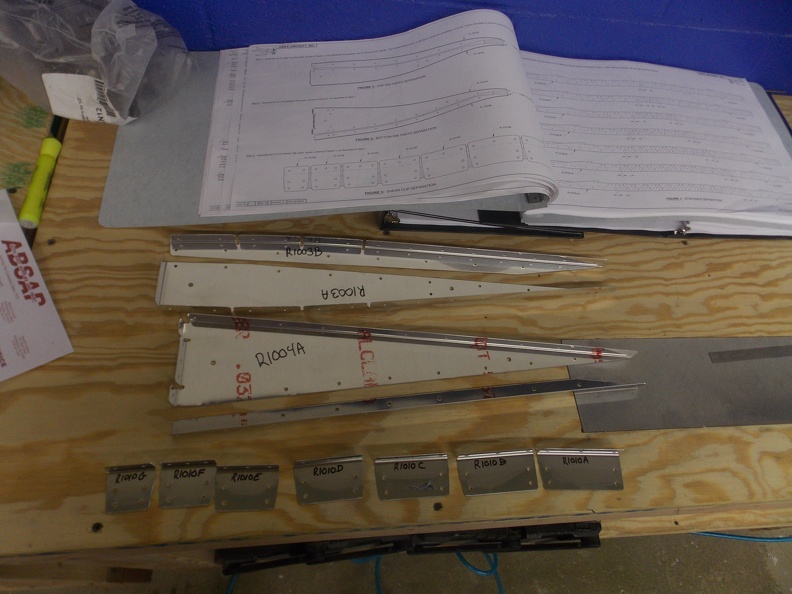


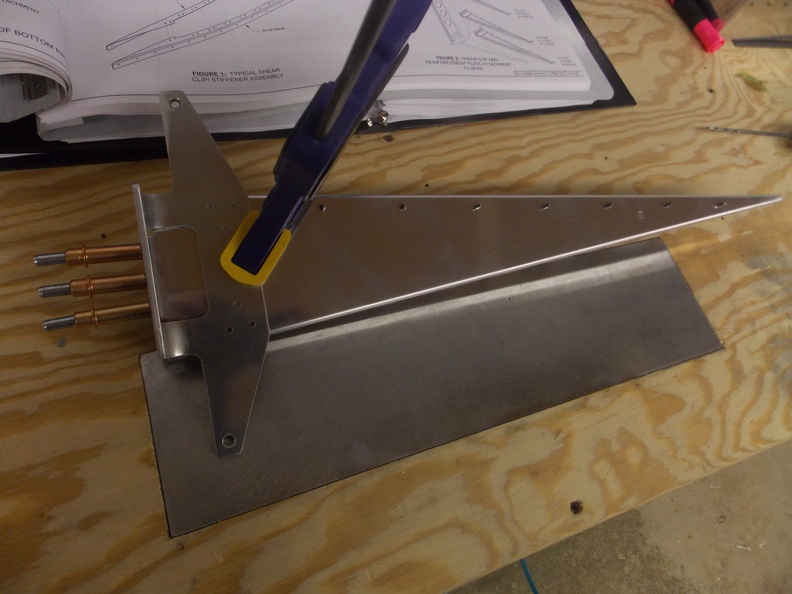
Next I began cleco’ing the R1004A&B ribs together and match drilling them. This was followed by attaching it to the R1005 Rudder horn. After adding a additional clamp, I matched drilled the 6 holes in horn. Next I attached this assembly to the R1002 Rudder Spar.
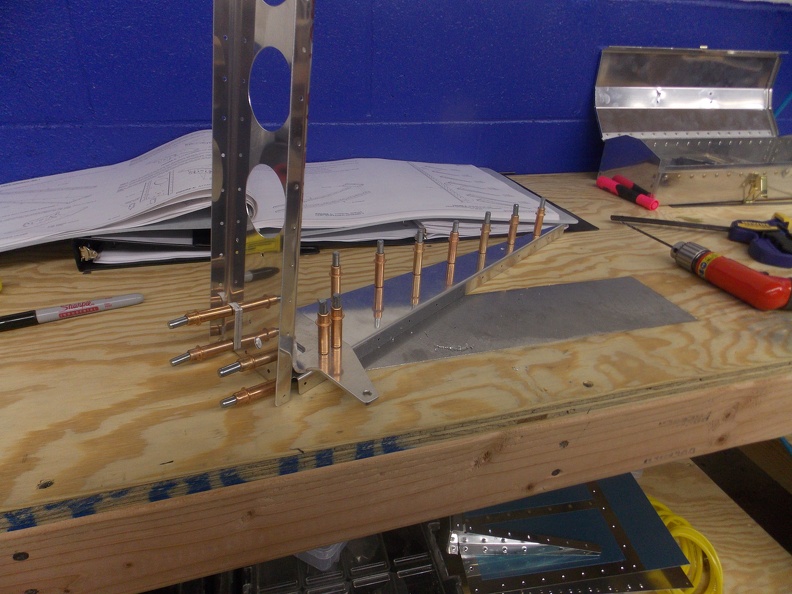


Next I began assembling all of the Stiffner/Shear plates assemblies. Once they were all built (minus the one I messed up) I matched drilled all the common holes. Next the directions have you attached them to the Rudder Spar as well as some re-enforcement plates. This is of course followed by match drilling. I also attached the R1012 Counter balance rib. This whole assembly is huge! It is almost as tall as I am. I forgot to take a picture of it.
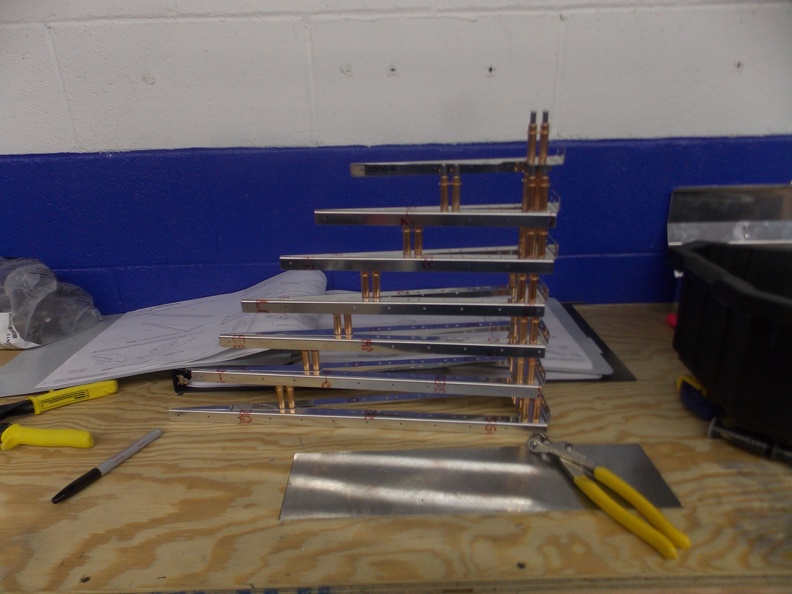
 

Next I took a peice of VA-140 and cleco’d it to a Rudder skin. After marking what stuck out, I cut it off and sanded it down to fit inside the skin. Next I attached the skeleton to the other skin, flipped it over, and attached the skin with the trailing edge on it. Since I still have to finish a part, I left a portion uncleco’d so I could have easy access to the area I need to get into.
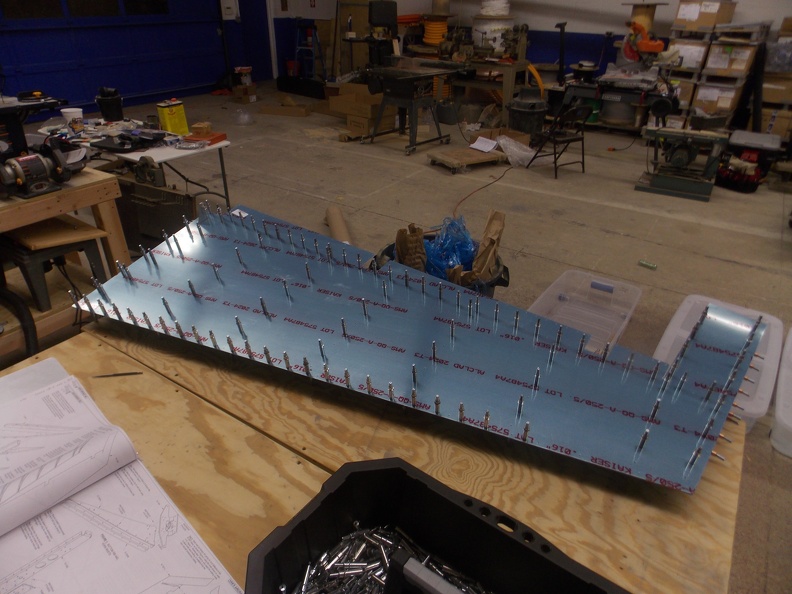
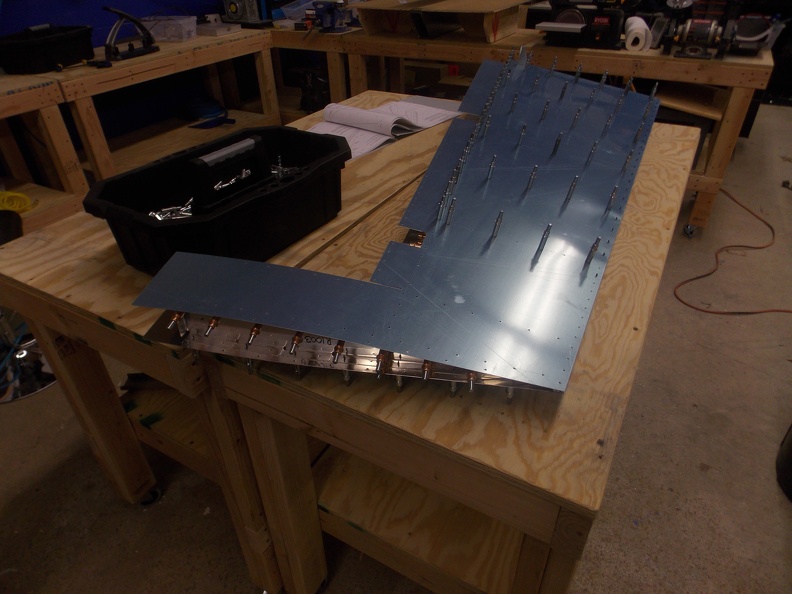


I am pretty much at a stand still till I get the new part in. I really don’t want to start match drilling the skins with out it.

David's RV-10 Build © 2015