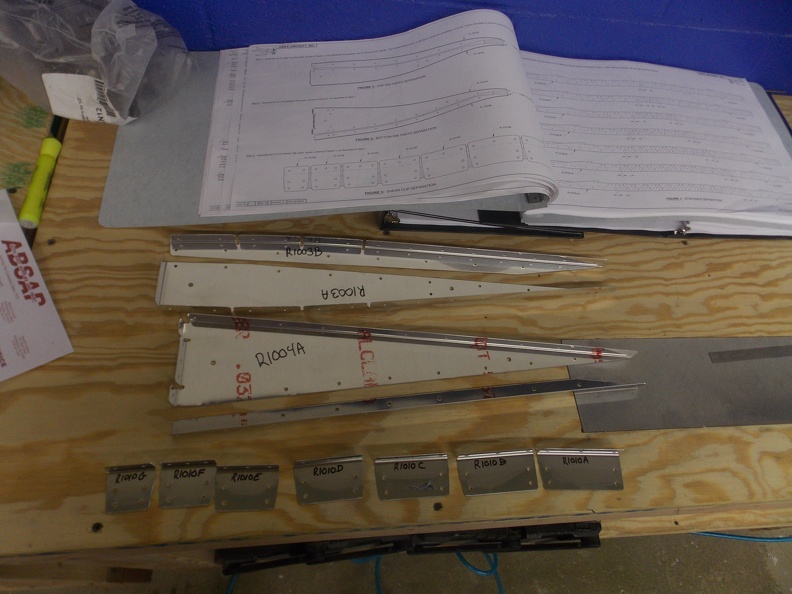
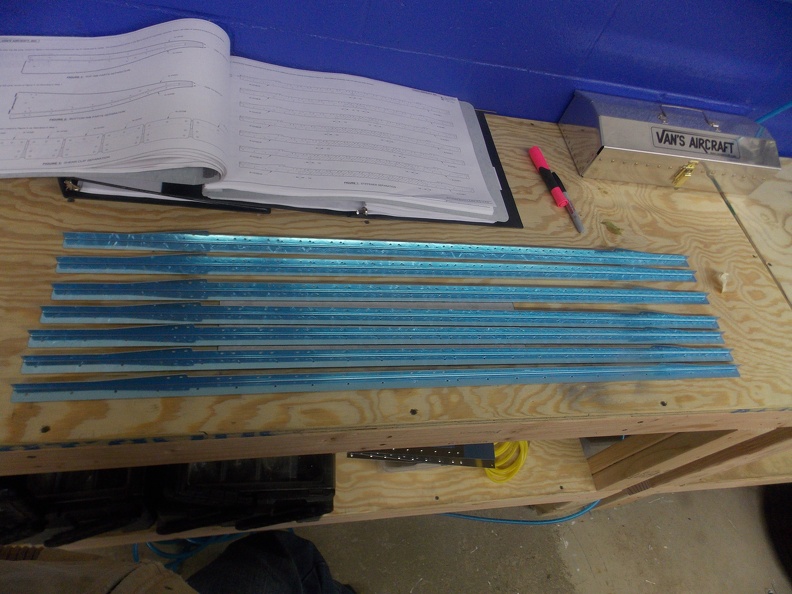
Today I started the rudder construction. After gathering every piece for this section, I began by separating the R1003 & R1004 Ribs, & the R1010 Shear Clips. After smoothing all the edges I began on the R1015 Stiffners. Now whenever I have to cut something, I follow the age old adage “Measure Twice, Cut Once”. However, this rule doesn’t work as its intended, when you measure from the wrong spot. I ended up cutting the R1015G-R Stiffner too short by about 2 inches. I’ll end up getting a new one ordered tomorrow.
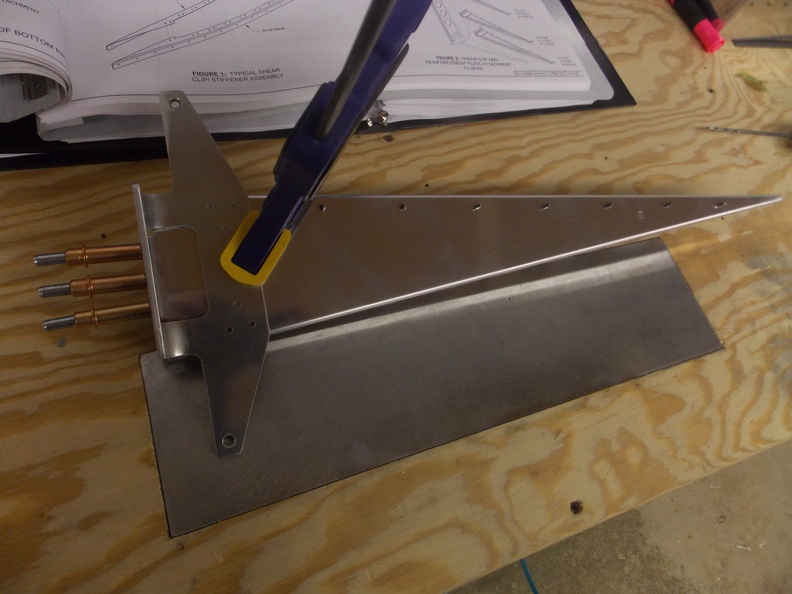
Next I began cleco’ing the R1004A&B ribs together and match drilling them. This was followed by attaching it to the R1005 Rudder horn. After adding a additional clamp, I matched drilled the 6 holes in horn. Next I attached this assembly to the R1002 Rudder Spar.
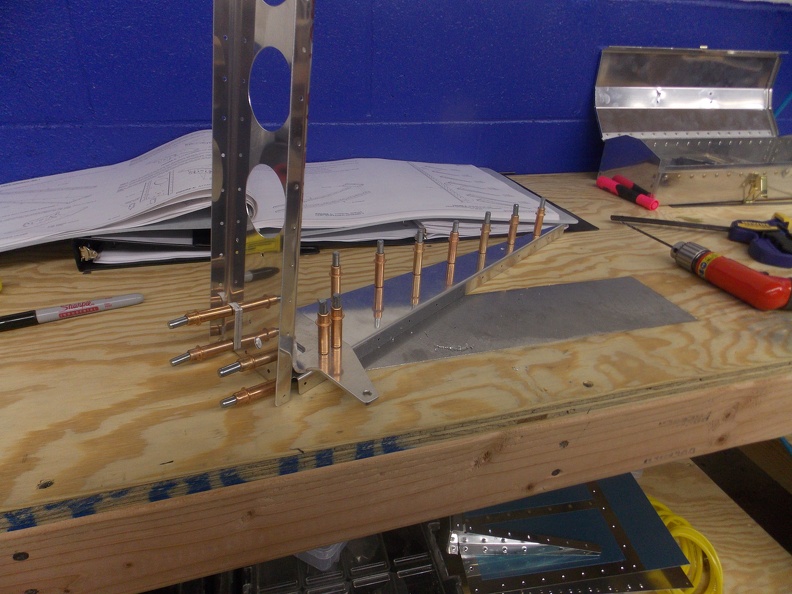
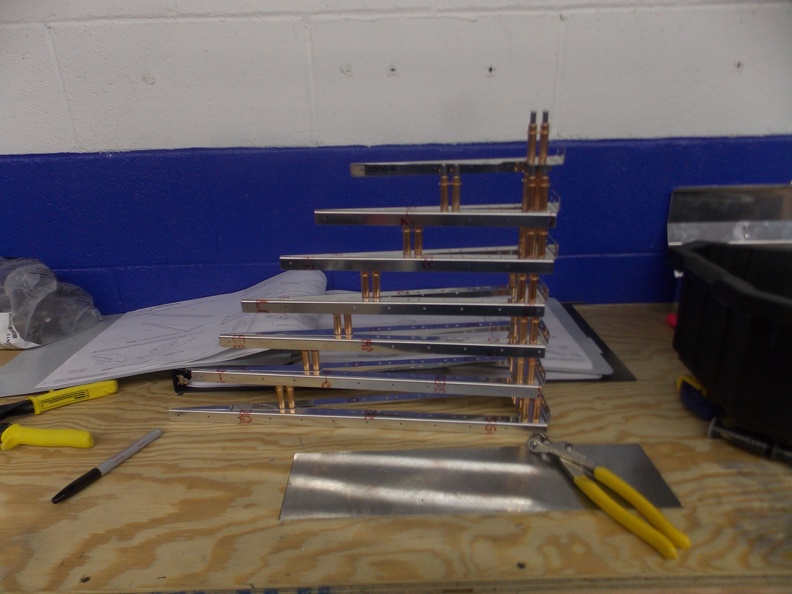
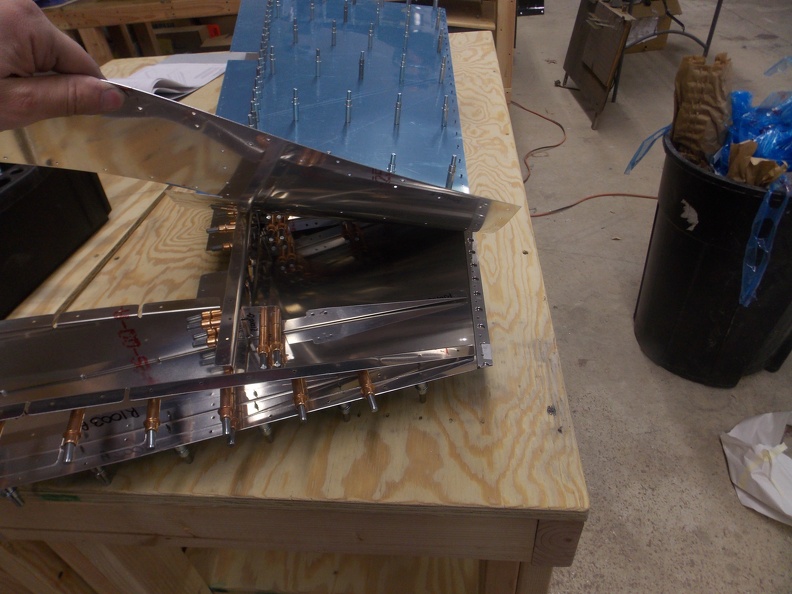
Next I began assembling all of the Stiffner/Shear plates assemblies. Once they were all built (minus the one I messed up) I matched drilled all the common holes. Next the directions have you attached them to the Rudder Spar as well as some re-enforcement plates. This is of course followed by match drilling. I also attached the R1012 Counter balance rib. This whole assembly is huge! It is almost as tall as I am. I forgot to take a picture of it.
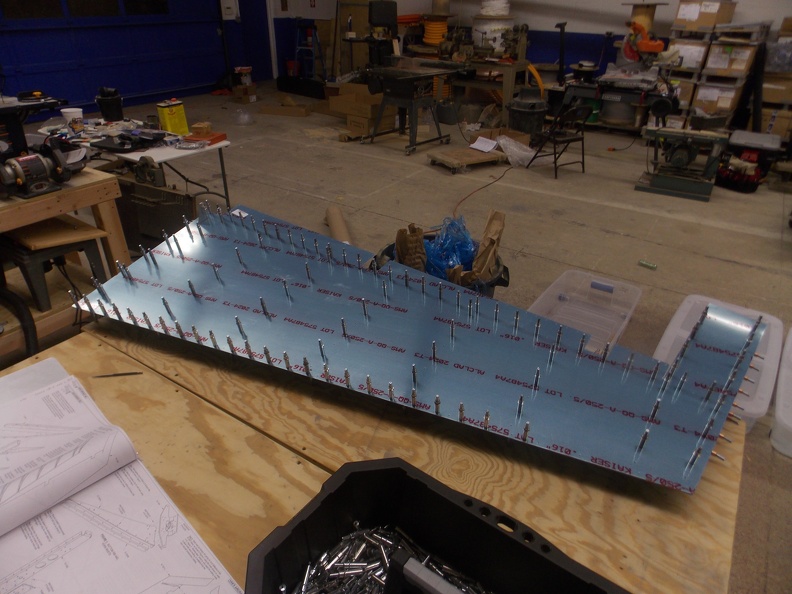
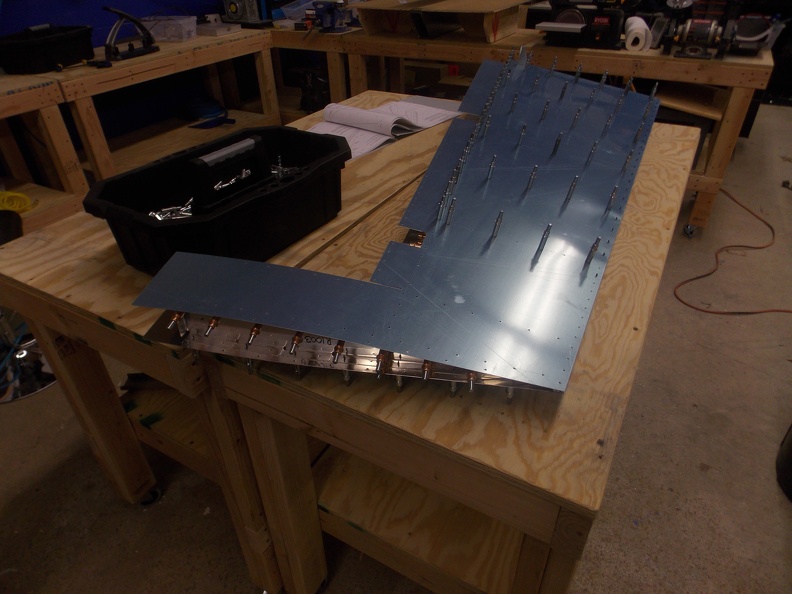
Next I took a peice of VA-140 and cleco’d it to a Rudder skin. After marking what stuck out, I cut it off and sanded it down to fit inside the skin. Next I attached the skeleton to the other skin, flipped it over, and attached the skin with the trailing edge on it. Since I still have to finish a part, I left a portion uncleco’d so I could have easy access to the area I need to get into.
I am pretty much at a stand still till I get the new part in. I really don’t want to start match drilling the skins with out it.