David's RV-10 Build

Just another RV-10 builders log

Month: April 2014

Tailcone riveting pt3

Today I had nothing going on at the shop so I had one of my guys help me finish the bulkheads & bottom skin. Once we got done with that we did the F1037 bellcrank ribs. I did put a nice dent in the bottom skin when the rivet gun slipped from my hand and bounced where it was not requested to bounce. We did get the majority of it out though. You can still tell its there though. I will try working on getting it out a bit more in the future when I have some time.  I swear the worst rivets were the ones in the bends. We struggled with those quite a bit. After riveting the skins to the point where I had no more clecos in. I began working on the F1014 Aft Deck. Eventually I got that all riveted together and put the top skin on and called it a night.

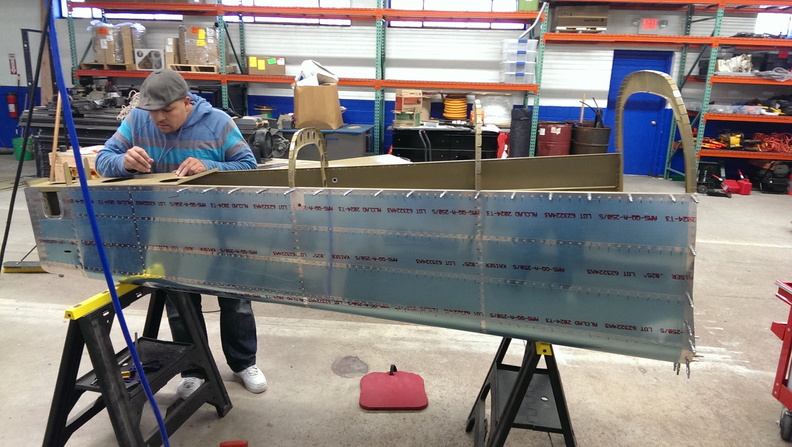
Jason putting rivets in the aft deck

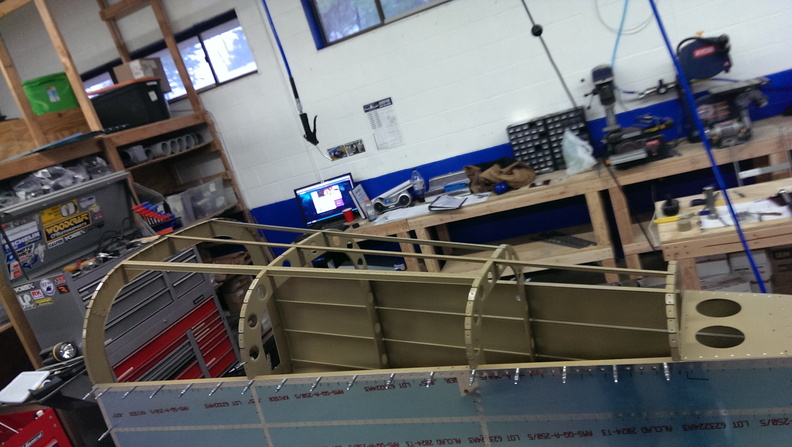
aft deck riveted ready for more rivets for pieces

all done (minus additional nuts & bolts)

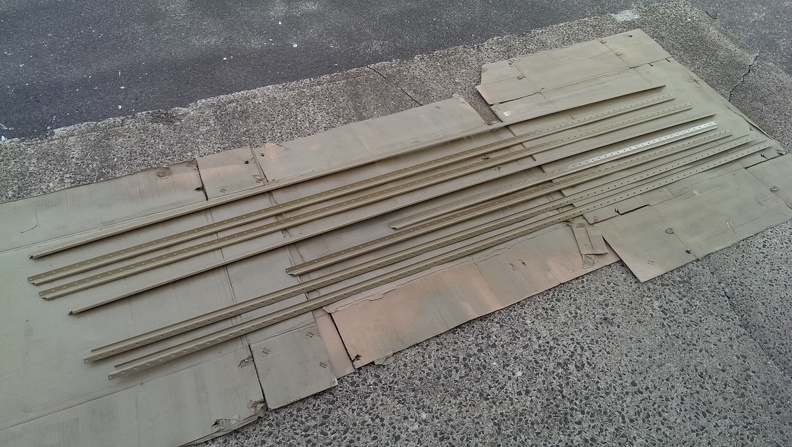
installation of stiffeners

top skin cleco’d on

Finishing right side prep

I started off by finishing off the dimpling I didn’t finish yesterday. After that I busted out the ol unibit and drilled a half inch hole for the Static Port to go. I really like the way it looks sitting in there. Since I am currently short of Proseal, I will have to hold off on epoxying it in for final use for now. I guess I could use JB Weld if I really want to get it done now though.

I marked it with a sharpie so I knew where to tape off for the proseal. Next I marked the strips of blue plastic to come off for riveting. I know I could of just taken it off completely, but I rather not risk putting major scratches in the aluminum while I am flipping it all over the place. Finally I got to wash the skin and prime it. I am so glad I found my mask for when I used to paint my race bikes. This made the priming part so much more bearable.


I made sure the Static port was kept clean by placing some tape and cutting it to shape.


Right around now my friend Chad called me up and asked if I wanted to go hit some golf balls so that ends my night pretty quickly. Tomorrow I plan on attaching the skin and start working on the left side skin.

Tax Day!

To celebrate National Tax Filing Day, I went through the lengthy and fun process of cleaning and priming the lower skin. I also primed the edge of the lower skin that will be overlapped by the side skins.

After the primer dried, I began clecoing the bulkheads to the lower skin. I finished by attaching the side skin stiffeners and the right side longeron.  I called it a day after this

Lower skin

I didn’t do much today but I got some stuff done. I used my orbital sander with 2 scotchbrite pads cut to size to scuff and deburr all the holes. I also marked lined in the blue plastic and scuffed the edges that will be hidden by the left & right skins. After that was done, I dimpled. and dimpled, and dimpled some more. Low behold I have a freshly scuffed ready to primer skin waiting for me.

Getting there

Today I received a letter from Van’s notifying me that my wing kit will ship on the week of June 2nd. This give me about 7-8 weeks to get ready for the wings. I started off by cleaning the stiffeners and longerons that I finished yesterday and finished with priming them. I had to stop for a bit while I sold a motorcycle and went to flying lessons. It was a bit bumpy but I got some landings in New Haven (KHVN) while it was incredibly busy. I thought the poor controller was going to pass out from all the talking he was doing. On the way back I got to do some instrument work for the first time. So far that seems easy.

When I got back i finished cleaning the rest of the stiffeners. While those were drying I prepped the remaining parts I had yet to scuff.


Once I had those parts primed, I started reviewing the drawings and see what I hadn’t done yet. The next thing I decided I was going to work on was the battery & bellcrank mount. This required separating a few pieces from 1 extrusion. There really wasn’t much to do here. I deburred all the edges, drilled holes to the proper size, and countersunk a few rivet holes. After priming I riveted the nut plates on.

ready for priming

all riveted

assembled

Tomorrow if I’m motivated, I will start working on the skins if I can’t find anything else to avoid working on them.

David's RV-10 Build © 2015