David's RV-10 Build

Just another RV-10 builders log

Month: May 2014

Putting things together!

Poor logging this week, but Ill get over it. Last week I ordered a bunch of spare rivets, some NACA ducts, flanges and hoses for the cabin air that will be installed later. Turns out I ordered the wrong flanges but its not the end of the world. First thing I did was install the ball joints into the elevators. The plans call for a 7/8″ gap from the center of the hole to the front spar of the elevator. This was pretty easy.

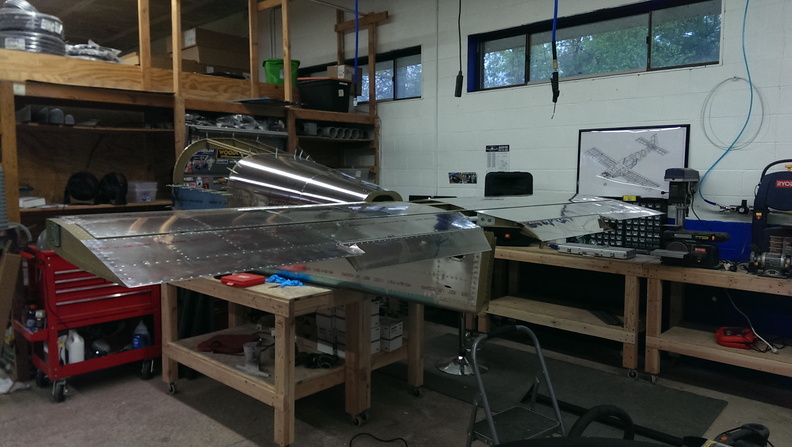
next I mounted the horizontal stabilizer to one of the many workbenches I had with 4 Sheetrock screws. Next I mounted one of the elevators to the horizontal stabilizer and made sure I had the clearances needed. then I had to file down a bushing so it would fit in the bearing to drill the final pivot point. after a quick trip to a local tooling shop, I was able to drill the hole in the control horns. Rinse wash repeat for the other side.

after mounting both elevators back on I marked and drilled the control horns for the push rod. the plans next call for the elevators to be removed. but I was in no mood to do that considering how much of a PITA it was to get the nuts tightened on there.

I believe next I match drilled the Vertical Stabilizer attach bracket and made the spacers for the horizontal stabilizer.

spacers made from the plans (photocopied 4 times) for templates

parts primed

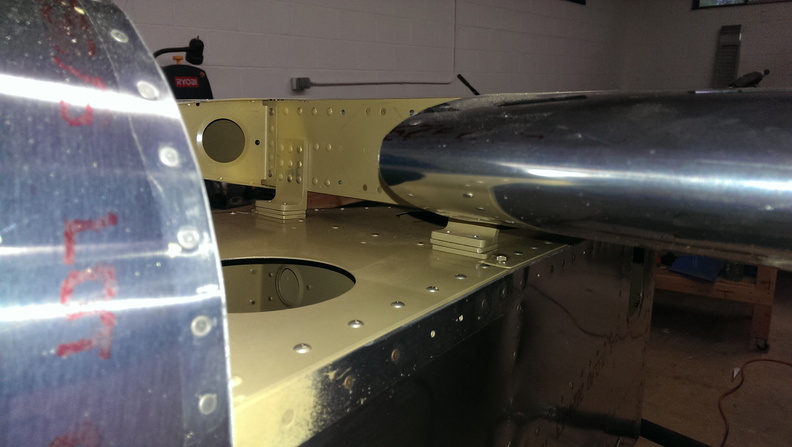
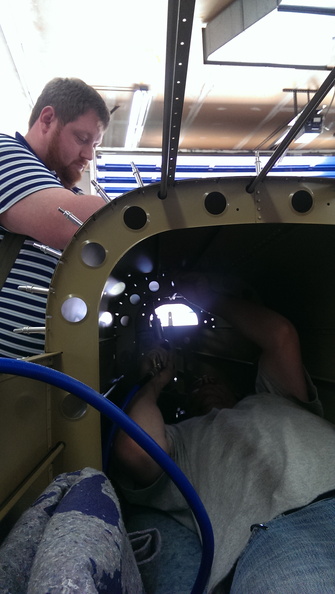
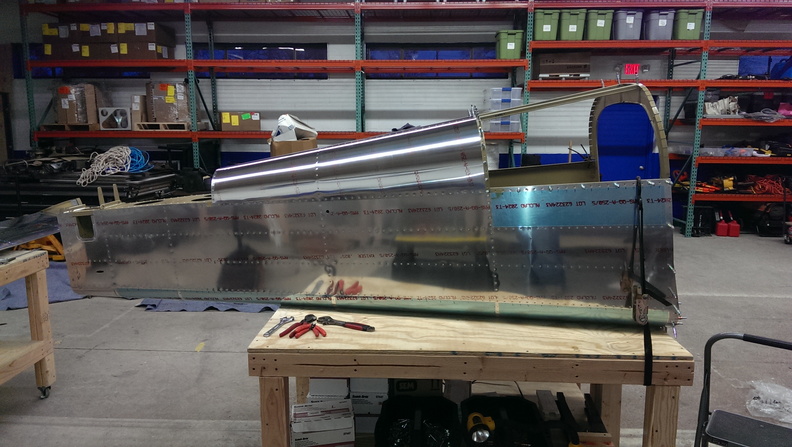
Once these parts dried, I taped the spacers onto the bottom of the HS attach brackets. Next i mounted the HS Assembly onto the tailcone. I finished the day off by match drilling the 4 attach points towards the rear. I installed the nuts & bolts as called out in the plans as I drilled each hole.

Tailcone Complete!

Today Corey & I wrapping up the tail cone rivets. I luckily happened to have a bunch of old moving blankets that we acquired for some reason. This made great padding for working inside the tail cone. Once we generated a game plan, I crawled into the tail cone and began back riveting the rivets. After a while it became lunch time and we had ourselves a healthy meal of KFC and played some Diablo 3. (As you can tell we had a very busy day at the office). After defeating Diablo we went into the back and Jason helped finished riveting while Corey & my Dad gave me the infinite wisdom on whatever came across their minds. I don’t know what they said 99% of the time as I had my ear muffs on.

Corey & I riveting

Tailcone skins completed!

Since I could & have been waiting for this day. Jason & I temporarily attached both the Horizontal & Vertical Stabilizers.

The excitement quickly died down as I decided to take off these pieces so I could finish the rest of the tail cone section without worrying about cleco failure.

Next I began by assembling the bellcrank assembly and installed it into the tailcone. Afterwards I installed the rear seat belt attachment points.

After this little bit of excitement I stripped the majority of the blue plastic off of the tailcone.

Then I cleaned off a workbench and proceeded to mount the horizontal stabilizer to it. I held it down using 4 1 5/8″ drywall screws that I had left over from building the tables. I did a pretty poor job of pictures from here (just 1). But it involved installing Rod End Bearings into both elevators. I got a little bit ahead of myself and mounted both elevators to the horizontal stabilizer. The next time I get to work on this I will remove one of the elevators and follow it step by step again. 

David's RV-10 Build © 2015