David's RV-10 Build

Just another RV-10 builders log

Category: Wings

More Aileron Work

Today I started off by scruffing, cleaning, and priming the parts I left off with yesterday. I apparently forgot to take some pictures but not big deal. While those parts were drying, I started the leading edge portion of the ailerons. This was pretty simple, just alot of cleco work. Taking apart and reassembling several times over. I finished up for the night with the drilling of the #30 holes on the leading edge.


Bottom Wing Skins 3 / Ailerons Start

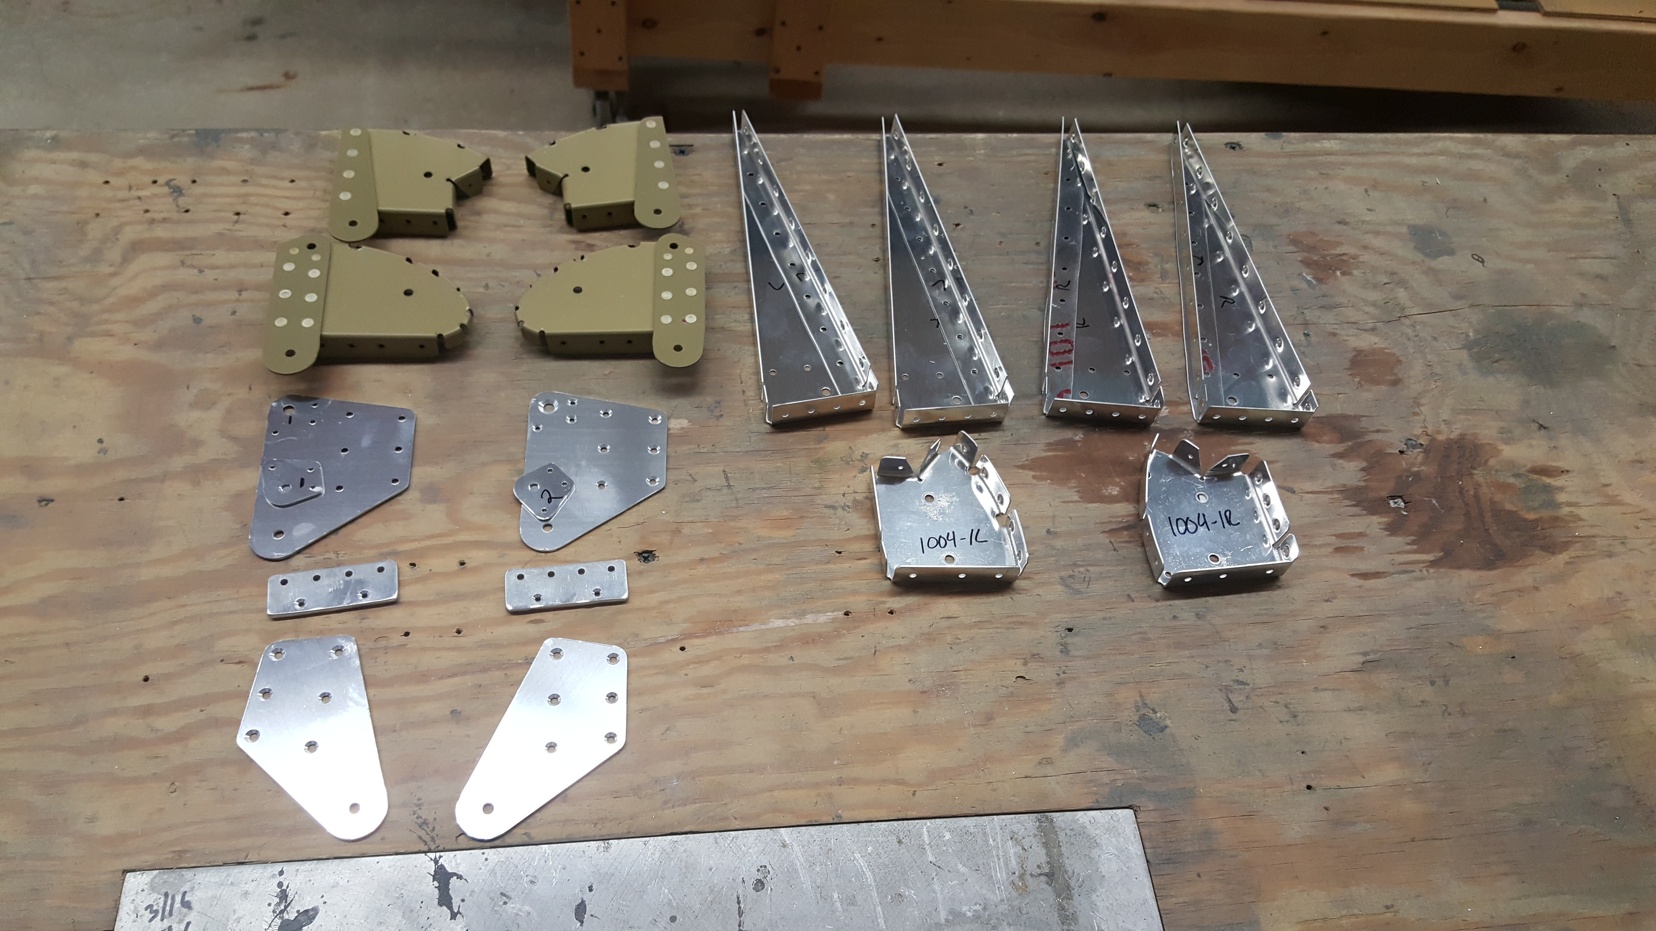
Today I came in finished priming the bottom wing skin parts that I had yet to finish. Didn’t have to spend much time here.

Next I decided to go ahead and start working on the ailerons since I have YET to finish the fuel tanks. Might as well keep chugging and keep the motivation train going. I probably spent a good hour here, just looking for parts that were 3 feet away from me. On top of my instruction book. It is amazing how easily things disappear when you look everywhere else. This first page went really quick, I was able to cut, debur, drill, counter sink, sand, & prime pretty quickly.

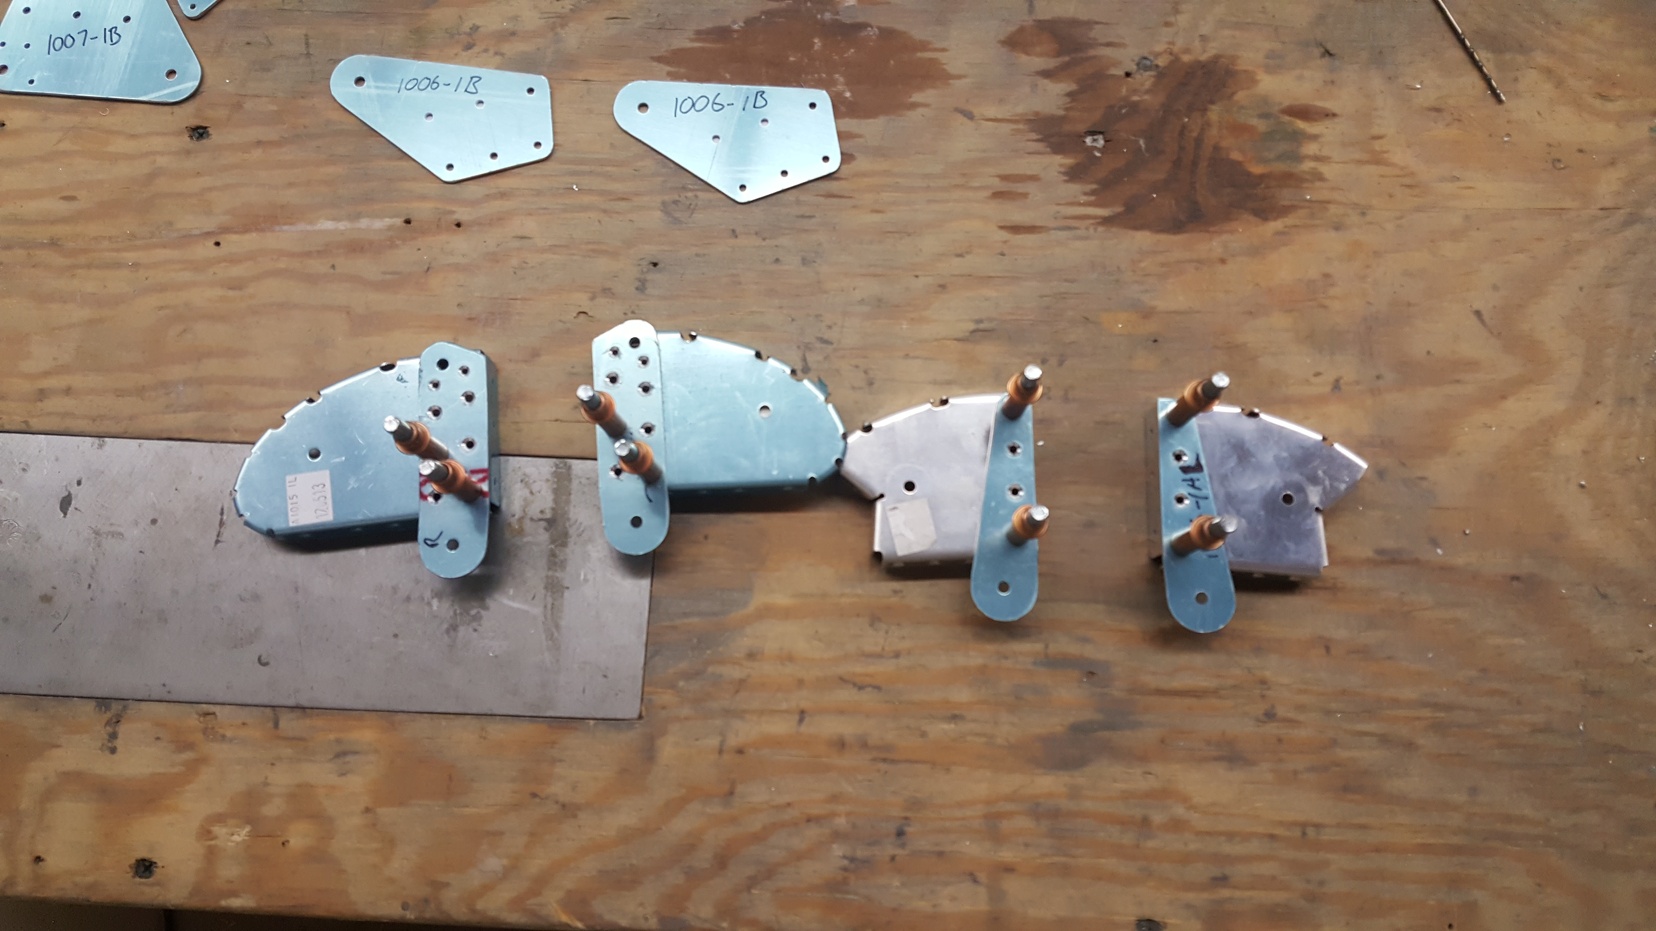
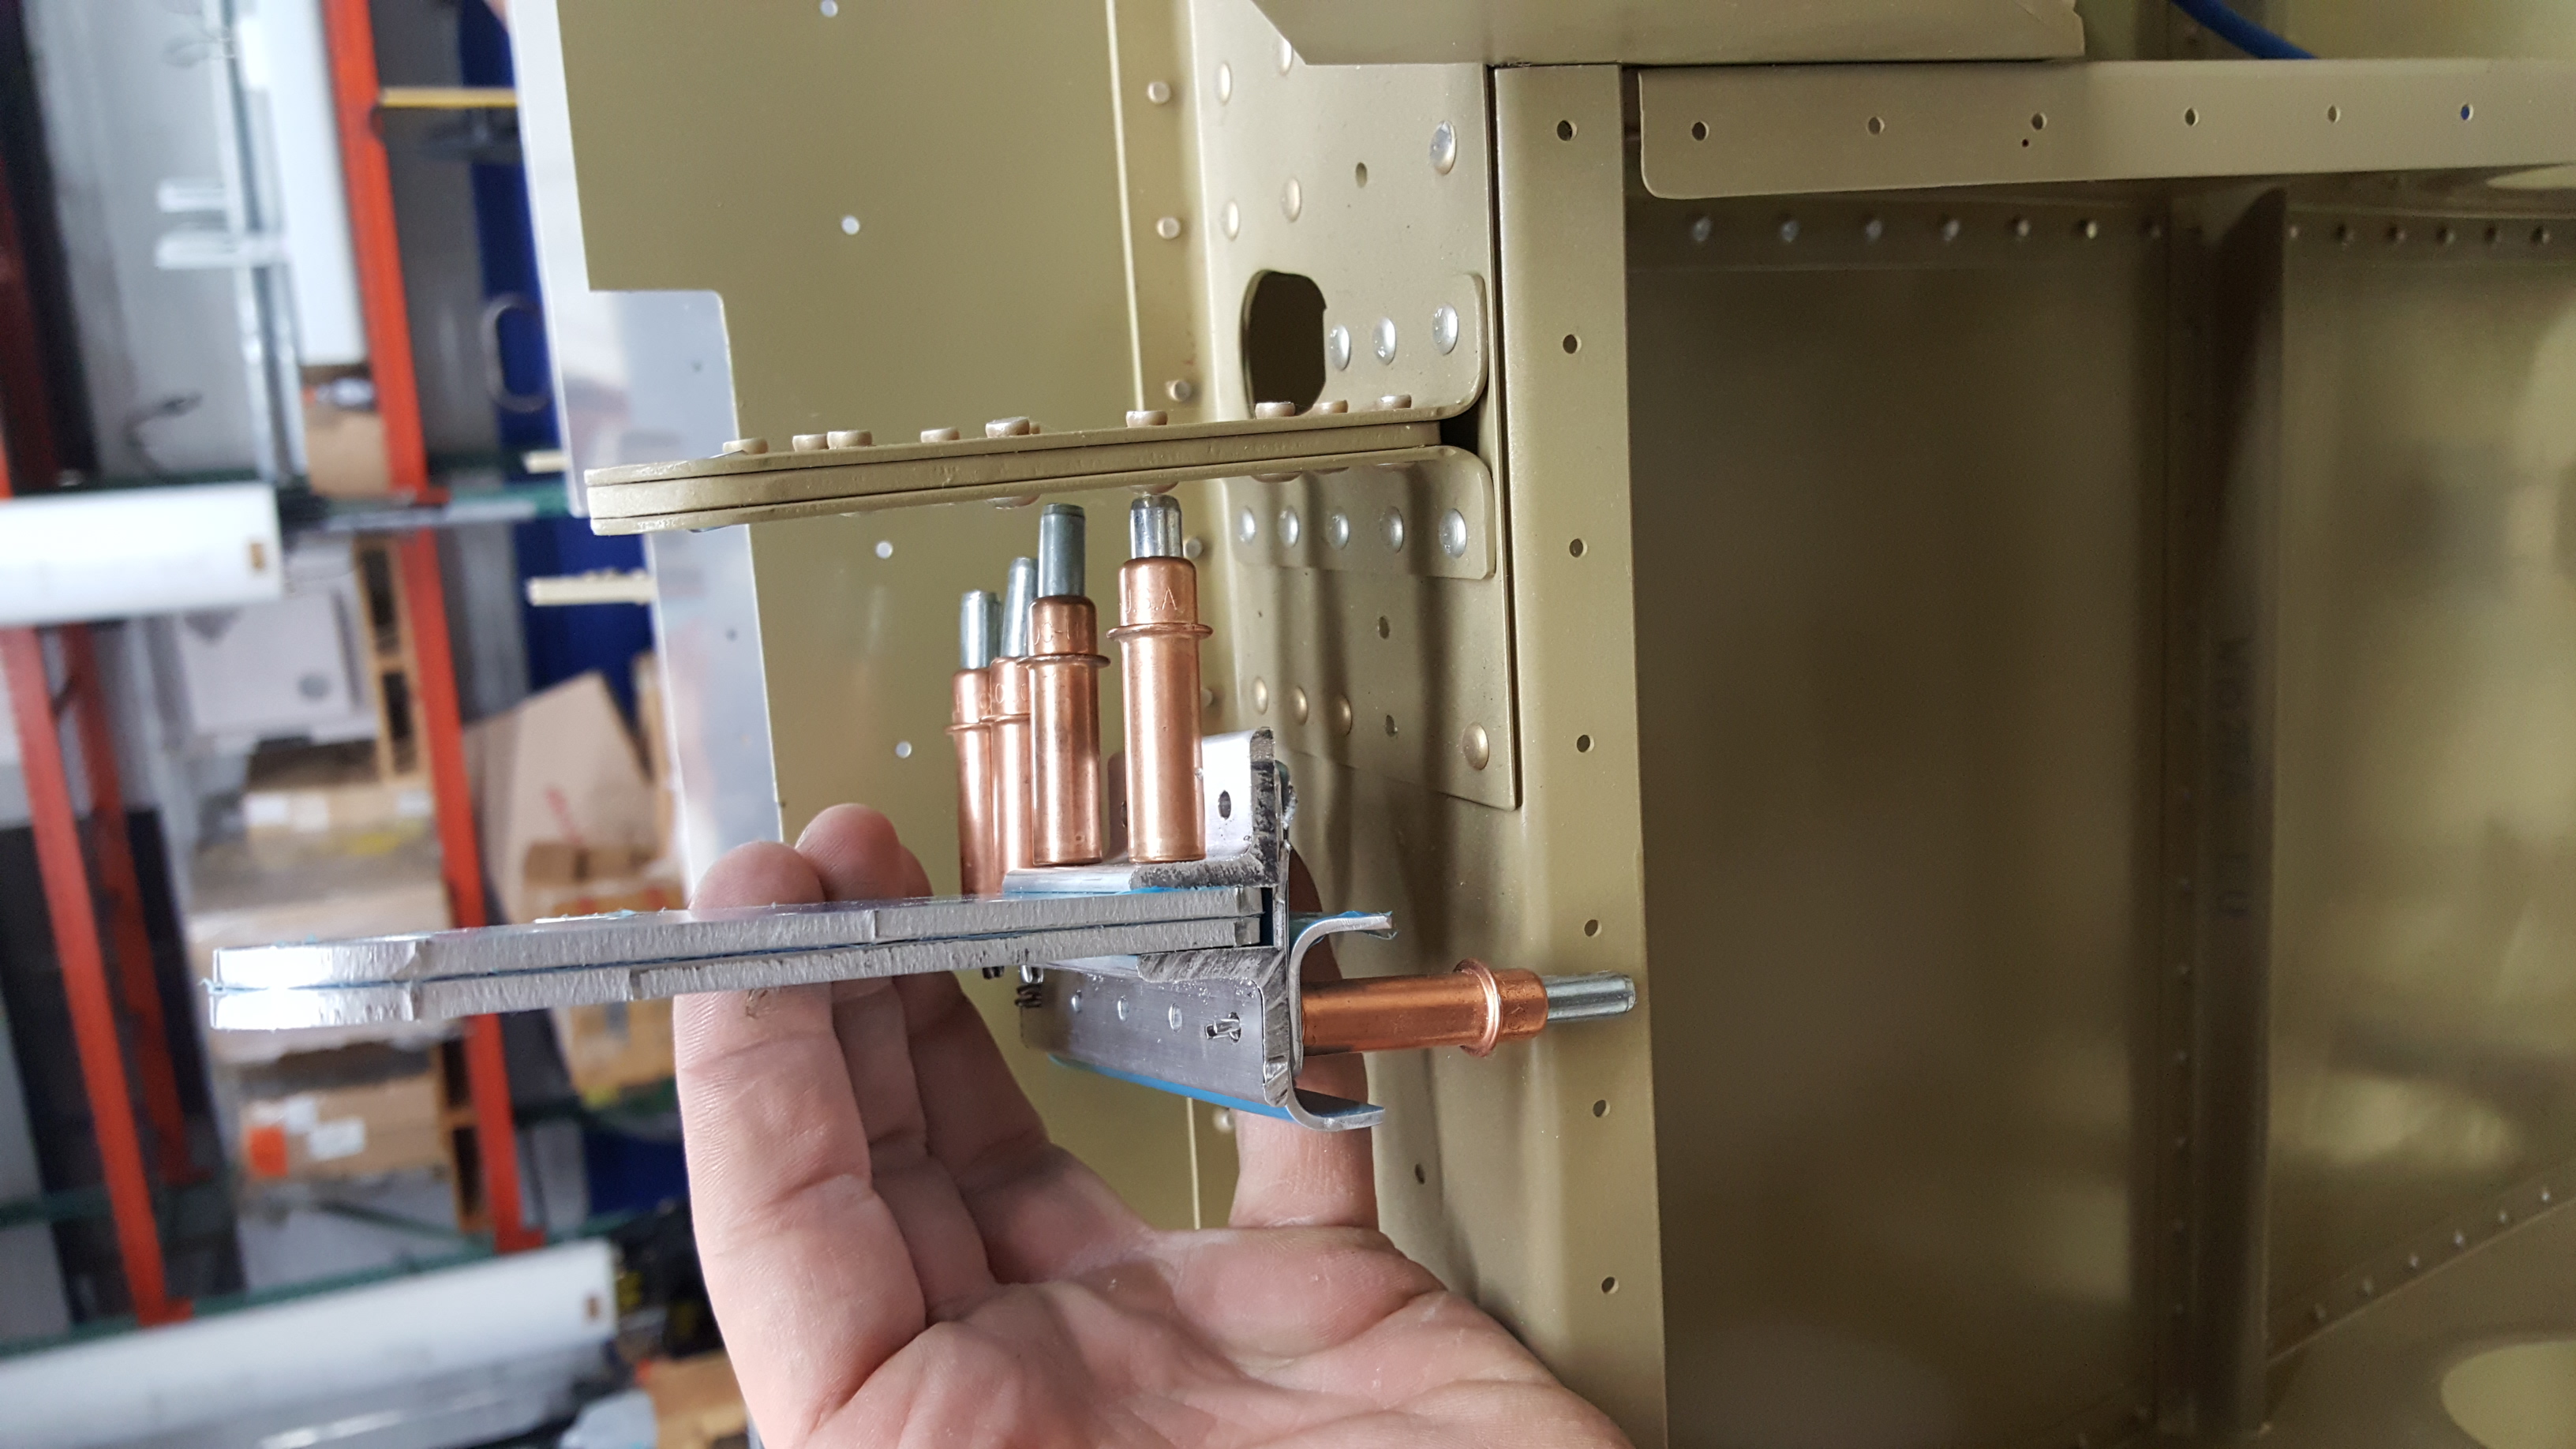
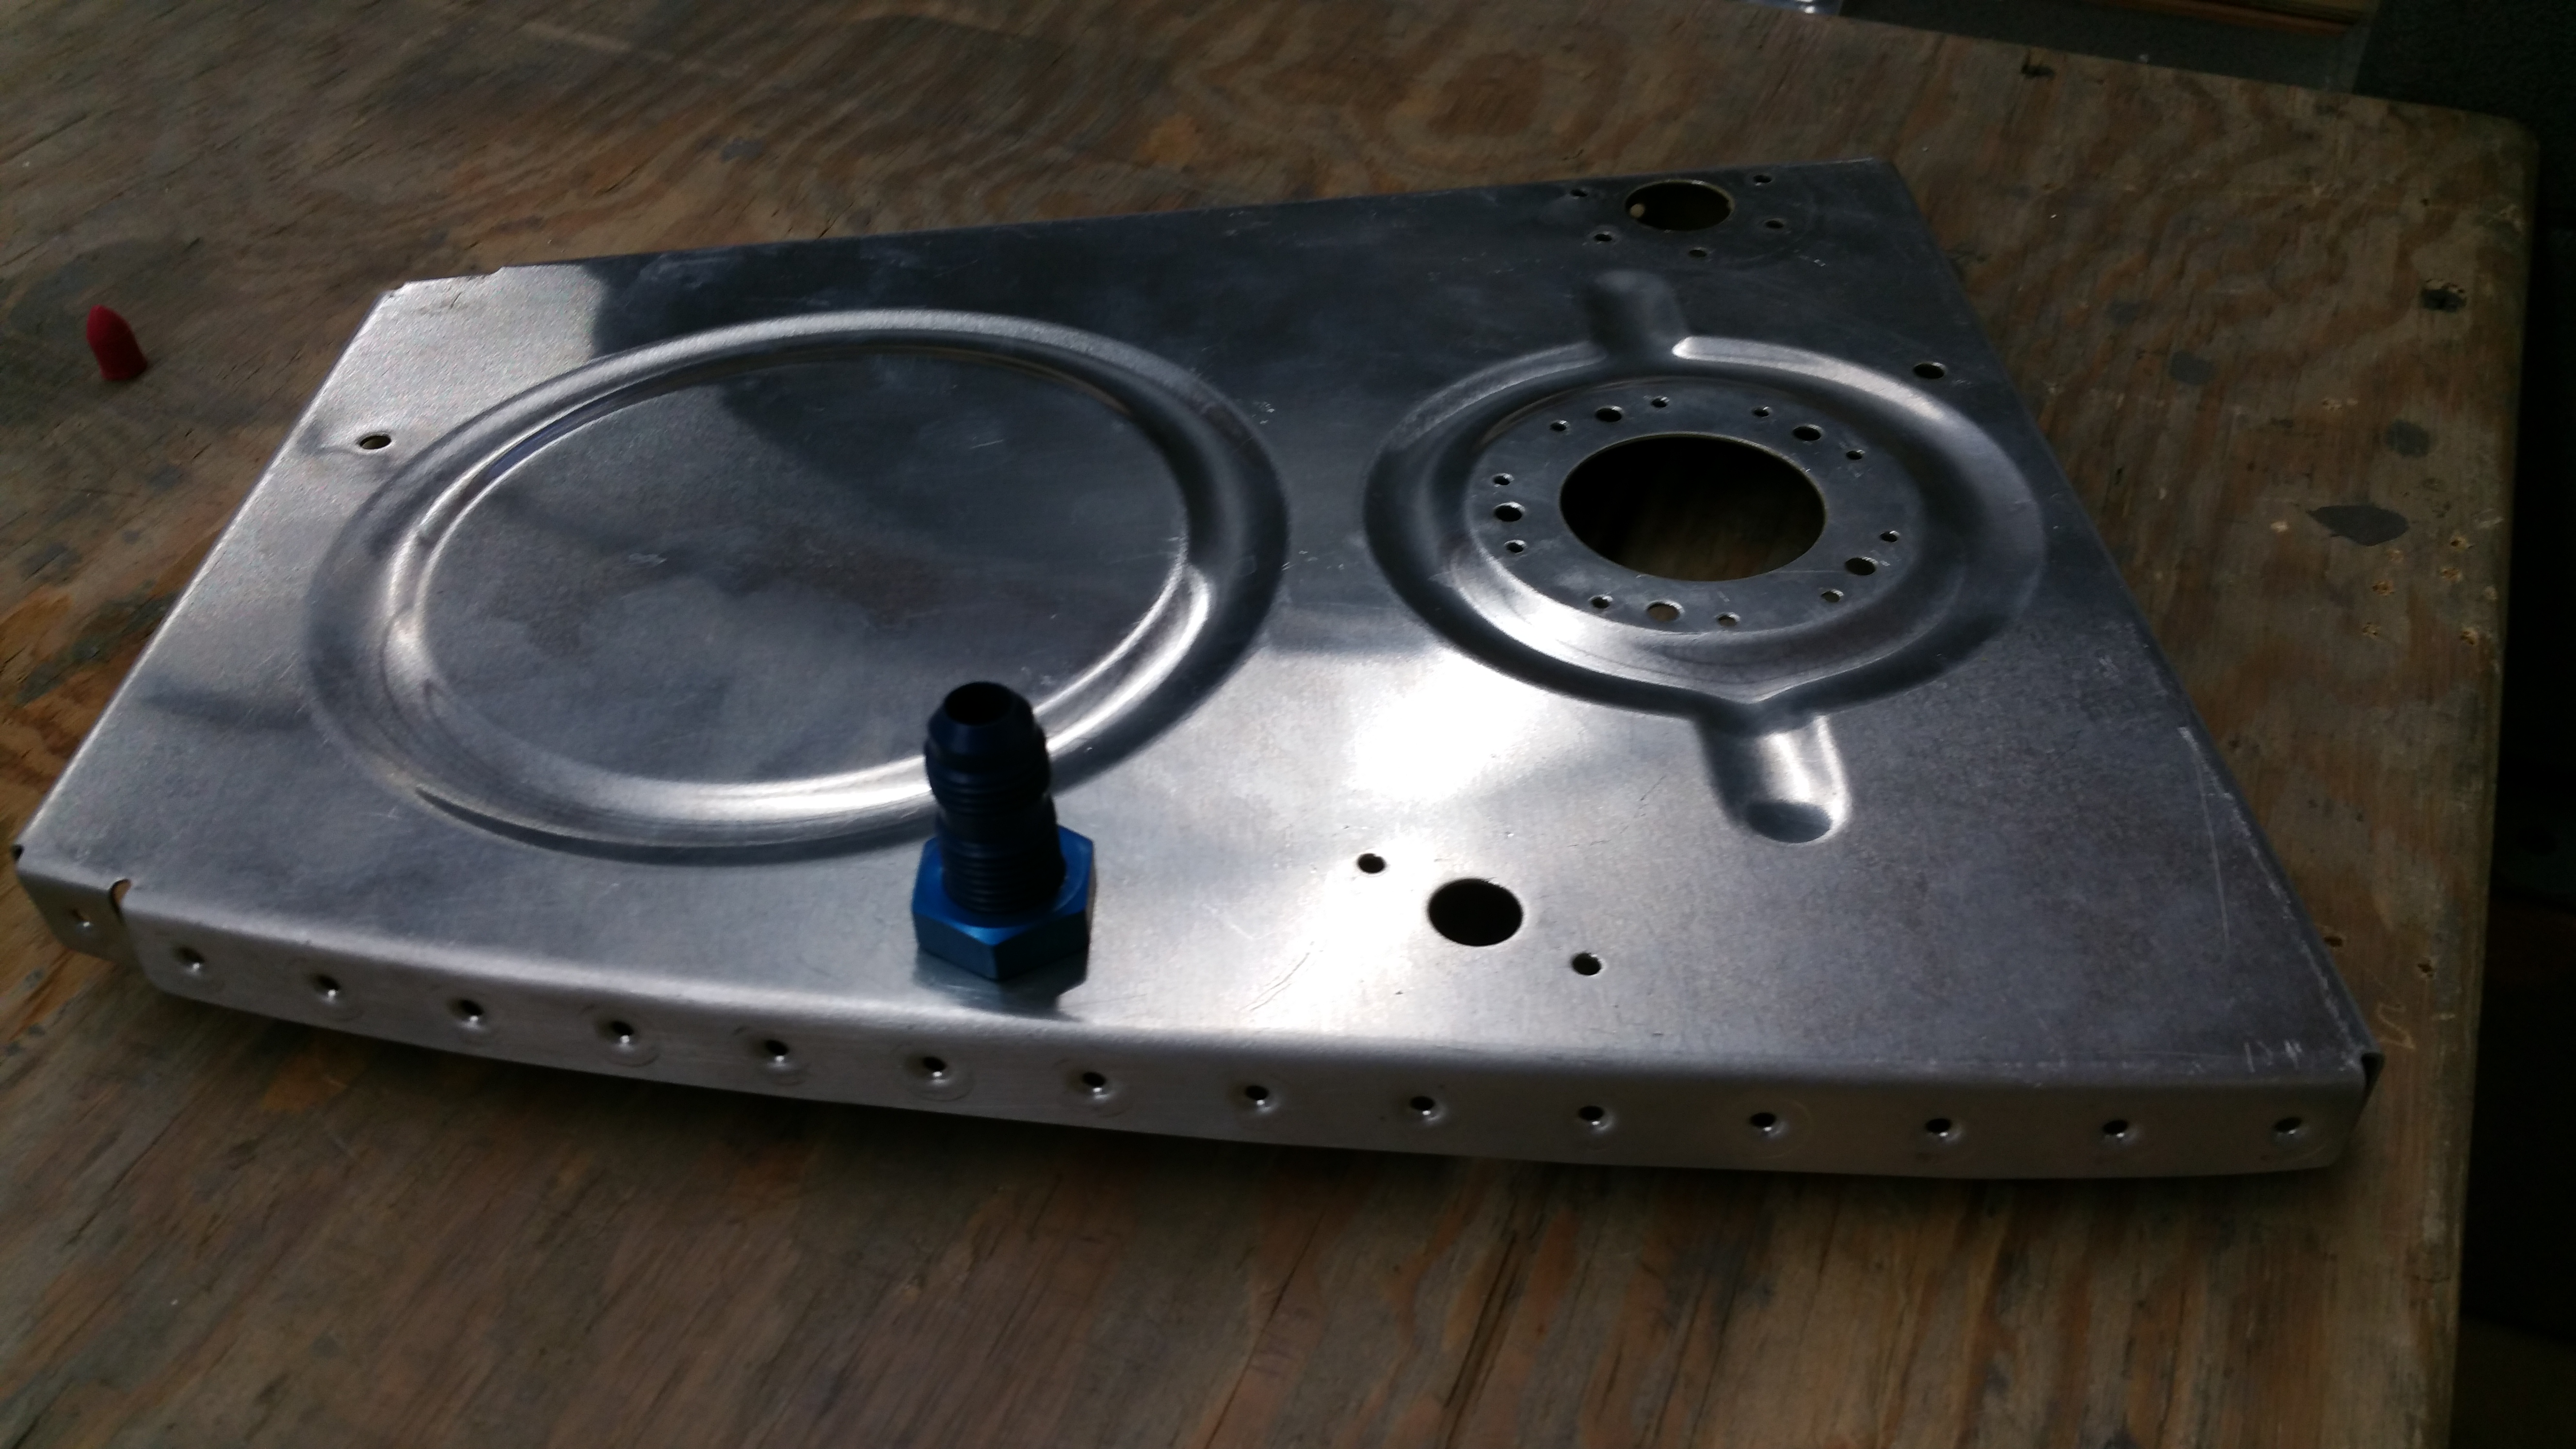
Once these parts were dry, I quickly riveted them together. I did have a hard time locating the nutplates. I searched through the parts list about 5 times, search on vansairforce to see if anyone else had them. Priced them out on aircraft spruce, and finally sat down to eat my pizza that got delivered and the part # jumped at me on the page that was open. They are in bag 1219 if you run across the same issue I did.

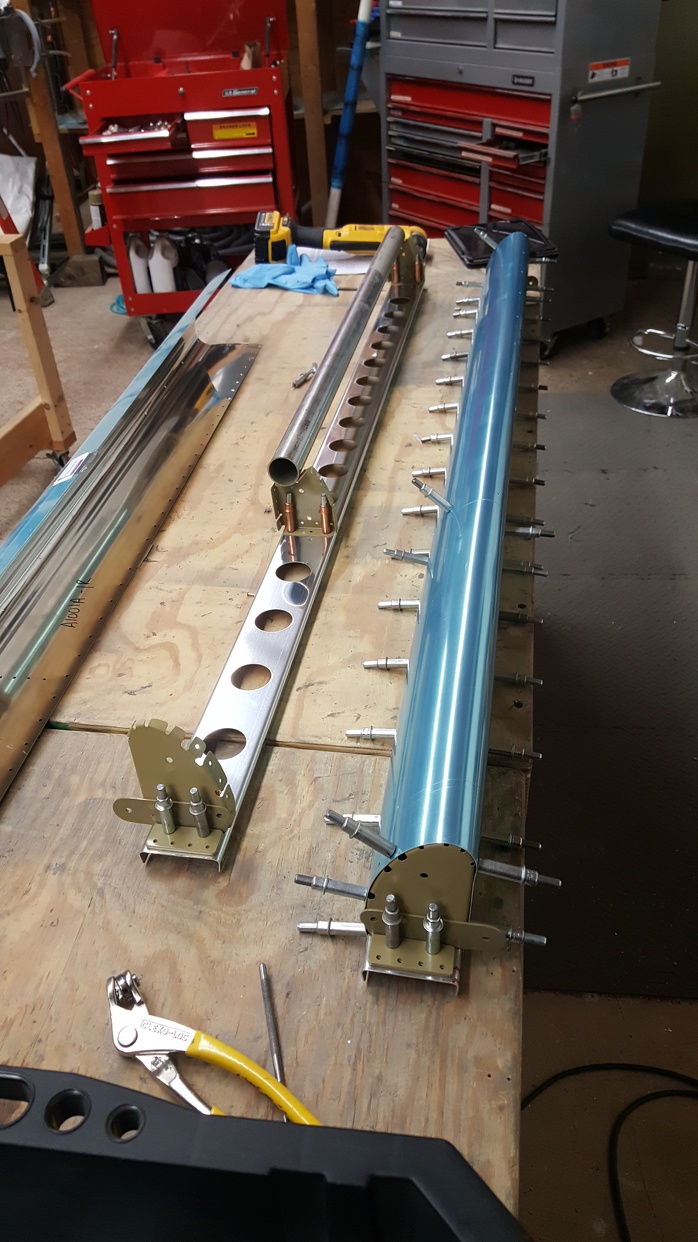
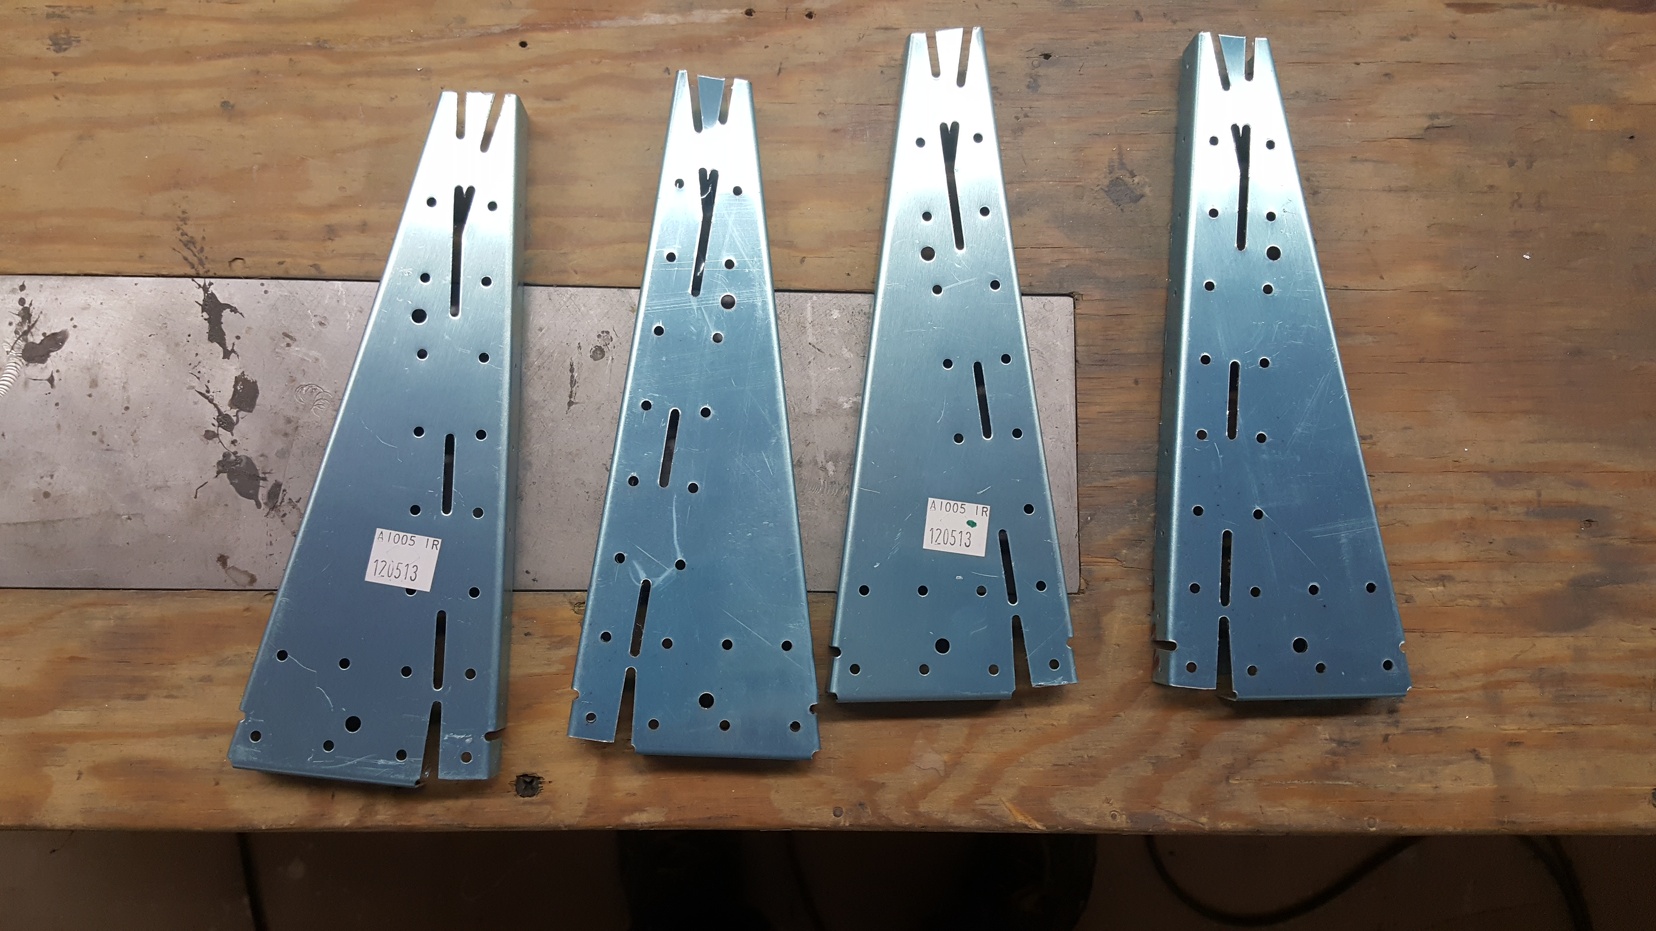
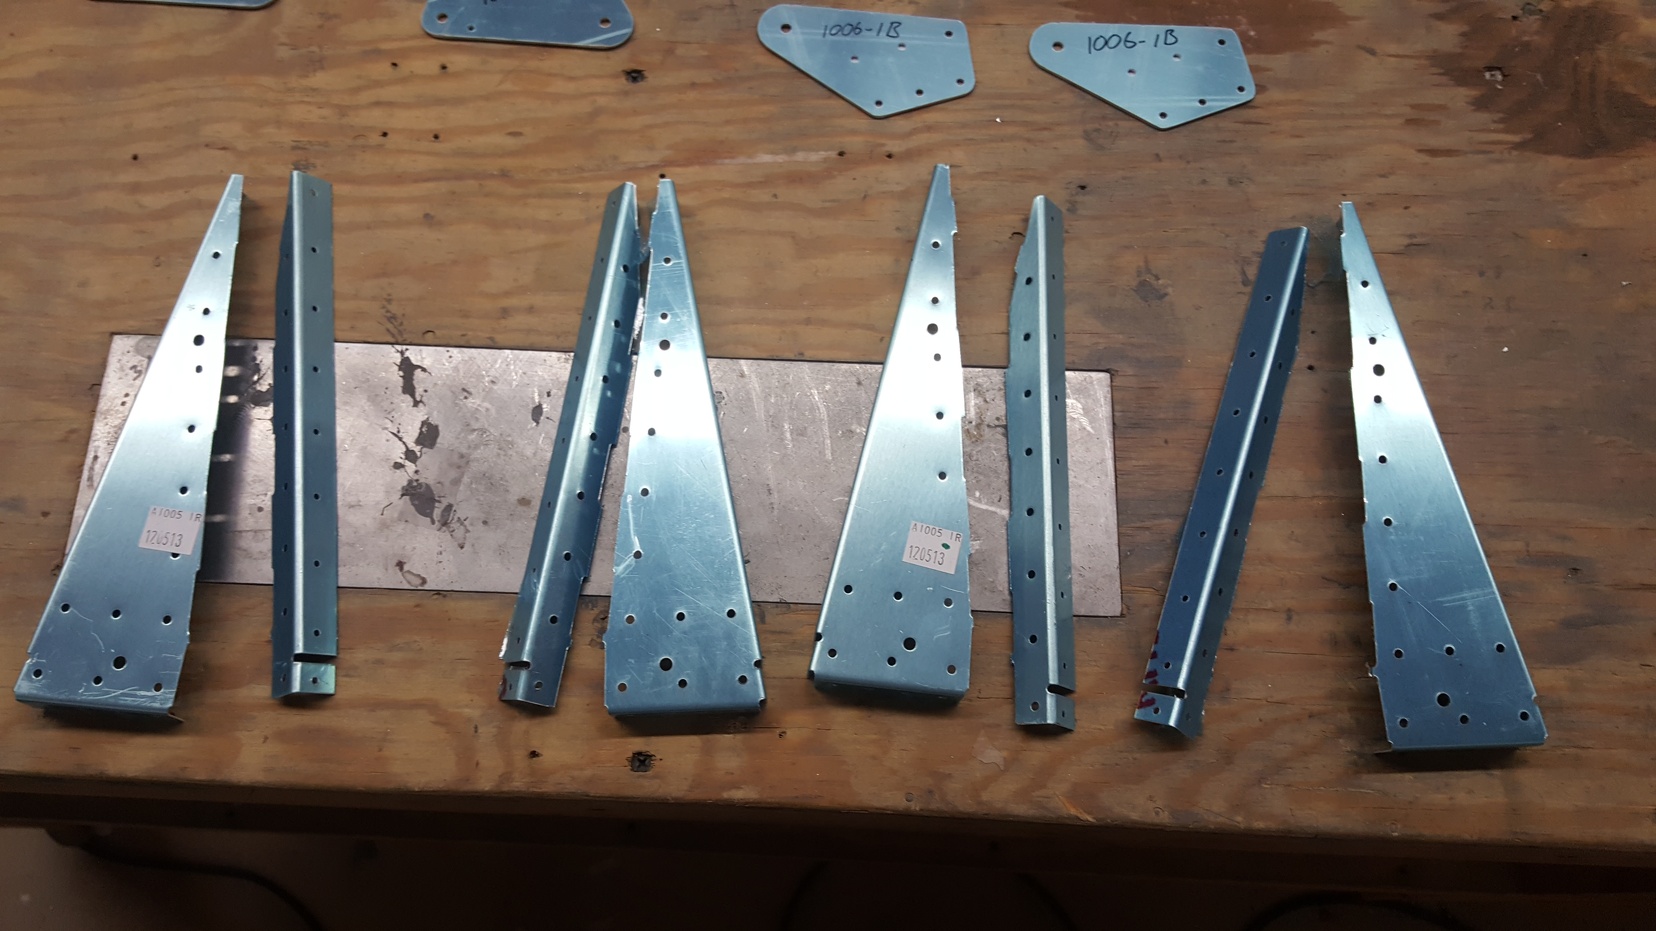
Next I began by cutting the aileron ribs. the ailerons only have 2 on each, one on each end. the rest are actually just stiffeners.

Next I dimpled all the holes I could as requested by the plans. I noticed here that the plan steps do not mentioning dimpling the #30 holes, but one of the figures calls for a 120* dimple. I ended up ordering #30 120* dimple set from Cleveland Aircraft tools. I was ready to call it a night when the plans said I could primer everything. so I cleaned everything up.

Bottom Wing Skins 2

Over the last couple weeks I drilled & deburred the skins. I also made the hole for the pitot tube and match drilled the stiffener to the skin. This week I worked on dimpling the skins and the ribs. I still have one wing worth of ribs to dimple, plus a couple of holes on the other that I couldn’t get with my squeezer. I haven’t taken any photos lately. Perhaps tomorrow.

Bottom Wing Skins

I’ve been slowly working on the aileron gap fairings over the last few days. Today I finished dimpling, primered and riveted them. It felt good to get this done as its been a while since I feel I accomplished something on this project. Even if it is a small thing.

after this I started working on the pitot mounting bracket. I bought this a while back and for some reason its been daunting to me. I think it has a lot to do with the install instructions. I ended up just looking at some photos and going from there. I did a piss poor job of photos today, but no big deal. I scribed some lines on the plate, placed it up on the spar, clamped in place and match drilled. I needed a piece of angle aluminum so this is about as far as I got with it. I ended up assembling the tube and priming it as well

Next I mounted the skins, and called it a night

Aileron Gap Fairings

Not much to write tonight. Started putting on the gap fairings. the W-1021 fairings went on fine. Due to the SB I did yesterday I had to trim the inboard side of the W-1024 fairings about an 1/8″. Cleco’d everything in place then got side tracked with work and flying tomorrow.

SB 16-03-28 Cracking of wing aft spar web

Several months ago Vans released a Service Bulletin that affected every model they make except the RV12. I promptly ordered the parts and when they came in I put them in the dust collector. I still have the fuel tanks to work on, but they kill off all motivation the second I touch them. So I elected to start doing other things and coming back here and there. This is also the perfect time as I have yet to put the Aileron Gap Fairings on. Opening up the kit was quite daunting at first. Not as daunting as a new kit delivery,  but more of how the heck does this go together. After a few minutes I got my visual and started at it. Once the pieces are cut apart, it is pretty easy to see how it goes together. After match drilling, deburring, cleaning, and priming, I started drilling out the old brackets. This way the parts had plenty of time to dry. The SB requires you reuse an old bearing from the original bracket so I took it apart per the instructions. Assembly was nice and easy. I even had it inspected by a certified sniffer.

Right Tank Assembly

Throughout the week I slowly poked around the airplane. Moved parts here, there. did some prep work on the new left tank. Friday I started installing the ribs. Saturday I really got into it. I got all the ribs done but end. I also made the return line stub for the fuel injection system.

Yes I know the tags are still on the parts, they will be removed before I seal the tank up.

On Sunday, I came in made and installed the vent line, fuel level sender, the end rib, as well as sealed up any rivets. While this was curing, I decided to start working on the new left tank by installing all the ribs and cutting the stiffeners. I quickly discovered that I ordered the wrong end ribs by the attach side. $18 later and the new ones should be here in a few days.

new left tank mostly assembled

Today I decided to put some water in the tank and see how I did. I did okay except for one small teeny tiny leak.

No big deal. I will fix it tomorrow after draining and it fixing some other rivets Im not quite happy with after the fact. Once thats done. I will seal it up!

Right tank assembly

This week I wrapped up any deburring that was left as well any dimpling that was required. I also drilled out the holes for my return line and custom fabbed a anti rotation plate out of some 1×1 angle. I cut the angle at the bend to make 2 pieces.

I decided to go a different route on the assembly this time. I back riveted all the stiffeners in place first. then the next time I worked on it I did the filler cap, the drain, and I all the parts on the inboard rib as well as the end rib. This method has made it a lot easier to make sure everything is sealed. I also don’t feel as rushed.

Since I had extra proseal made up I went ahead and finished the elevator trim tab that I started rebuilding months ago. I forgot to take any pictures after this.

David's RV-10 Build © 2015