Today I finished up the dimpling of the left skin. Next plan of attack is to put this thing together. Most likely will happen this weekend so it can cure while I am away in the Dominican Republic.
Month: October 2014
Deburring & Dimpling
Not much to talk about here. I deburred everything and dimpled all the internal pieces.
Tank Disassembly
Today I basically took apart the left tank. As each piece came off I deburred all the holes. I still have to dimple everything though and finish deburring the skin. I went ahead a little bit and worked on the tank attach bracket. Once I finish deburring and dimpling, I will start my first round of prosealing. Yayyy……..
here is the tank as it sits now, the skin is currently sitting on the trash can behind me. Bonus points to anyone who can figure out what movie im watching

Match drilling Left tank
Not much to talk about today. I matched drill the left tank. After that I began countersinking the skin as well for the tank baffle. I probably would have accomplished more if I didn’t have a Starship Troopers marathon going on with Netflix.

Tank Z Brackets
Today I worked on the Z Brackets. It was a very involved process of countersinking, scuffing, priming, and riveting.


After that I cleco’d enough for the left tank

Left Fuel Tank
Since I decided to halt any further work on the leading edges until the lights come in, I started the fuel tanks. I also decided to go with the Float type fuel senders. I plan on running MoGas as much as possible, but I realize that is not always possible and may get stuck with AvGas. The hassle to swap back and forth isn’t worth it for me.
The first step involved cutting and shaping the stiffeners.

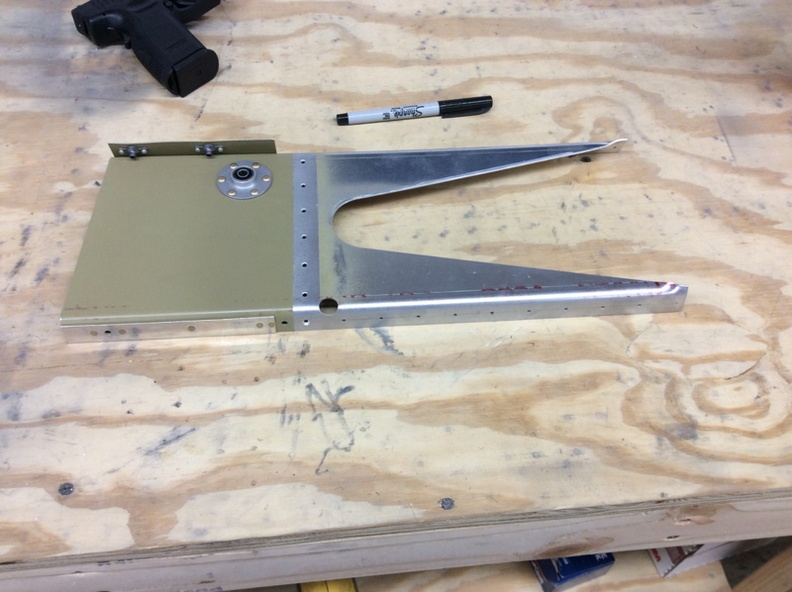
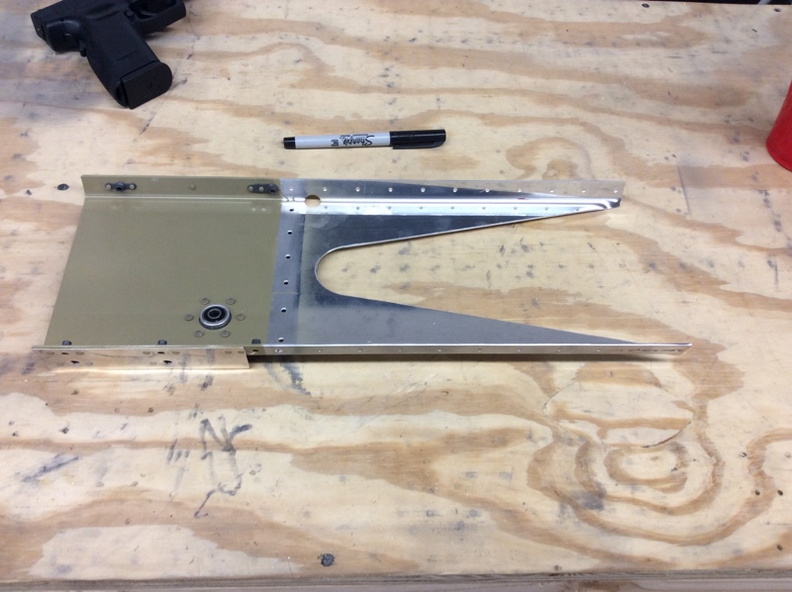
The next thing I had to do was cut the tank attach brackets.

Next I began inserting the ribs inside the skin, which was followed by attaching the stiffeners and the j channel. I only drilled the holes for the J Channel as well as the 2 holes in the stiffeners that didn’t line up.

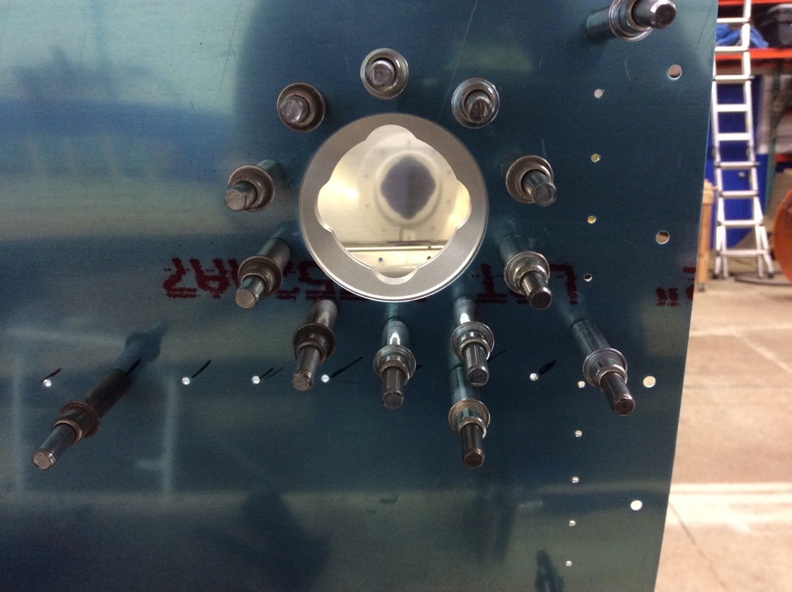
I finished up the night by mounting the fuel cap. This came out really good and I think looks bad ass.
Right leading edge
Today I basically repeated what I did with the left leading edge, minus some cutting. I match drilled all the holes I could. I have everything completed up till the dis-assembly step. I don’t plan on going any farther until I receive the templates for my leading edge lights. I will probably start prepping the tanks until they come in.
Left Leading Edge
Today I really got started on the leading edges. I decided I am only going to build one at a time to simplify the parts management. I decided I would start with the left as there was a lot I wanted to do with it. I started off by cutting some notches in 2 of the ribs. Next I inserted the ribs & the J stiffener. I left it all together after match drilling and elected to start the stall warning system since I had a lot of open access. The first thing I did was cut the access port. I was a nervous wreck cutting a big hole in the skin but it came out fine. Next I drilled the 2 holes to create the switch hole in the very front of the leading edge. I finished the night up by assembling the stall warning switch. Once I start taking the leading edge apart, I will have to come back to this section to make sure I have all the appropriate holes dimpled, riveted, etc. I am trying to get Duckworks to send me a couple of the cutting diagrams so I can cut the skin in advance.

Rib’s getting ready to be modified.

Leading edge assembled, match drilled, ready for disassembly

Preparing the access panel
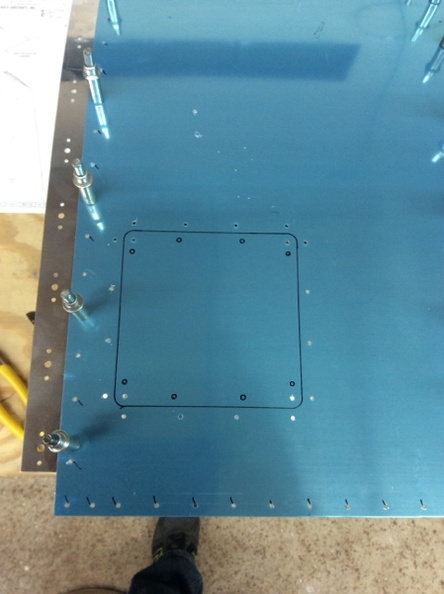
mounting holes drilled out

1/2″ radius corners


access plate doubler
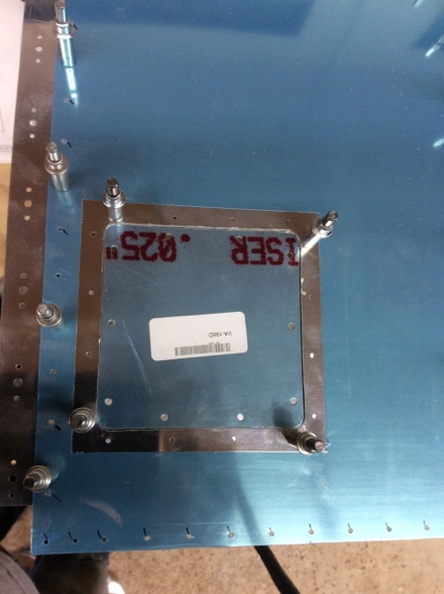
access plate

stall warning switch port
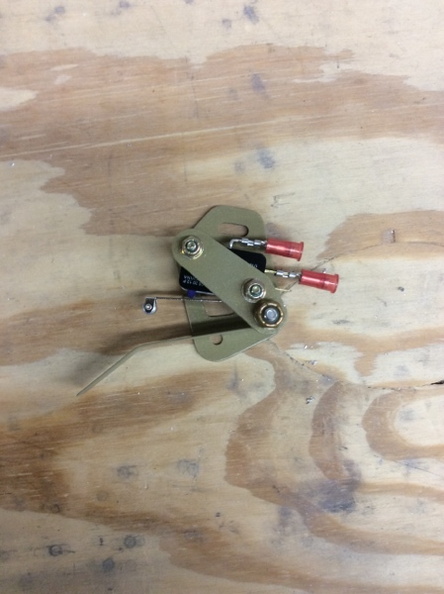
stall warning switch
Right wing skin complete!
Finally done with this section! Today Corey & I finished up the right wing skin. Nothing to brag about here except that its done and I can finally move on to other parts.

Right Top wing skin
Today Corey & I really did got at the right wing. I’d say we did probably about 3/4 to 7/8s of all the rivets to be done. I also put some conduit in the ribs. I don’t think I posted before, but I am using the 5/8″ black conduit from Van’s. I ordered 50′ of it and I have ALOT left over. After Corey left, I reorganized my toolbox a bit and really cleaned it out. This was well needed to be done. I also ended up making a wood block to hold my countersinks. I am not sure why I didn’t do this before.

