Today I really got started on the leading edges. I decided I am only going to build one at a time to simplify the parts management. I decided I would start with the left as there was a lot I wanted to do with it. I started off by cutting some notches in 2 of the ribs. Next I inserted the ribs & the J stiffener. I left it all together after match drilling and elected to start the stall warning system since I had a lot of open access. The first thing I did was cut the access port. I was a nervous wreck cutting a big hole in the skin but it came out fine. Next I drilled the 2 holes to create the switch hole in the very front of the leading edge. I finished the night up by assembling the stall warning switch. Once I start taking the leading edge apart, I will have to come back to this section to make sure I have all the appropriate holes dimpled, riveted, etc. I am trying to get Duckworks to send me a couple of the cutting diagrams so I can cut the skin in advance.

Rib’s getting ready to be modified.

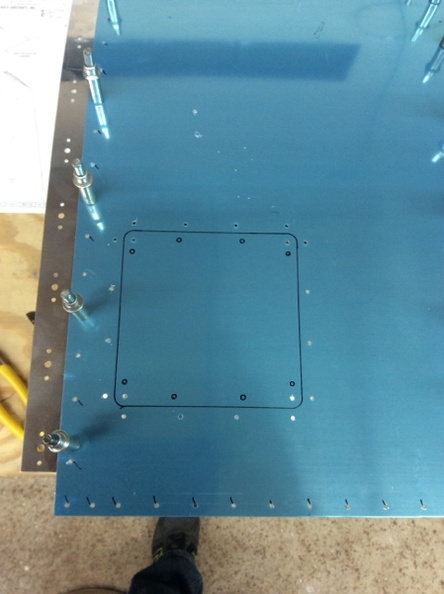
Leading edge assembled, match drilled, ready for disassembly

Preparing the access panel
mounting holes drilled out

1/2″ radius corners


access plate doubler
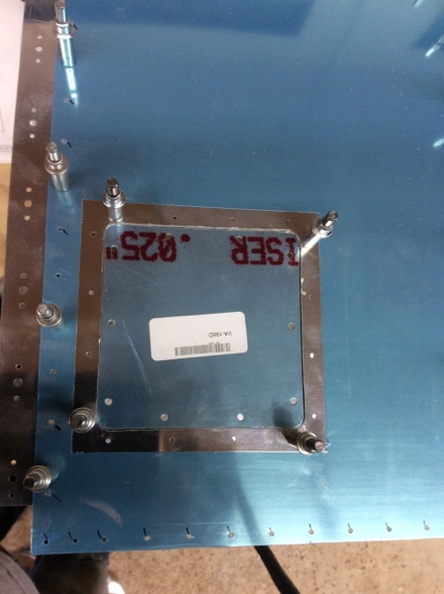
access plate

stall warning switch port
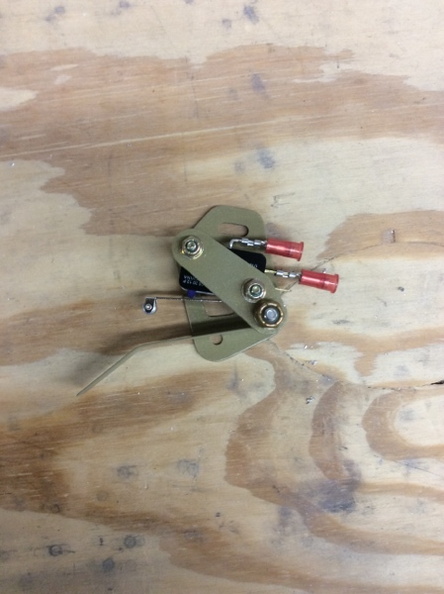
stall warning switch