David's RV-10 Build

Just another RV-10 builders log

Category: 09) Elevators

Right tank assembly

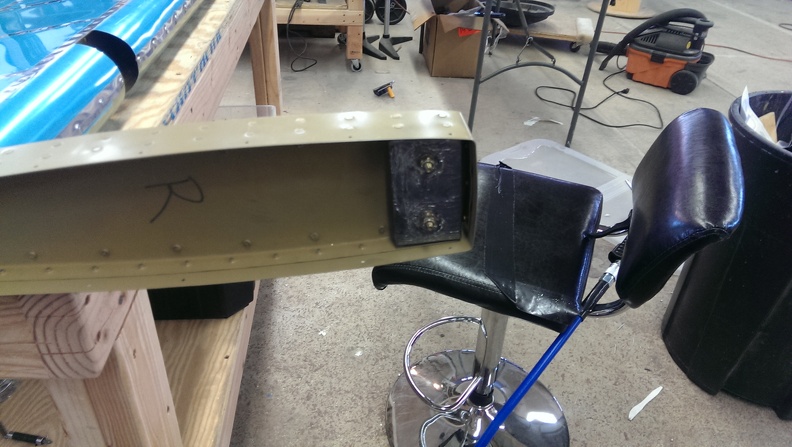
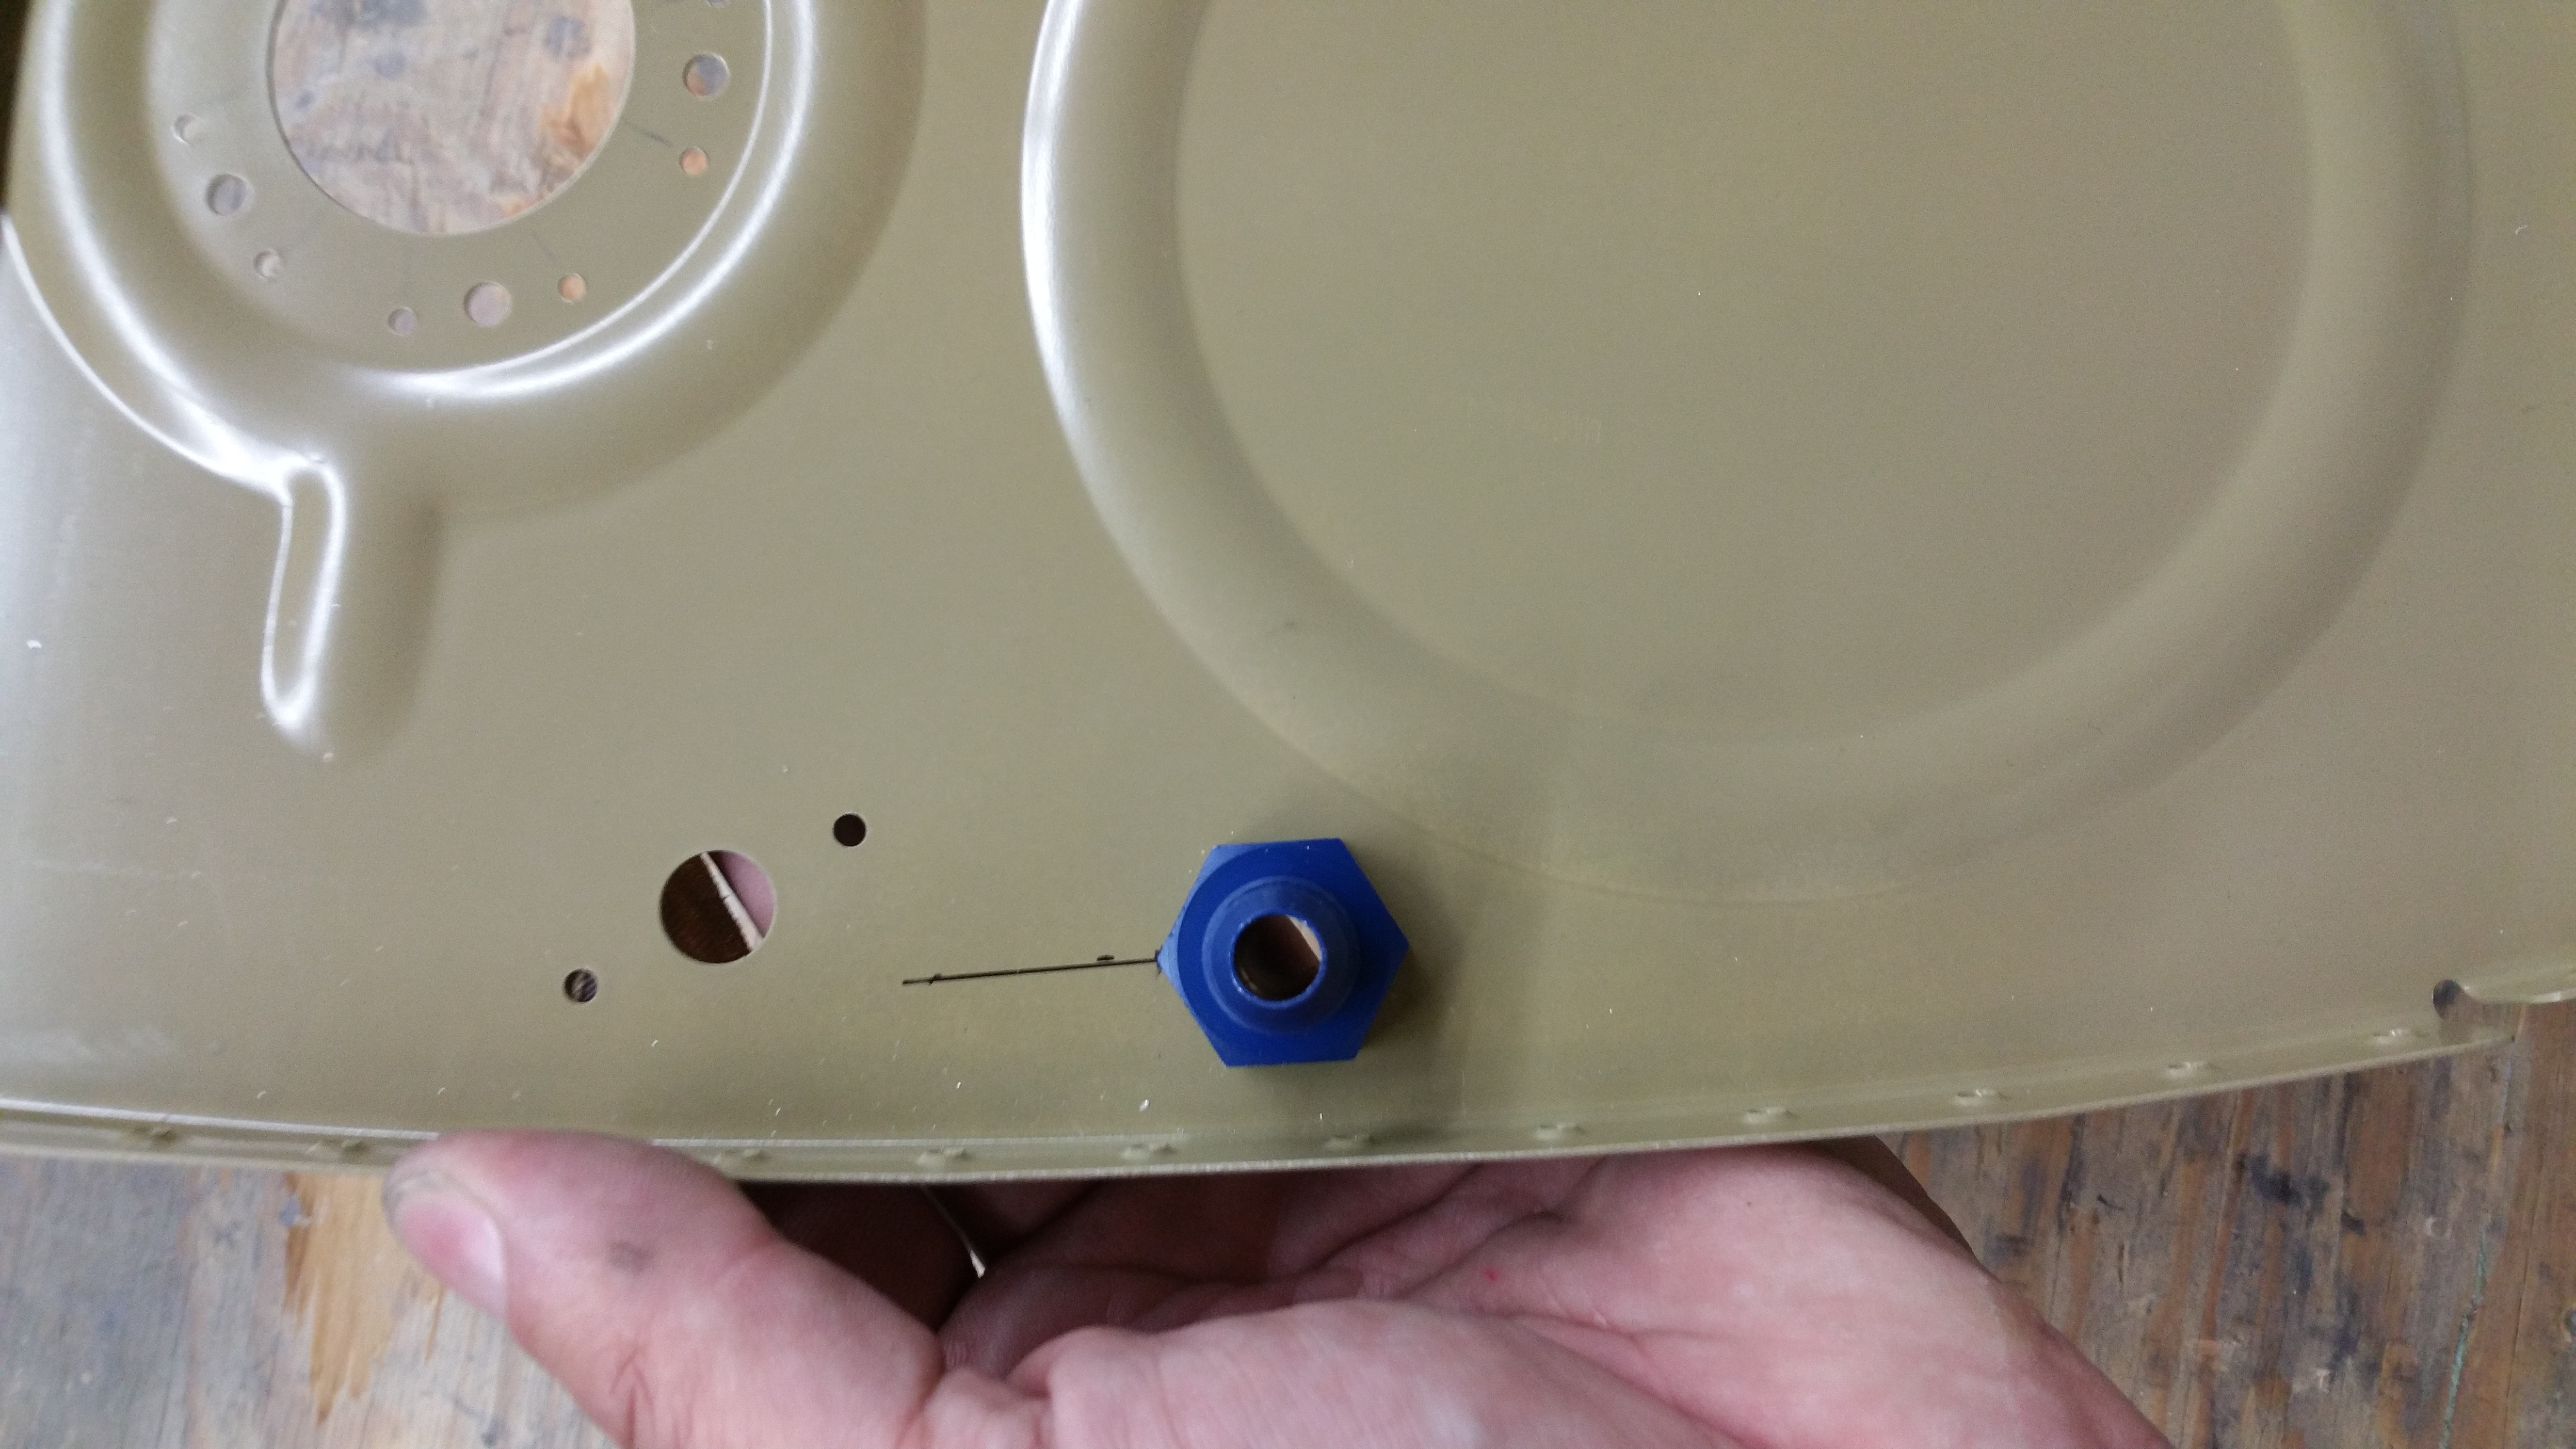
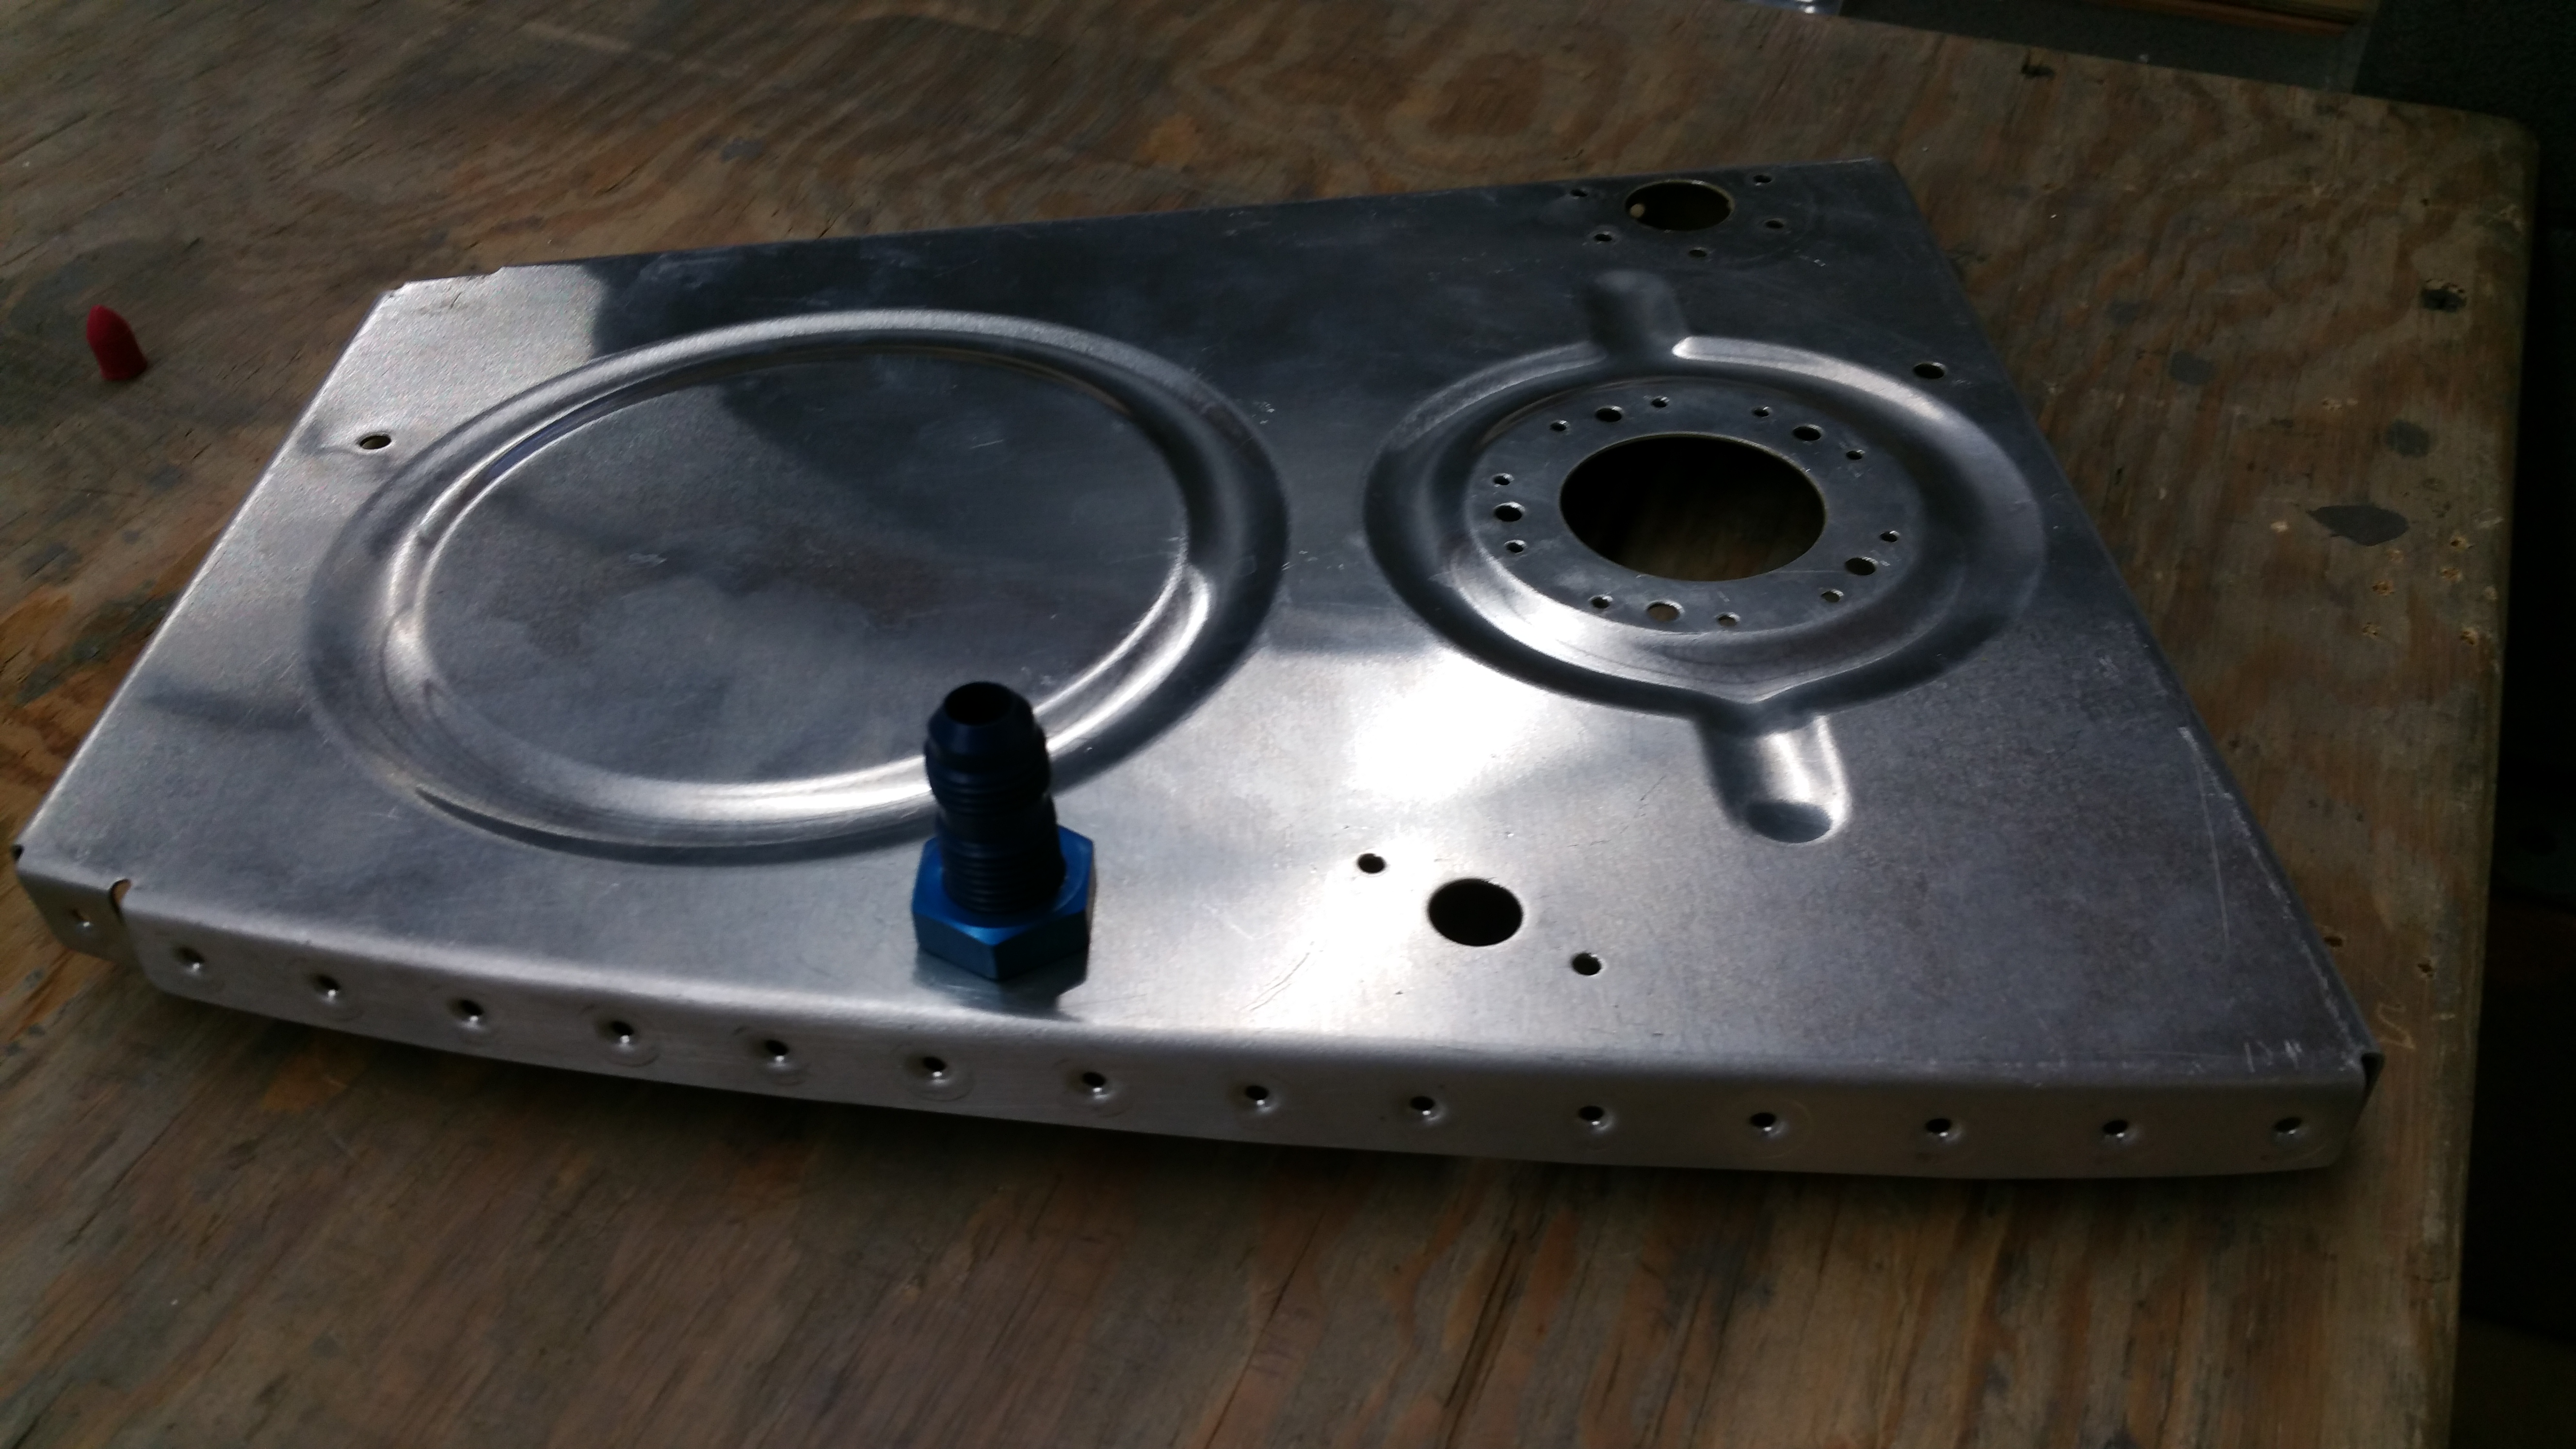
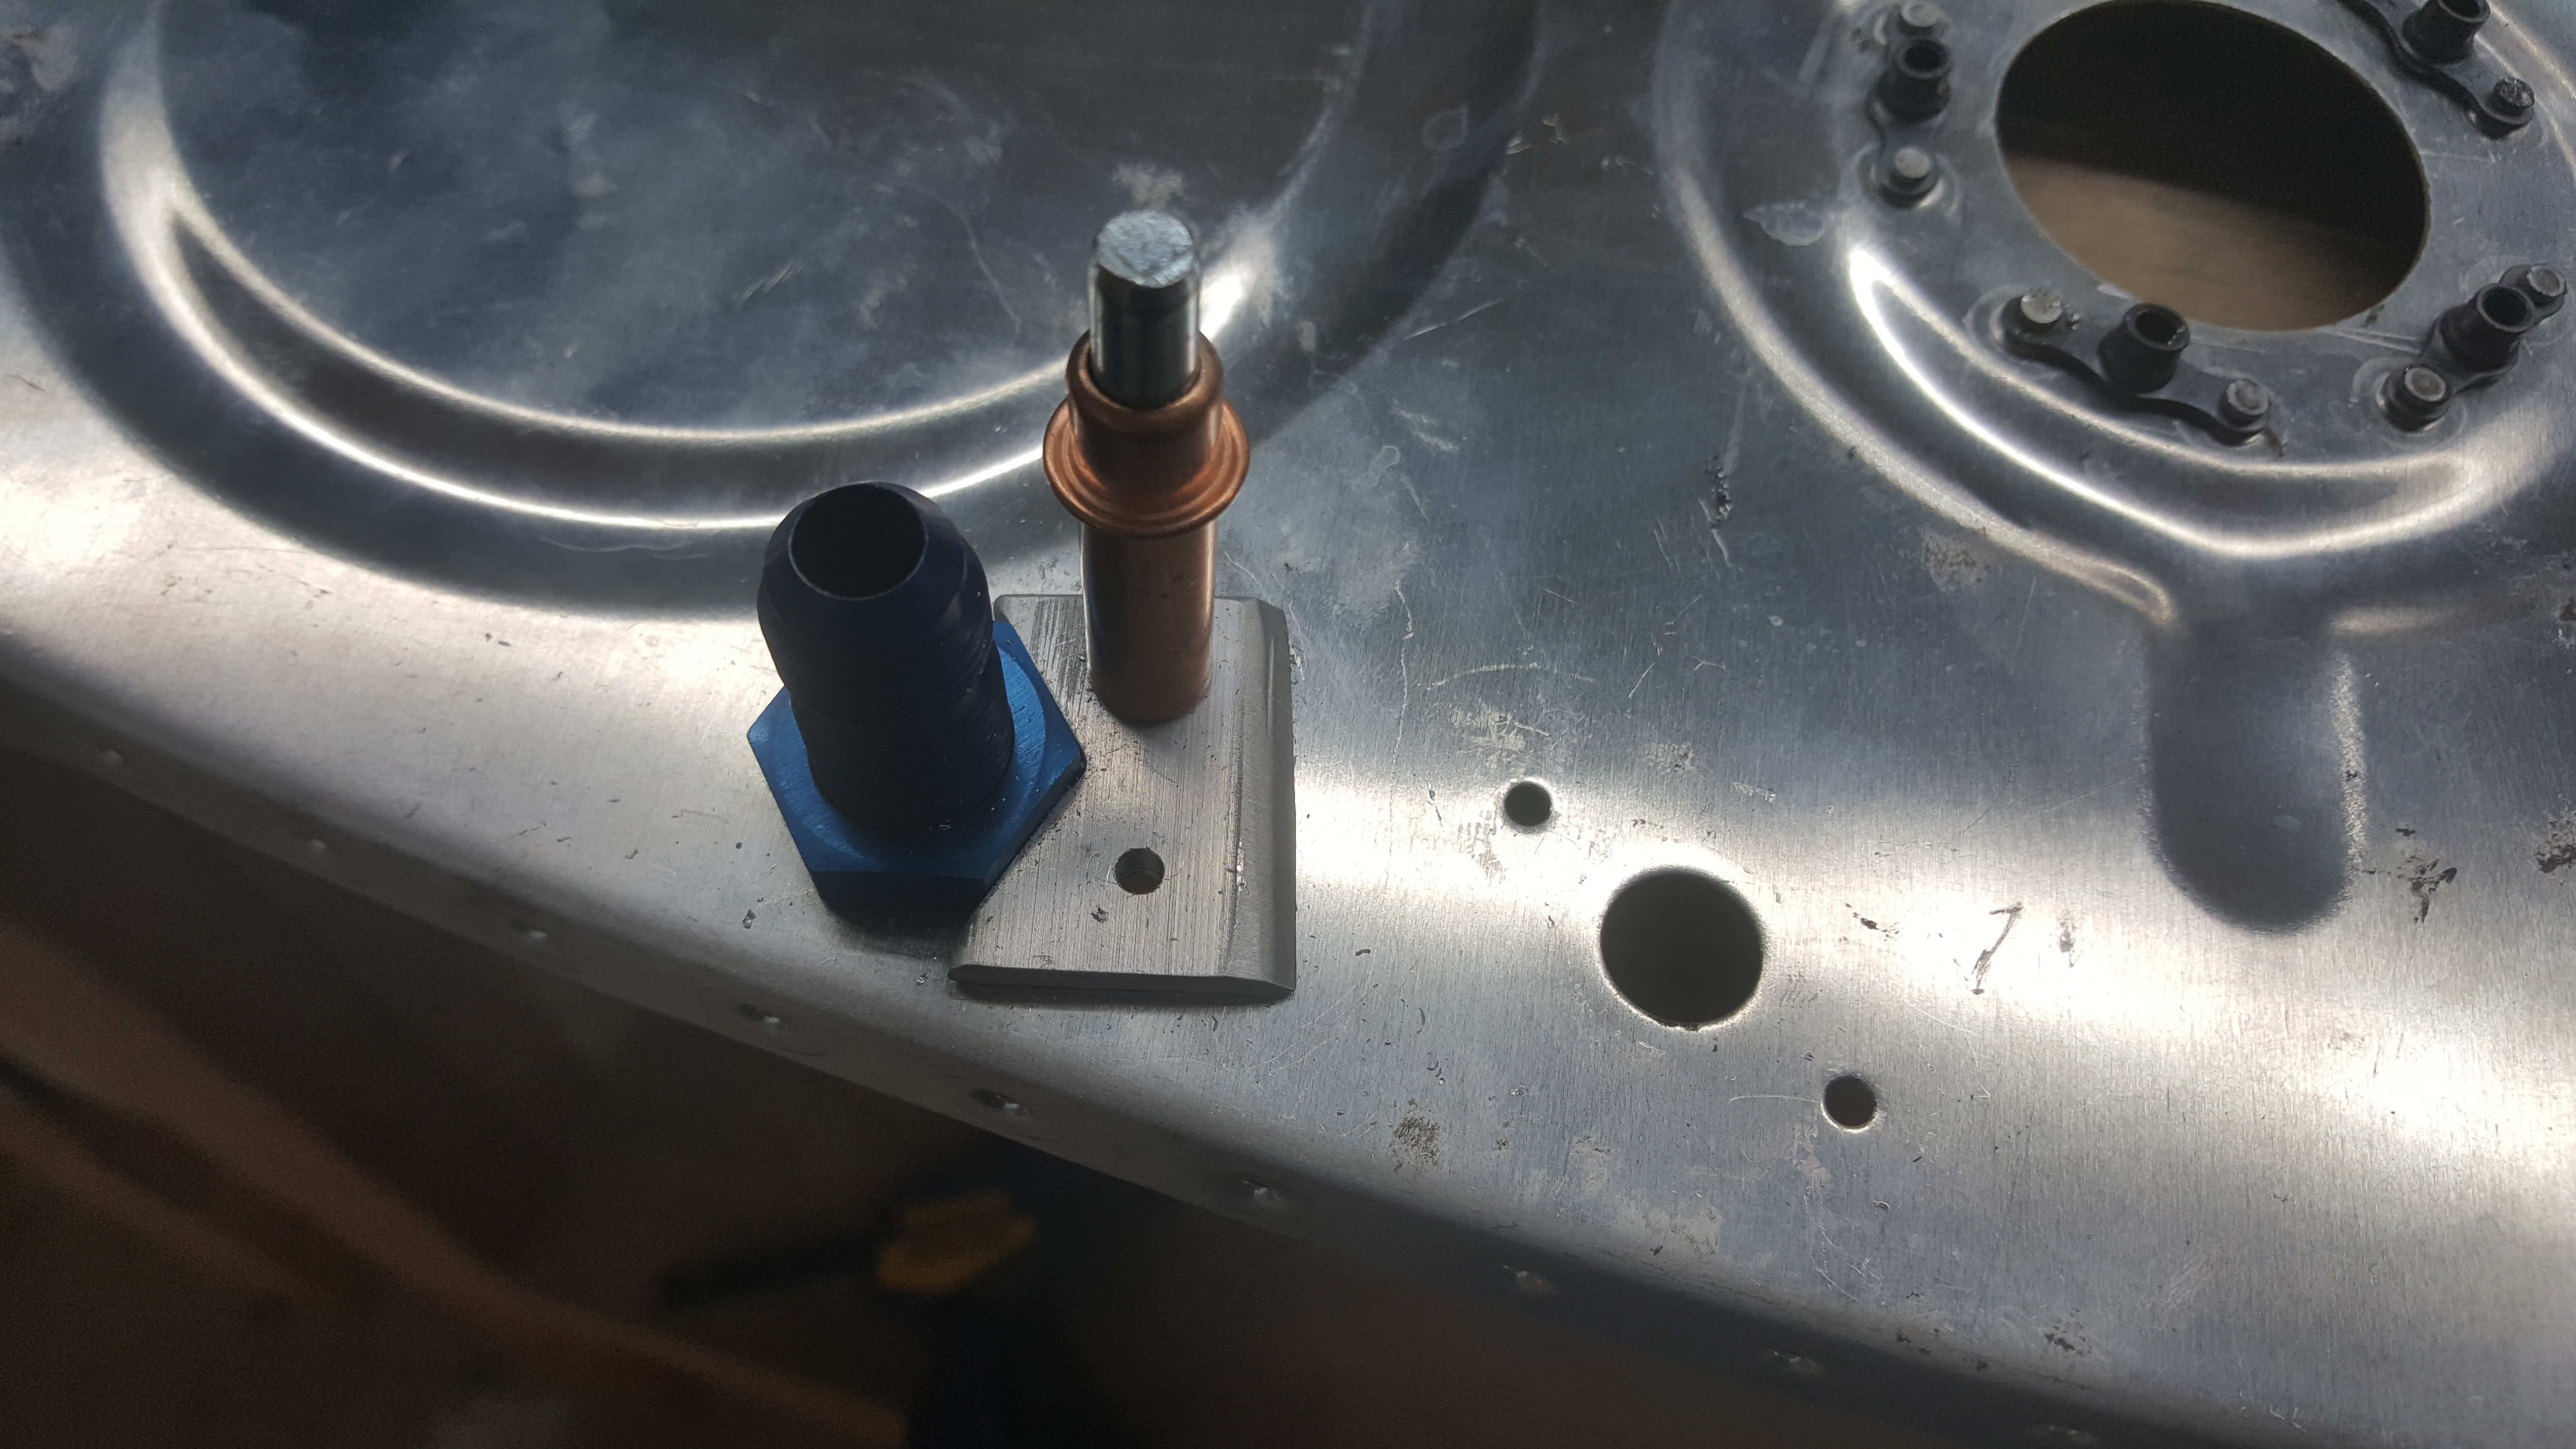
This week I wrapped up any deburring that was left as well any dimpling that was required. I also drilled out the holes for my return line and custom fabbed a anti rotation plate out of some 1×1 angle. I cut the angle at the bend to make 2 pieces.

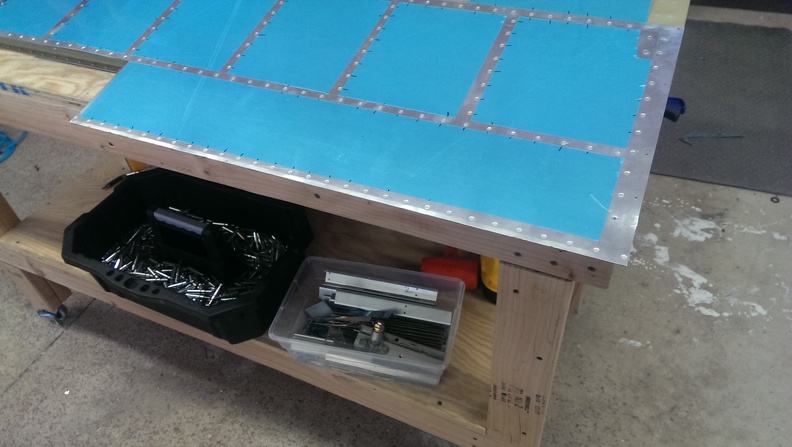
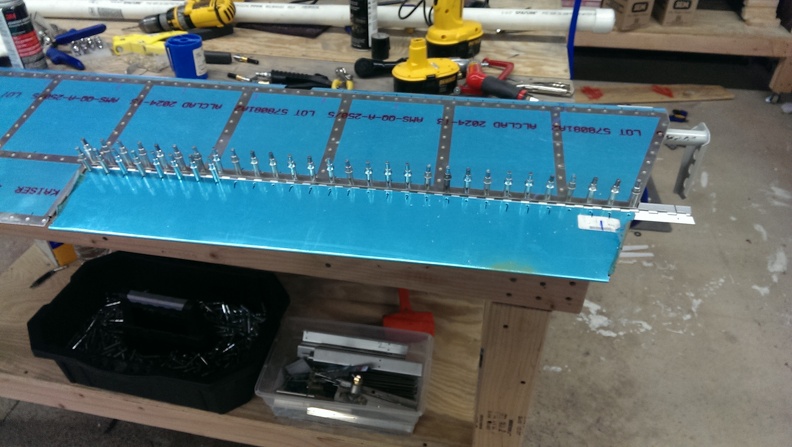
I decided to go a different route on the assembly this time. I back riveted all the stiffeners in place first. then the next time I worked on it I did the filler cap, the drain, and I all the parts on the inboard rib as well as the end rib. This method has made it a lot easier to make sure everything is sealed. I also don’t feel as rushed.

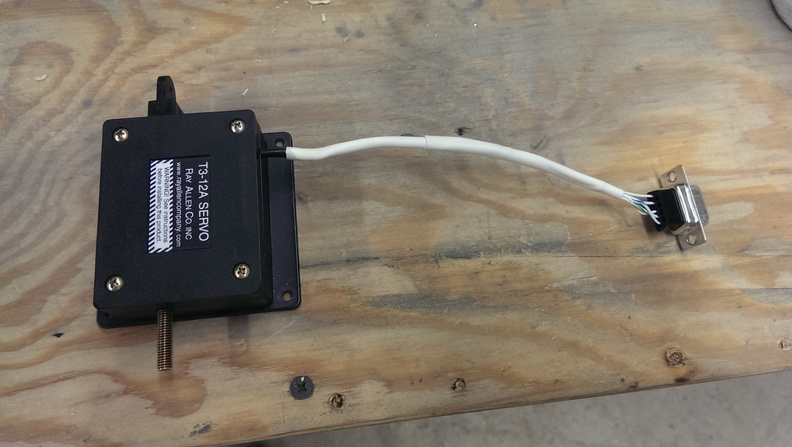
Since I had extra proseal made up I went ahead and finished the elevator trim tab that I started rebuilding months ago. I forgot to take any pictures after this.

Slacking

Over  the last 2 weeks I ahven’t done anything large by any real standard and its hard to post about putting a screw in here or there. So i’m just going to add it all into one post.

  • Installed the Trim Servo & Cables. Eventually took the trim servo out so I could connectorize it. That still needs to go back in. I forgot to order the cases for the DB9 connectors and those will be here Monday.
    • Need to figure out why the left elevator trim will not go as high as the right side. It barely goes above the left elevator, but is even when in the down position.
  • Mounted all of the elevator & rudder fairings.
    • While installing the bottom rudder fairing I installed the Rear Strobe Mounting bracket I received from Cleveland Aircraft Tool. This is a nice looking bracket that should make strobe mounting a breeze.
  • Installed the Flush Static Air ports from Cleaveland Aircraft Tools
  • Rebuilt the right trim tab. This looks much nicer then the old one. Still need to do the left side

I also going to create a tasks to do page. So I can easily remember what I still need to do for when i skip steps or move onto other areas if I get bored.

Trim servo with white writable heatshrink & db9 connector

lower rudder fairing being installed

tada

the plane as it sits

trim tab off waiting to be replaced

much nicer looking trim installed. moves much easier this time with graphite applied.


Elevators Complete!

Im writing this about a week after I finished the elevators. I was so excited I completely forgot to do it.

The first thing I did was rivet all of the trailing edges on the elevators.

Next thing I did was roll the leading edges. I hate doing this and I always think the seam line looks terrible. I had the same issue with the rudder. This is one thing I am sure by the time the project is over with will be redone.

After that I began to cut the lead for the counter balance weight. a Kneemill would of been great for this.

Next was the fun part of attaching the trim tabs to the elevators. For some reason I enjoyed this part. After having difficulties getting one of the pins in, i decided to use some graphite I had and coated the 2nd pin. Went in nice and smooth. I will have to redo the other hinge pin with graphite later.

Elevators

Today I did a pretty poor job taking pictures. I started off by making the jigs for the elevators. After that I just rolled through the steps. Once I got to the part that required proseal I mixed up what I had left from the rudder. Turns out I had far less than what I thought I had. I had enough for all the foam ribs but I was scraping for the trailing edge pieces in the elevators. I was able to get a bunch on but missed a few spots here and there. I don’t think this will be an issue once I get the rivets in place.  I don’t like how one of the trim tabs came out and I will probably reorder those pieces when I order the wing kit. Once I was done prosealing, I did a few rivets here and there in the elevator skins where called out. I’ll let this sit for a bit to cure and hope to do more on sunday.

Marathon Sunday Pt 2

After eating a hearty sunday dinner. I came back to the shop. I grabbed a can of spray glue that I asked my dad to pick up while he was at home depot, and glued the foam blocks. I figured I had a little while to do these and might as well let them dry good.

Next I began by riveting the two skins together for each half. This is where my airplane almost went for its first flight. Right after I got done riveting, I realized one elevator had 2 trim access ports on it. This is what I get for being distracted by my brother and his friend. I spent about 2 hours drilling out all the rivets and re-riveting the skins the proper way. I think the plans make riveting the 2nd skin appear to be far harder then it is. My tool kit came with the special bucking bar for the RV10 and it was quite easy to do.

I finished the night off by riveting the front spar assembly into each elevator.

Marathon Sunday Pt1

The first thing I did this morning was to prime the skins. I didn’t have room on the cardboard last night so I decided to wait till today. I used some rivet tape to make my lines to cover the proseal area from the primer.  After priming, I riveted the trim cover reenforcement plate to the skins. I put the nut plates on last night but I believe I forgot to document that.

Next involved back riveting the rib halves to the skin not too much excitement here.

Next I followed it up with riveting of the rear spar to the skin with the larger of the 2 rib halves. I also installed the shear clips and gussets at the same time.

Right around this time I ran home for dinner.

Marathon Saturday

Today I began by finishing any dimpling & coutersinking that I had to do.  That really didn’t take as long as I had thought it would. Next  I grabbed the skins and began to mark where the PVC foam blocks would go. After marking the areas with a sharpie I grabbed my die grinder and a scotch brite wheel and made a rough pass with it to give the proseal a place to stick.

Now that that was complete, I began cleaning and rinsing every.. single.. piece… I elected to break this up into 2 sections. I did all the “small” pieces first. After they were final rinsed from the acid etch and dried. I began priming them. While those parts were drying I started working on the spars & skins.  Due to their size, I used the office shower to clean those up. For the spars & skins I decided to try skipping the acid etch step as more and more people are saying it is a waste with self etching primer. I may keep at it for the small stuff though. After the spars & small parts dried I began some assembly.

I riveted the tip rib assemblies, as well as the reinforcement plates & nut plates on the front spars. I finished off the night with riveting the Root ribs, Spars, and elevator horns together.

I love when I get to put the hardware in. I always feel like I just accomplished something major. Even if its something as small as a bushing.

Dimpling again

Today I recruited my sister Kaitlyn to help with some dimpling. After a few minutes I learned that wasn’t the greatest idea. She placed a nice dimple hole in the rear spar where there was not a hole previously. I pretty much lost motivation to continue on after that. Although this wasn’t a too bad of issue. I ordered a new part from vans at a whole $18.00.

On a side note I picked up a new soldering iron from radio shack today. Radio shack is clearly doing terrible as they tried to sell me a $10.00 replacement plan for it. I told the guy I was feeling risky today and I’ll take a chance without it.

David's RV-10 Build © 2015