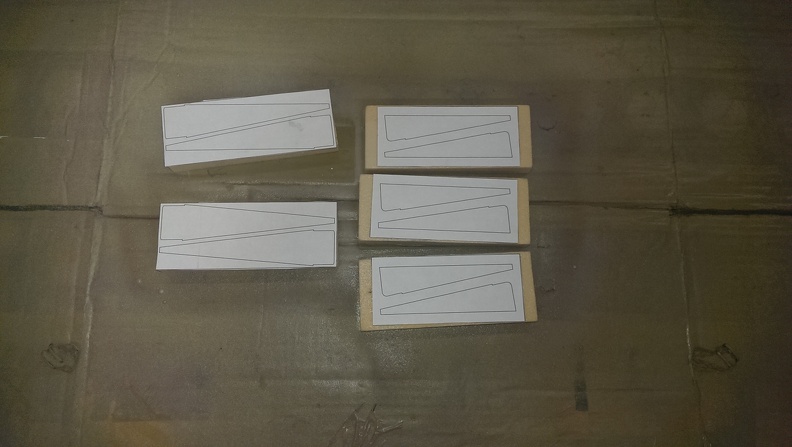
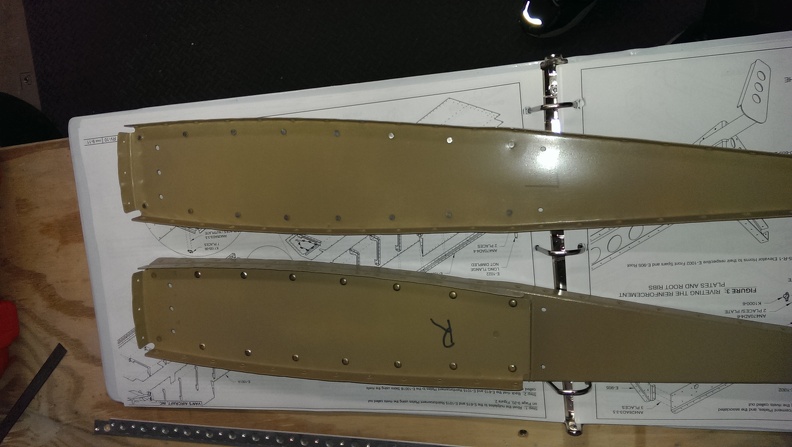
Today I really kicked the crap out of the elevator section. I started by by cleaning up the ribs that I cut earlier. I also deburred all the edges of every part I had out. That took quite a while and was quite relieved when I finished that. Next the plans have you assemble all the elevator ribs and mark them as parts of sets. After that its time to cut the shear clips. They were quite easy to cut and fabricate.

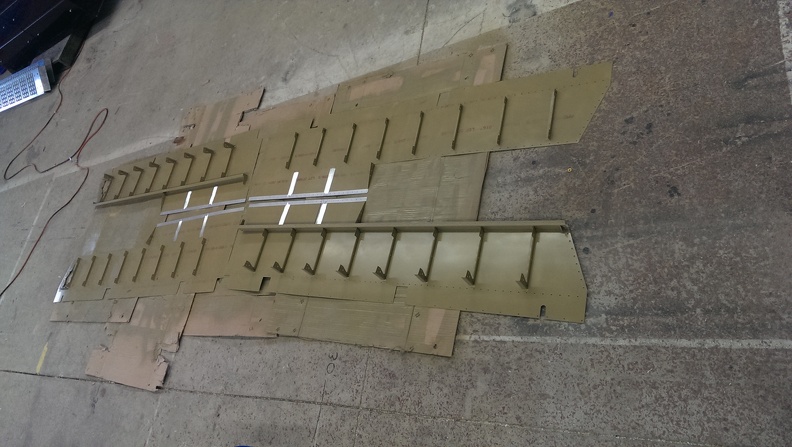
All the elevator ribs cleco’d together
Next I had to take the blue plastic off of one side of the skins. I managed to find one of my heat guns and this will by far make this task so much easier. The plans call for you to bend some tabs up on each skin. I grabbed a piece of aluminum that I had laying around to give me a nice flat surface to bend against.

Skins laid out
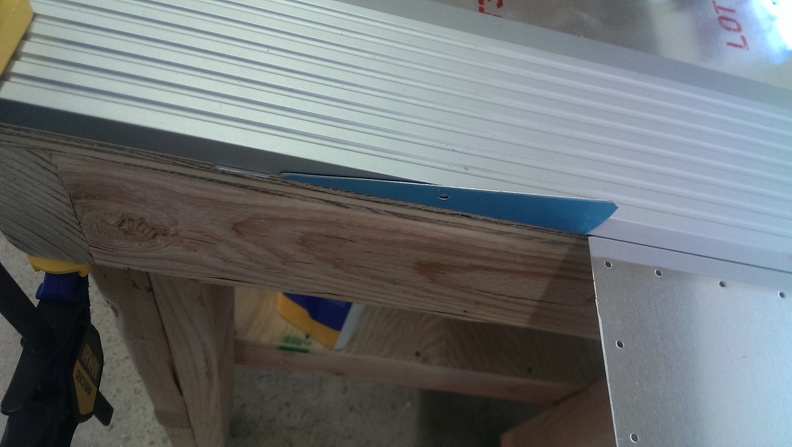
tab bent up
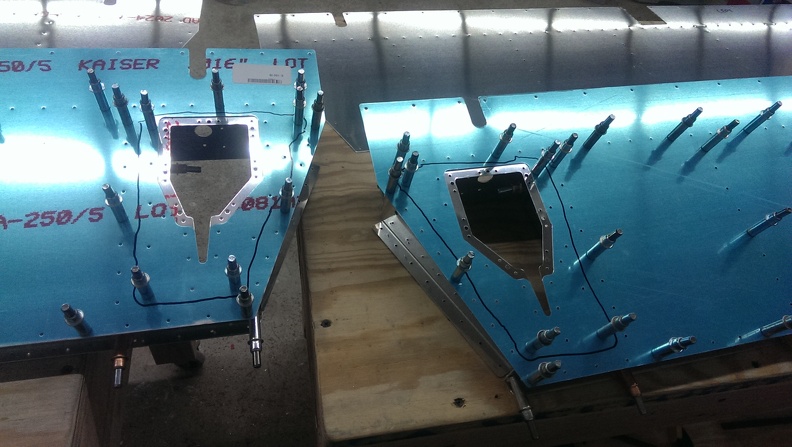
Next began the process of creating the elevator itself. I had to match drill some stiffeners to the spars, as well as dedicate a #30 hole and make it a 5/8″ hole for the trim cables. Next after clecoing the front spar to the lower skin I began to attach the ribs as well as the rear spar. This was followed up with match drilling all the holes as they lined up.

Next I set and match drilled the trim access cover reinforcement plates. I used a sharpie to identify which holes I wanted to match drill
Next the plans call for you to install the outside ribs and various other bits and pieces. Getting the outside ribs on can be tricky if you are not paying attention. A lot of stuff going on in that one area that things can get caught on.

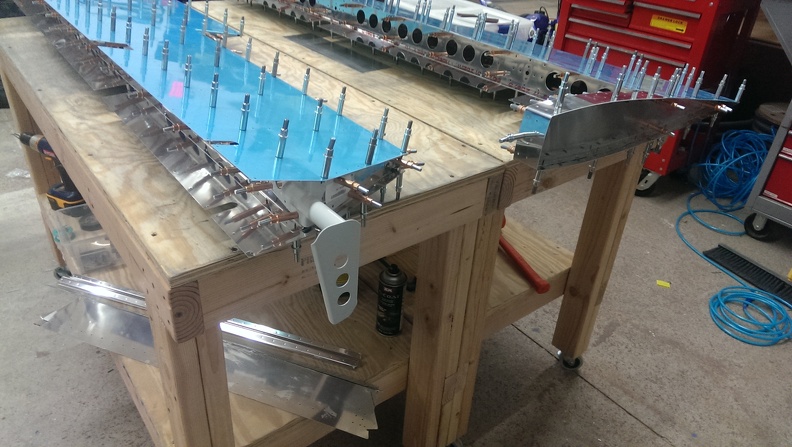
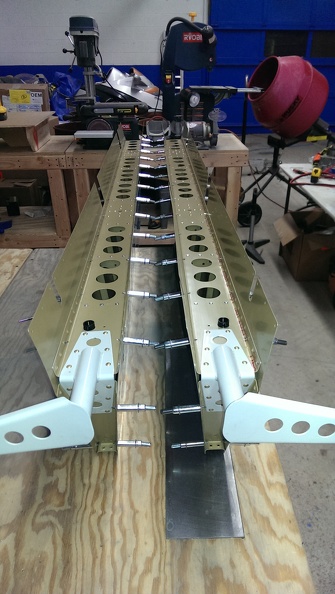
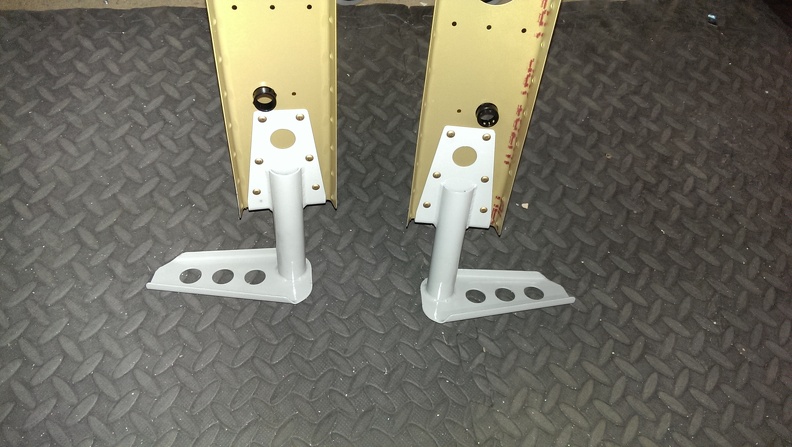
After that I placed the top skin on and made sure it was cleco’d well. With everything firmly in place I grabbed the trailing edge piece and cleco’d it into place. Once that was set I marked the edges on each end and moved it to the other elevator and repeated. Once I had my cut marks done I cut the trailing edge into 2 pieces. Next was onto the shear clips I cut earlier. Those were lined up on the rear spar and appear to strengthen the aft most part of the elevators. I finished the day by mounting the elevator horns and match drilling with a #30 drill bit.