Not much to discuss today. I cut all the elevator ribs in half per the plans and called it a day.

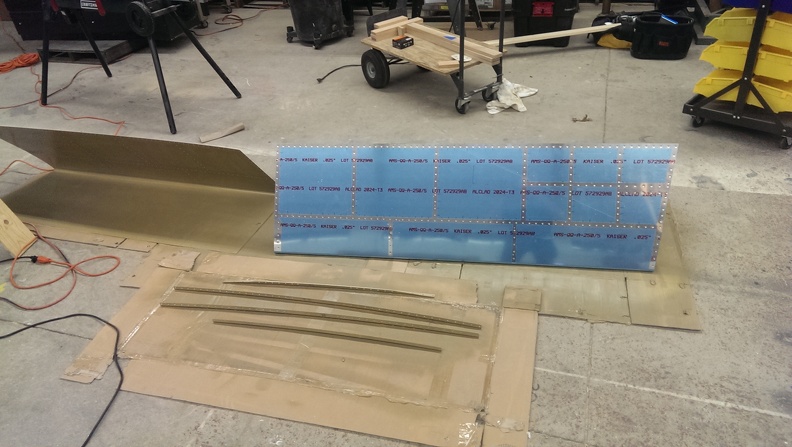
All the parts laid out from gathering on Wednesday
Not much to discuss today. I cut all the elevator ribs in half per the plans and called it a day.
All the parts laid out from gathering on Wednesday
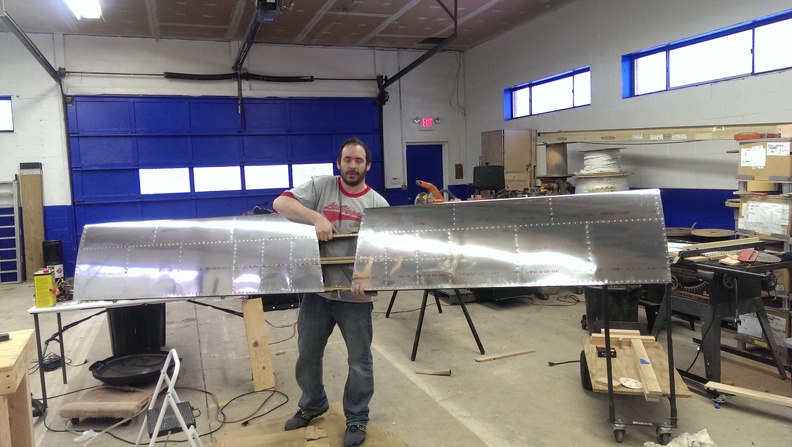
Today I finished up the Horizontal Stabilizer. I had all sorts of help today. I was on the bucking bar, Corey was on the rivet gun, Dad was on the cleco pliers, and Jason was on the rivets. Dad would clear out the cleco, Jason would insert the rivet and Corey & I would set the rivet. We flew past the remaining rivets today. Amazing. Everyone signed the rear spar that helped out as well. I told my Dad he had to sign on the other side of spar so that the weight of the ink was balanced between both sides. Stupid humor I know. But we laughed.


Corey & Jason

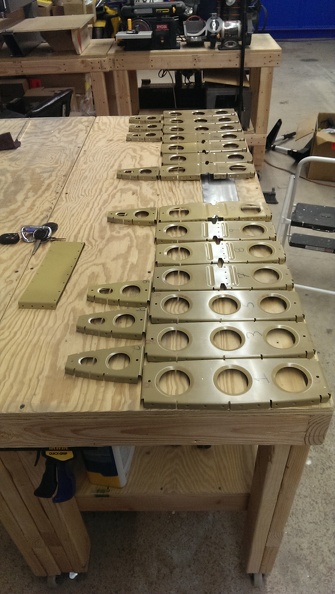
After words I gathered all the parts for the next step. The elevators!
Today I didn’t have much time to work on the skins. Corey helped me out again and we got one side of one skin completed.
Today I started off by riveting the nose ribs. Corey gave me a hand with the center section ribs. Once we got that done we placed the front spar and began to rivet it. I could have done this solo, but having a helper makes this so much easier. At one point Dad & Jason showed up and they also helped out in riveting the skin to the front spar. After getting all the rivets in the spar I began riveting the rest of the ribs in place on the spar wit LP4 rivets. I also secured the end rivets with some AN470-4-? rivets. After that I just cleco’d everything in place so it will be lined up for tomorrow.

Corey (L) and Me (R)

Today I went to work on priming everything. This was done in 2 sessions as I broke it up for dinner.
Next I began riveting the stiffners together and the to the stringer web. My squeezer did not fit so I had to use the rivet gun. I can definitely tell I still have a bunch of work on my rivet gun skills. After that I mounted the assembly to the front spar.

After I riveted everything to the spar I mounted the cradles I made and set the skins in them. I cleco’d the nose ribs in and called it a night. I will have help available tomorrow to help me rivet the skins

Today I finished dimpling the skins and the ribs. After that I followed it up with countersinking the spars and the stiffeners. I got bored at one point in time so I counted the holes. 952. 952 holes. 952 clecos in and out, 952 holes to drill, debur, dimple or counter sink. Good times. Tomorrow as long as nothing comes up, I will be priming and maybe start some riveting.
Today I sanded all the parts that I had available. The ability to use my palm sander made it a million times faster. I also ordered a bunch of red scotch brite pads from amazon as well. That is the only down side of the palm sander is it tears the pads up pretty quickly. After sanding I dimpled one of the skins for the horizontal stabilizer. I can’t stress about how there is a lot of holes in this thing. One step at a time though. No pictures tonight.
As I said in my last post, a drop cord would come in handy. This got the brain tinkering and I came up with a plan. Not only would I install a drop cord, but I ordered 2 Retractable Air Hose Reels from Amazon. After a quick run to home depot I grabbed a 25′ air hose, 30′ of 1/2″ EMT, and some 3/8″ black iron pipe and various other pieces I went to town. I already had the drop cord from previous adventures, and I have several thousand feet of wire in the warehouse, so I saved some cash there. Over the last few days I slowly installed a new electrical circuit to right above my work area. I also hung and ran the feed hose for my new hose reels. I think this will be extremely helpful in the future.

Today I finished the other half of the Horizontal Stabilizer. Once that was completed I disassembled everything. It’s so amazing how compact this part is when its disassembled. After dreading scotch briting the entire surface, I discovered that my palm sander will hold a scotch brite pad pretty well. This led to the next problem, Electricity. This would be far easier if I had a drop cord.

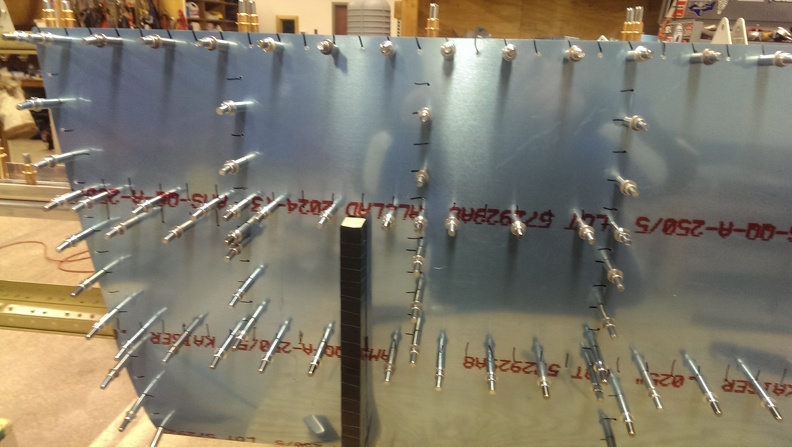
Today I matched drilled one side of the horizontal stabilizer. I don’t think a sane person can do both sides in one sitting. To keep track of which holes I drilled, each one got a little black stripe from a sharpie