David's RV-10 Build

Just another RV-10 builders log

Longerons & Elevator Bellcrank

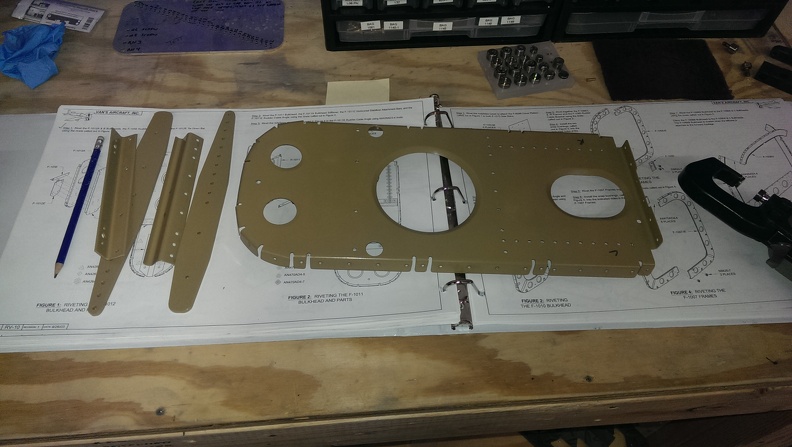
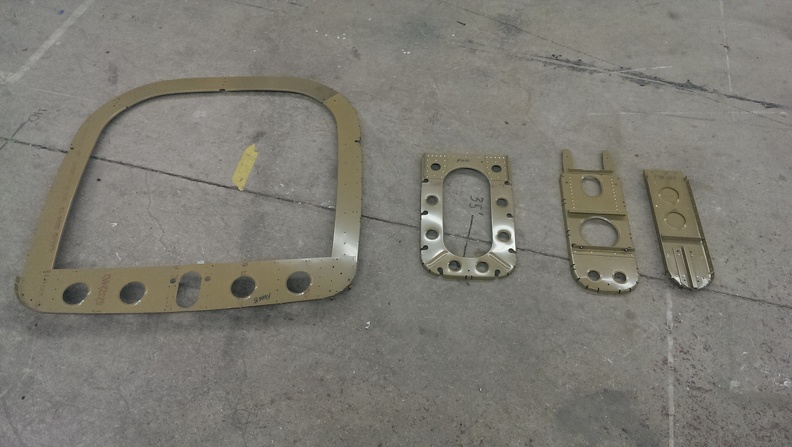
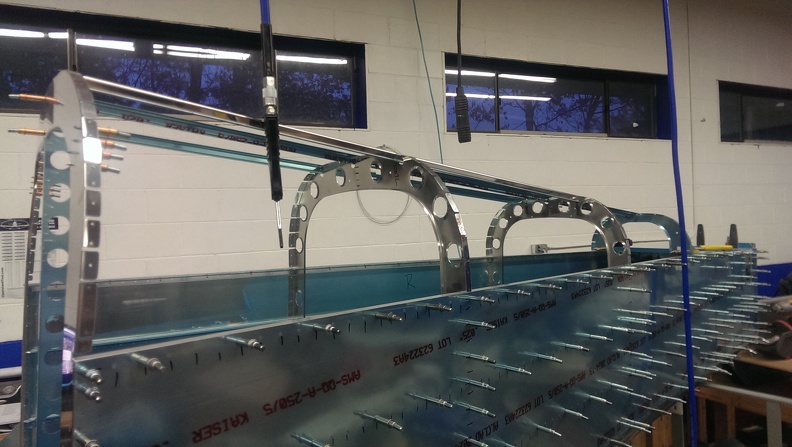
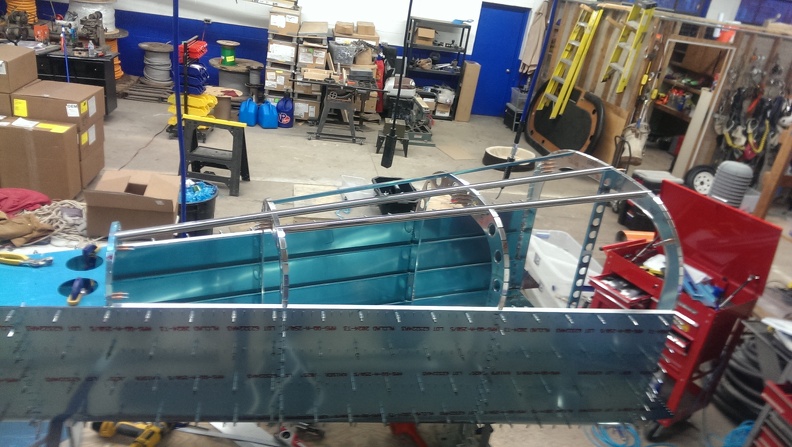
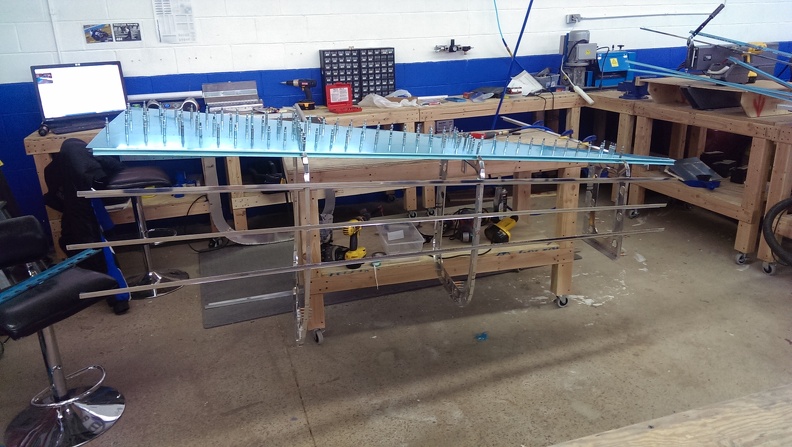
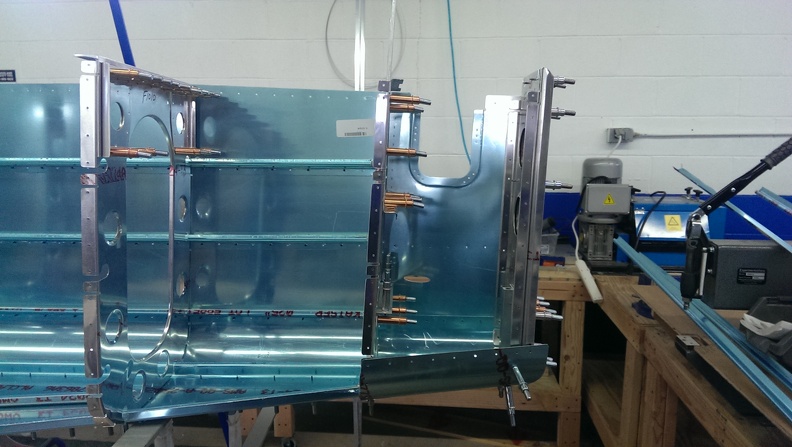
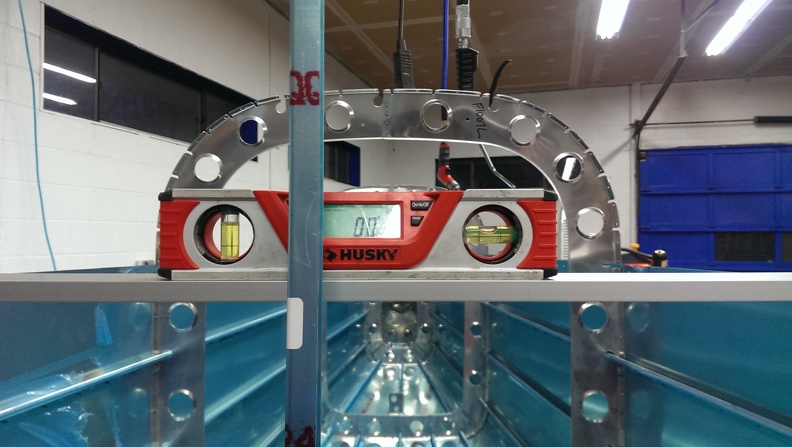
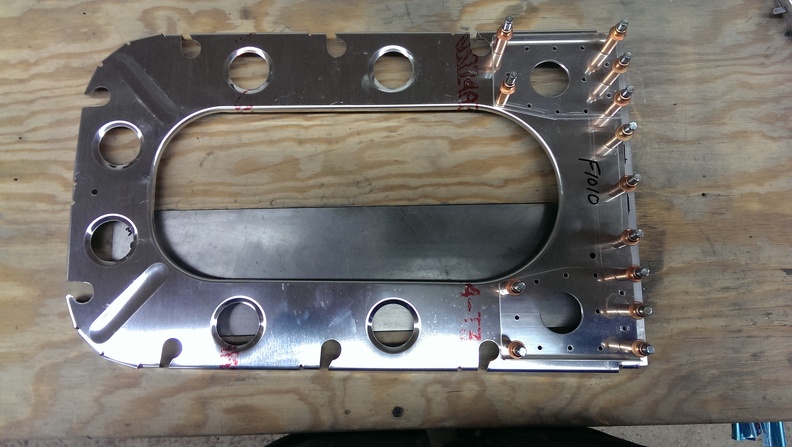
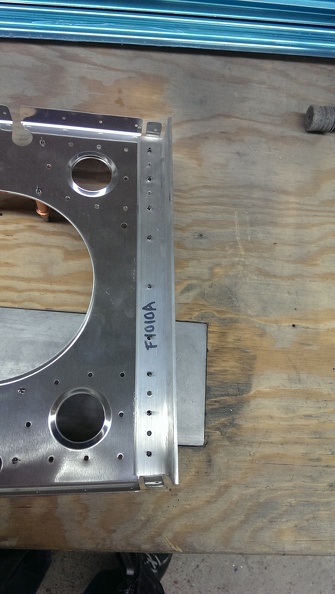
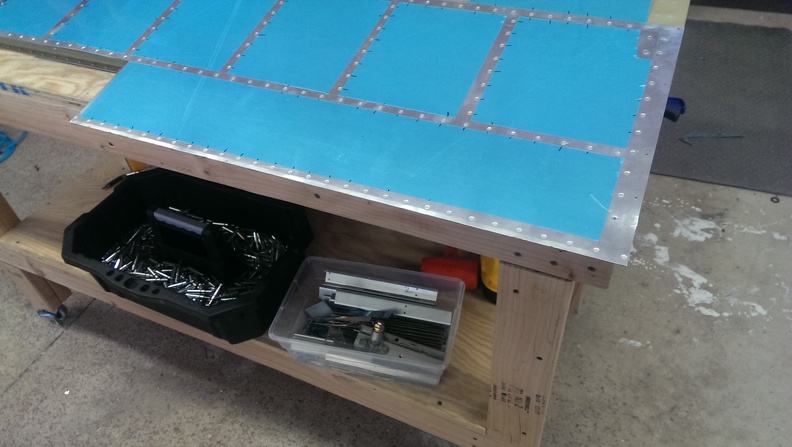
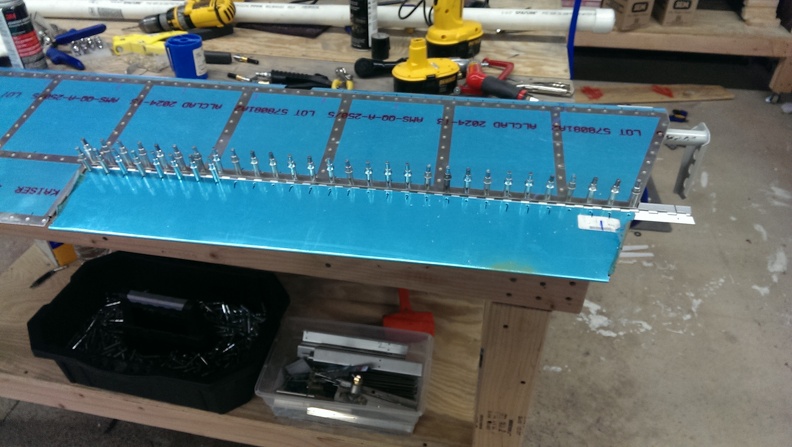
Today I started by counter sinking the Longerons. This was going swimmingly till the shank on my counter sink got stuck and broke with only 3 holes left. While that was pretty depressing, it left me with few things I could work on till a replacement came in. The elevator bellcrank assembly was pretty easy. I had to cut apart the pieces and deburr the edges. That was followed by match drlling everything and priming them. I also ended up priming the F1085? rudder cable bracket as well


Since it was getting late I hopped on Cleaveland Tools web page and ordered a some countersinks, a dedicated deburing tool, stainless tie down rings, tail light adapter ring, Push on Static Ports, and some 1″ 3m wheels.

I am ordering the SafeAir1 Pitot-Static kit, but I don’t like the way the SA1 Static ports look.

Safe Air 1 Ports from Avery Tools

Safe Air 1 Ports from Avery Tools

Static Air Ports from Cleaveland Tools

Static Air Ports from Cleaveland Tools

Tailcone Work

Today I started off by deburring, dimpling, and scuffing the F1012A,B,E, F1014, F1056, That was followed up by a wash & prime. While they were drying I began work on the F1011 bulkhead. Just basically repeated the same thing.

Once these parts were dry, I riveted them together. After that I began working on the F1010 Bulkhead & F1006 Bulkhead.

I did determine while this method takes a little bit more time, it makes parts management far easier. I would not recommend this if you were mixing & spraying primer.

Disassembly day

Today I started by finishing up some odds & ends prior to disassembly. I finished making the F1011D & F1012D angles.

F1011-D

F1011D Complete

After completing these parts, I matched drilled all the holes in the F1014 skin. Next I clamped the newly completely angles to the F1014 skin and began match drilling all the holes in them to the F1014 skin & longerons.

Next began the process of placing the rear passenger seat belt attachment anchors. This was pretty easy to accomplish.

Next the plan’s call for a line to be drawn on the triangle of the right side skin so that it could be cut off. This was quite nerve racking in its own right as I was worried about butchering the cut. I ended up using my snips and cutting piece by piece until I was really close, then finished it off with a grinding wheel.

Next after disassembling everything. Boy that was disappointing I tore off the blue plastic on the insides of all the skins and all of it on a bunch of pieces. I skipped ahead a few steps and drilled the 11/16″ hole for the rear tie down point. I also sanded, deburred, & dimpled 1 stiffener. I am thinking of deburring the pieces as they are called out to be assembled. This will break up the monotonous of scuffing, deburring & dimpling. I think this will only really work due to the fact I am using spray can primer.

Match Drilling

Today I finished up match drilling the skins. Nothing too exciting. I also began working on the F1011-D Attachment Bar Support Angle & the F1012-D Elevator Stop. By that I mean, I just cut the pieces and called it a night.

Wings Ordered!

Every year around this time Van’s announces a price increase. This year they announced it for any orders placed received on April 1st. So today I sent in my order form for my wing kit. It is expected to ship within 6-8 weeks of when they receive my order. So hopefully come June 1st I will be ready to tear into the wing kit. I elected to go with the standard build with aileron trim & the fuel senders. I decided to skip the light option as I want to go with a LED kit when the time comes.

Tailcone work

Today I finished drilling the left side longeron. After that I finished match drilling all the holes in the skin. This wasn’t as bad as it has been in the past as I already had drilled most of the holes in previous steps. After that I installed the remaining bulkhead & stiffeners and installed the top skins.

Tailcone buildout

I knocked out a whole lot today and when I began to think about what I did I thought I spent several days on this. I started out by making a jig to draw the centerline on the stiffeners.

Next after marking up the stiffeners, I bent the longerons per the plans, this was alot easier then I’ve read about. Maybe I just got lucky.

Next the plans call for some 38″ saw horses to hold the skin up. I elected to use my work benches and some stuff around the shop. I started by placing the bottom skin upside down between 2 tables and install 2 of the bulkheads and the stiffeners.

After drilling the stiffeners I flipped the tailcone over and began installing the aft most bulkheads and the a small skin.

Next was more stiffeners and the left side skin

my ugly mug in front of my hard work

Next I made sure that there was no twist in the tail cone by using a digital level

I did little bit more odds and ends, but nothing major. The biggest thing I can recall was installing the longerons but I did not go as far as drilling.

Tailcone Start!

I haven’t had much time to do much over the last 2 weeks. Between being busy at work or having a poor nights sleep I avoided working on the plane. I finally got started earlier this week though. I’m not going to go into every detail I did this week, but I’ll show some pretty pictures.

Rear tie down mounting point

The angle on this next bulkhead really caused me alot of grief. This is when I knew to stop and get some rest. I cut the angle with a 5/16″ angle from the angle portion to the flat portion inwards. I had my dad pick up some angle from fastenal but it turned out to the wrong type. Then I ventured a 30 minute drive to a metal retailer, found a piece, hopped in the truck and realized I did not screw the part up in the first place. That all I needed to do was finish machining it the proper way. Sleep is good!

bulkhead

rabble rouser aluminum angle

rear most bulkheads

Yesterday I nailed out a couple of pages. I grabbed all the rear bulk head pieces and began stripping the plastic off of them. Then began deburring the edges. After what seemed like forever I cleco’d them together and matched drilled them.

foremost bulkhead

After this was accomplished I began working on the stiffeners. If you have 0 patience, you should probably abort this project now. Cutting to length wasn’t so bad, but the deburring aspect was. I finally got to use my disc sander for some real fabrication work on this though. I set my guide to 45* and ground down the edges to make the angles called out in the plans. I called it a night here as the plans call for a center line down the length of each stiffener

stiffeners


Elevators Complete!

Im writing this about a week after I finished the elevators. I was so excited I completely forgot to do it.

The first thing I did was rivet all of the trailing edges on the elevators.

Next thing I did was roll the leading edges. I hate doing this and I always think the seam line looks terrible. I had the same issue with the rudder. This is one thing I am sure by the time the project is over with will be redone.

After that I began to cut the lead for the counter balance weight. a Kneemill would of been great for this.

Next was the fun part of attaching the trim tabs to the elevators. For some reason I enjoyed this part. After having difficulties getting one of the pins in, i decided to use some graphite I had and coated the 2nd pin. Went in nice and smooth. I will have to redo the other hinge pin with graphite later.

David's RV-10 Build © 2015