David's RV-10 Build

Just another RV-10 builders log

Day: December 19, 2013

Match Drilling Time

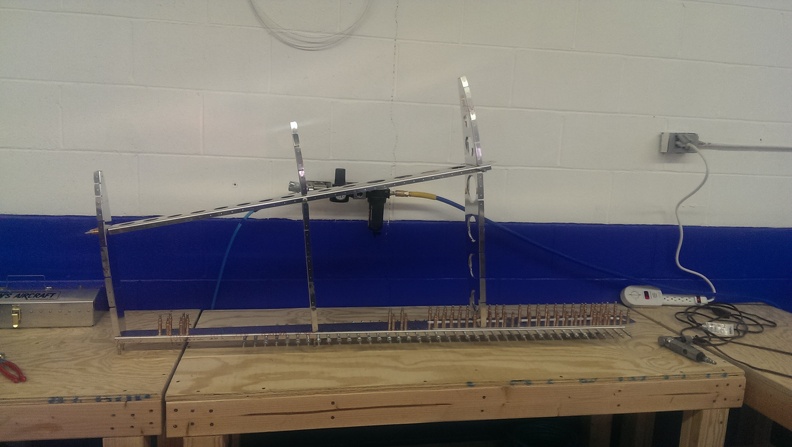
Today started off with removing half of the clecos I had holding the skin on. After what seemed liked forever, I got to start drilling. Once done with that, move the clecos over 1 hole, drill again. Jason one of my employees told me, this plane doesn’t ever get finished, you just keep moving clecos. It sure feels like that. Once I got done match drilling, Jason & I marked off each hole that is not to be dimpled. Next after disassembling the entire I structured, I began the process of scotchbriting everything. Once done with that, I used my new Cleveland Aircraft Tools Sub-Structure dies and dimpled the substructure as required. Are these necessary, I don’t know, but they worked just fine. I also noticed that on the skin I have a slight bulge where the middle rib was. It doesn’t appear to be too bad.



Vertical Stabilizer continued

Today I continued with the skeleton of the vertical stabilizer. After deburring the edges I removed all the blue plastic. There is a lot of it and it sucks. Putting together the structure was pretty easy. It was followed up by match drilling all the holes that were currently clecoed  together. 

After building the skeleton we had to take a bunch of clecos out to fit the skin. This was a great step in the process as it really felt like I was building an airplane and not playing with metal. The hardest part here was lining up the center rib. It just felt like it wanted to fight me the entire time. I am glad I had my dad there to help out on this one.

Tomorrow I will have the joy of removing a bunch of clecos and match drilling the skin

David's RV-10 Build © 2015