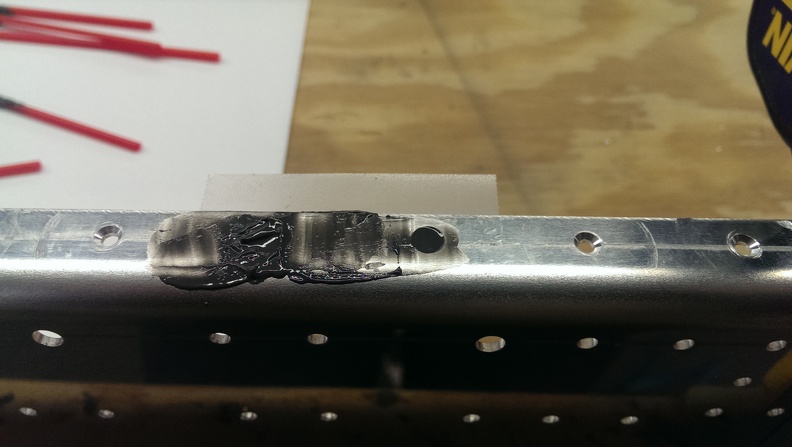
On Friday I called Van’s and spoke with tech support. After describing the issue, I was advised that a -4 rivet could be put in place instead. When I asked about the -4 still being too deep, We reviewed the plan’s again and determined that since all it was holding was the stiffner, Which is riveted closely on both sides, as well as the vertical portion. I could “patch” the hole with JB Weld and redrill it. This is NOT recommend for key places. I apparently got really lucky and it would not be an issue.
I took some tape and created a seal so the JB Weld would not drop through and be smooth. I also filled in a 2nd rivet that was just a LITTLE deep, not bad at all. I smoothed it out as best I could, the rest will need to be sanded down a bit.
While waiting for this to dry I went on to the next set of parts that I could work on. The plans have you modify 4 HS-1004 ribs. This was pretty easy. Just cut some minor sections out as well as bending 2 of them. Next I grabbed the HS-905 ribs and began deburring them. This is the first section of the plans that really confused me. The parts they send you do not look like the parts in the plans. Van’s has apparently added lightening holes to each of the nose ribs and you no longer need to cut the oval as described in the plans. After painfully removing the blue plastic from everything, I deburred the edges of all the ribs that I had worked on so far.
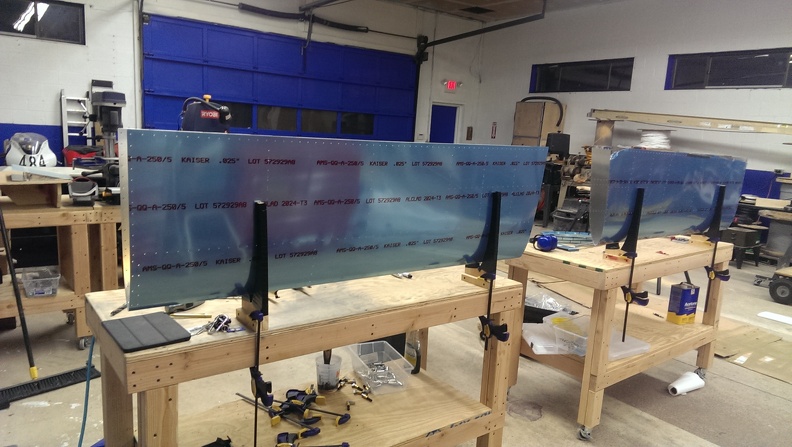
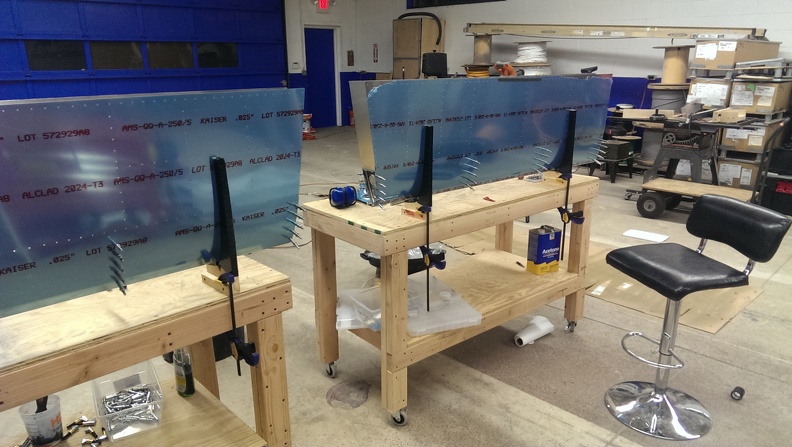
Next I fabricated 4 cradle stands and wrapped them in black vinyl electrical tape to protect the skins. Finally I skipped ahead of the plans and cleco’d the nose ribs in. Looks like I will be taking these out when it is time to work on the spar again.


