David's RV-10 Build

Just another RV-10 builders log

Category: Wings

Wing Ribs start

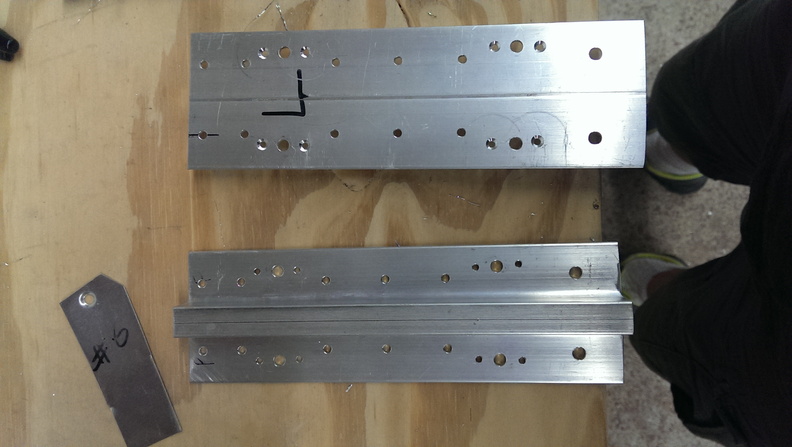
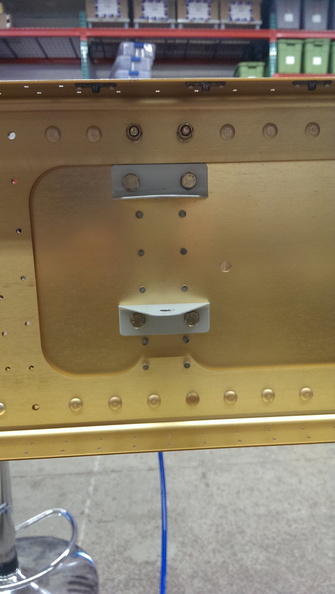
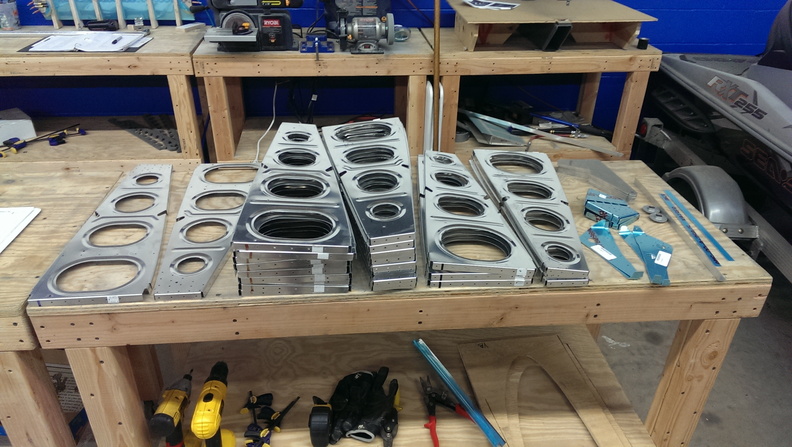
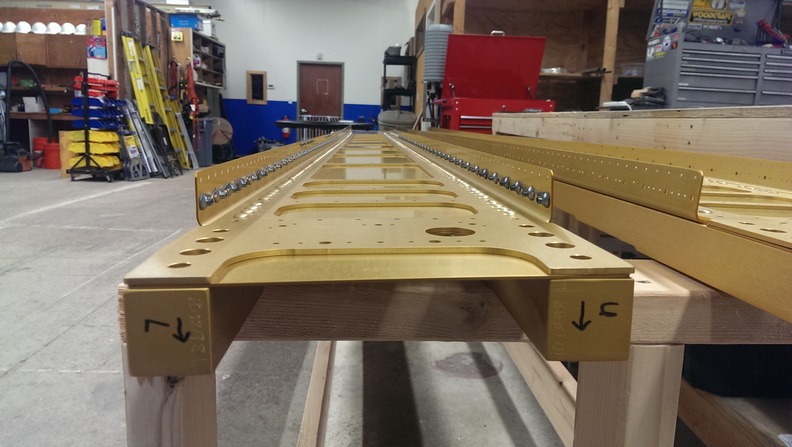
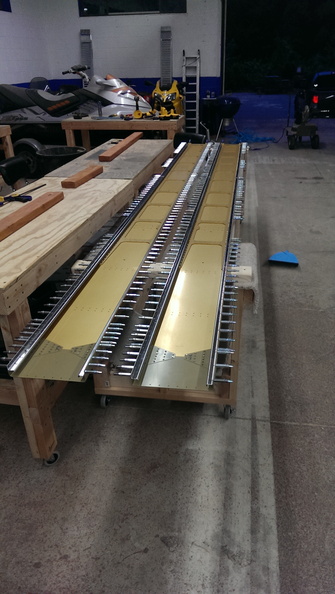
I have to admit, this was probably the most confusion section yet. You would think all the -L parts would go on the left wing and all the -R parts would go on the right. That is not the case.  The parts are mixed up every which way possible. I didn’t take alot of pictures today. I started off by cutting & fabricating W1029C angle, W1029D & W1029E spacers for both left & right wings. Next I started working on the W1029A-L Torque Tube Support bracket. This part was very difficult to get aligned into the W1010R rib. From here I decided to work on the left wing only for now. Next I drilled & cleco’d the Flap attach brackets to the ribs required. After that, i cleco’d all the ribs to the main spar. Once I had the left wing ribs mounted I marked each rib starting from the root 1 through 15. Then I proceeded with the right wing. Rinse Wash Repeat. These were marked 16 – through 30. After all this was set, I began drilling all the #12 holes, followed by match drilling the #30 & 40 holes.

Next I realized I needed to order some parts, such as the Pitot tubing & conduit. I created a nice shopping cart of stuff I wanted & needed. I’ll call Avery in the morning to place the order.

Main Spars Complete!

Today I finished up the main spars. I started by drilling all the #40 holes near the end of the spar as well as some #30 holes. After countersinking I attached some nut plates and began with the tie down brackets. this was pretty easy.

can you see what i forgot?

Next I bolted the brackets to the main spar using some AN3-5A bolts. During this process I also attached the W823PP Aileron Bellcrank brackets. Once I got done with the Left main spar I began with the right Right spar. After getting the bracket on and a few rivets driven. I noticed I missed 2 rivets on the nut plates.  So after carefully drilling the rivets out. I placed the last 2 rivets and finished mounting the tie down bracket.

Since this was done I cleaned up a little bit around the shop and then started pulling parts for the next section.

More countersinking

Today I finished countersinking the nut plate holes. Next I riveted all the nut plates on. Then I began the tedious process of counter sinking the skin rivet holes. I was able to finish one side of one spar before calling it a night. No pictures today as it wasnt that exciting.

Drilling & Counter sinking

Today I drilled all the remaining #40 holes on the spars. Next I focused on the left spar and kind of skipped around a bit. As I didn’t want to keep adjusting the microstop, I countersunk all the nut plate holes. I had to do a search on VAF that as part of the instructions were confusing. Basically there are 7 holes on each side of the spar that need to be countersunk, but wasnt quite clear. Well this was getting quite boring so I riveted the nut plates on after every so many counter sinks. After riveting all the nut plates on the left spar I called it a night. Tomorrow I anticipate finishing the right spar as well as all the countersinking on both spars.

J Stiffeners

Today I spent the day making and match drilling the J-Stiffeners. A lot of the time involved with this was making sure that the stiffeners were 1/16″ of an inch over the top of the spar. This took quite some time and I called it a day afterwards.


Wing Kit start!

After cleaning up today I decided to go about making the wing stand. It was a bit confusing as some of the details in the plans were left out, but we managed to figure it out. I did add one 2×4 to this stand that is not called for. It literally is just the scrap of the remaining 2x4x8 piece. This will remaining here till i install the leading edge.


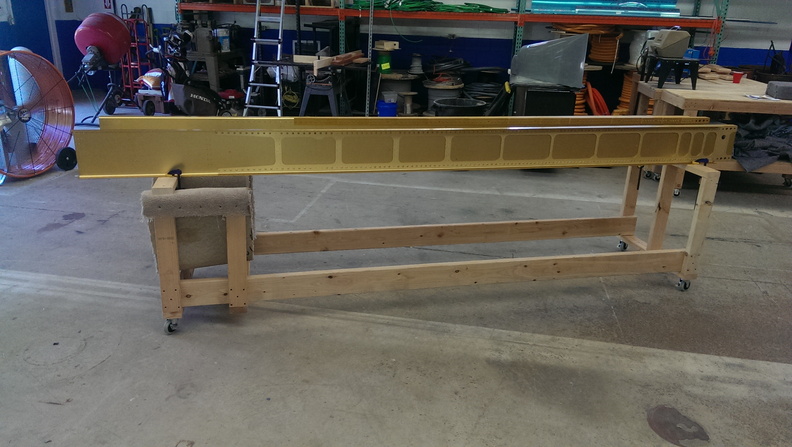
The main spars waiting to be worked on


First thing that needs to get done is the wing spar extension.Its pretty quick to get to primer here. These parts are ready to attach.

everything riveted together

at this point i called it a night


Wing Kit Delivered

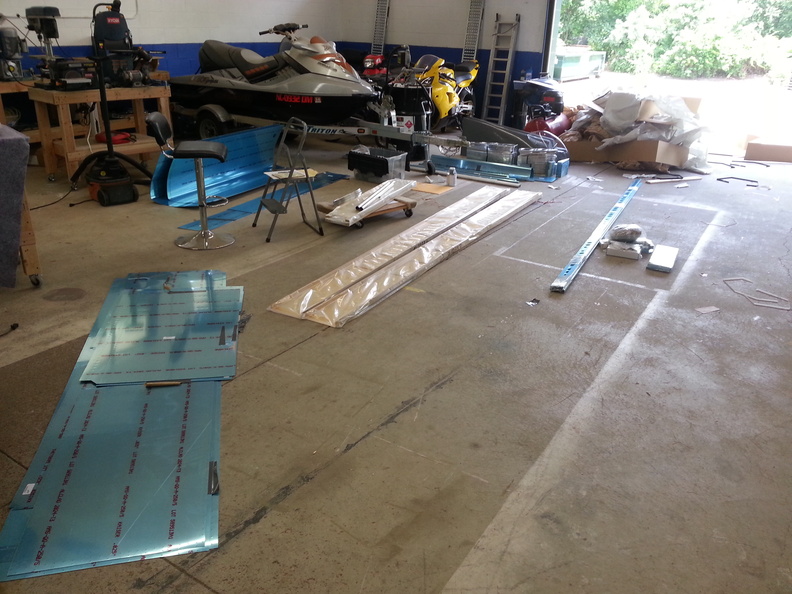
Well YRC is living up to their reputation. Guaranteed my shipment to be late is what I apparently paid for. Also had a broken box on the long box, but luckily nothing was damaged. Everything showed up minus a bolt, 1 part, and 1 can of proseal. The latter was my fault as I did not notice it missing on the final order confirmation. The size of this plane really comes into perspective now. The wing tips are HUGE.

Wing kit shipped!

Just got the call today to have YRC come pick up the wings. Van’s normally ships things themselves, but due to the specific wording I need on the Bill of Lading, I arranged the pick up. The current scheduled delivery date is Monday the 16th by 5pm!

Wings Ordered!

Every year around this time Van’s announces a price increase. This year they announced it for any orders placed received on April 1st. So today I sent in my order form for my wing kit. It is expected to ship within 6-8 weeks of when they receive my order. So hopefully come June 1st I will be ready to tear into the wing kit. I elected to go with the standard build with aileron trim & the fuel senders. I decided to skip the light option as I want to go with a LED kit when the time comes.

David's RV-10 Build © 2015