David's RV-10 Build

Just another RV-10 builders log

Category: Wings

Back at it

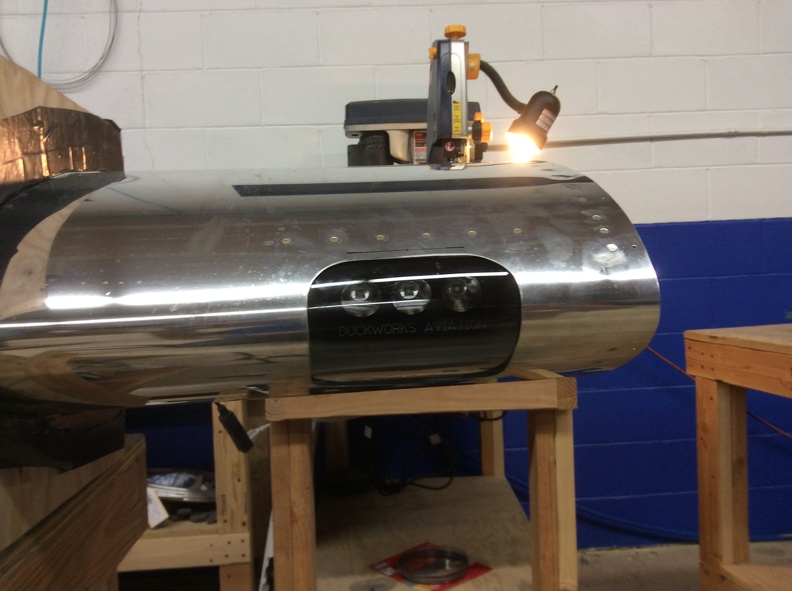
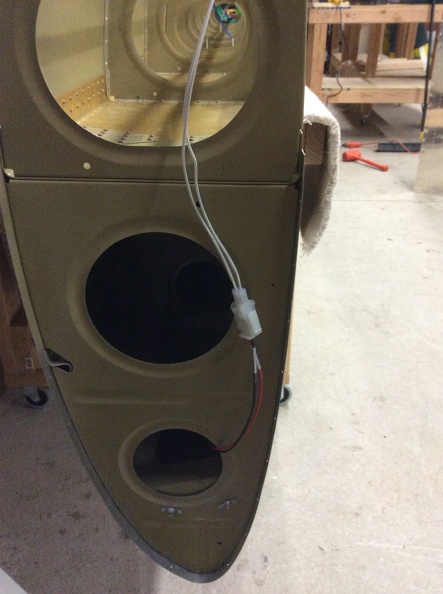
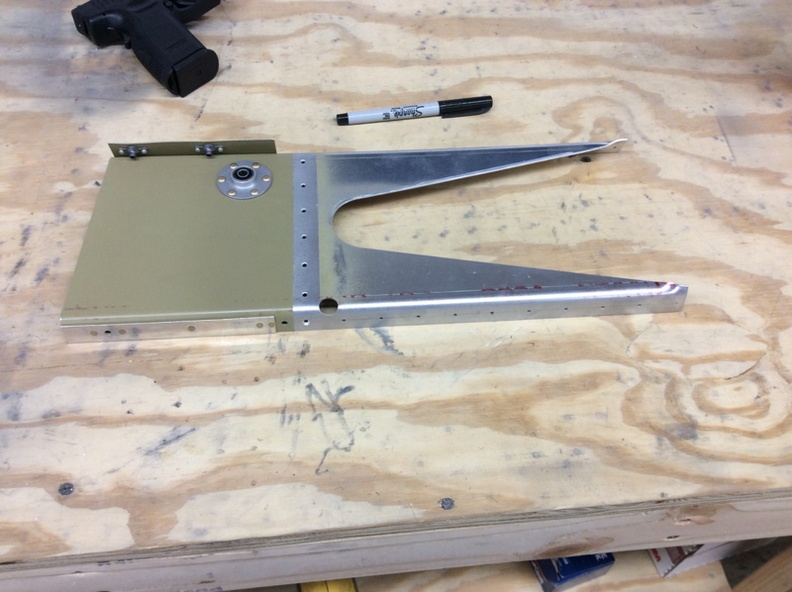
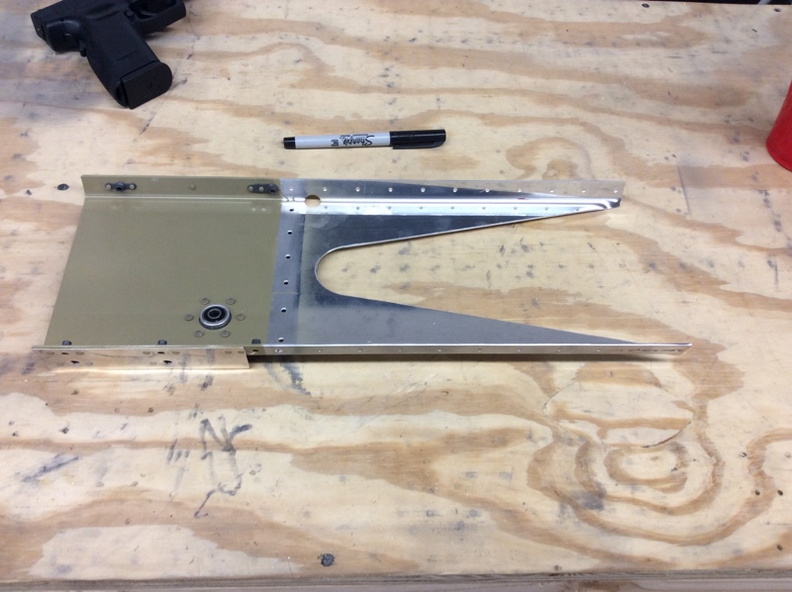
Like many builders before me, I have been trapped by the events of life and all flying related activities were suspended for quite some time. Fortunately things are working in my favor again and its time to blow the dust off the project. I started by cleaning out the work area. Now that I can work again i started looking over where I left off at with the left fuel tank. After staring at it for a bit I elected to reorder a bunch of parts and redo it as I am not happy with it. On May 7th I ordered my nav / positioning / tail lights from FlyLEDS.com. Paul was very communicative and incredibly fast at sending them out. He told me it would take about 10 days to get here from Australia. On May 19th I checked the mail and here they were.

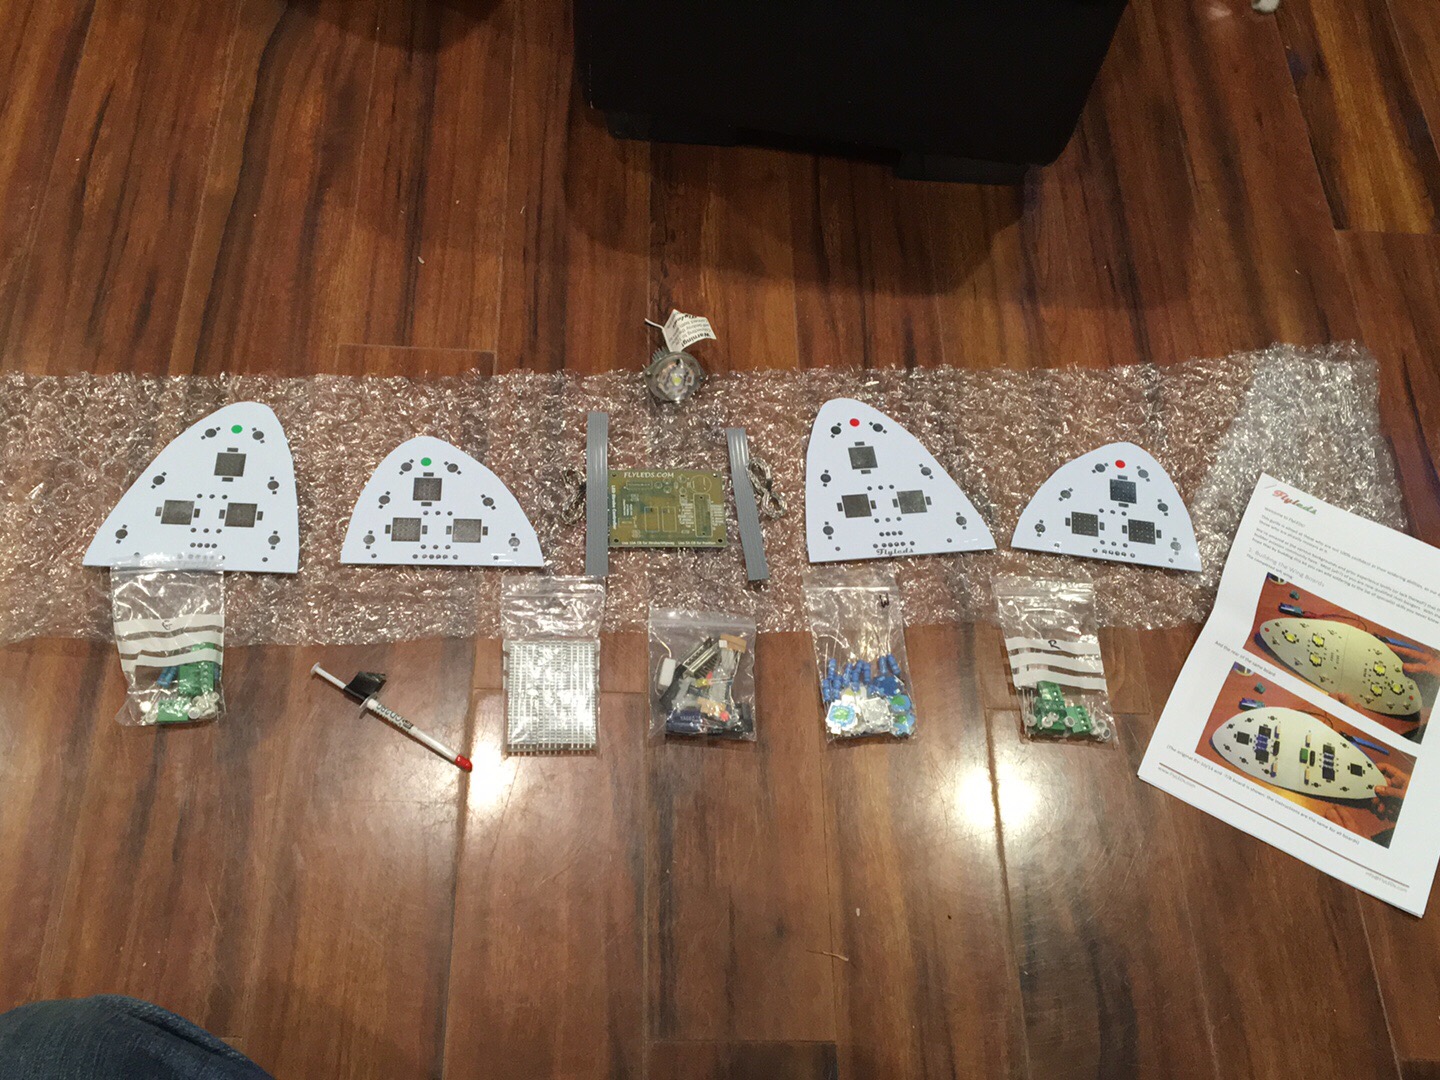
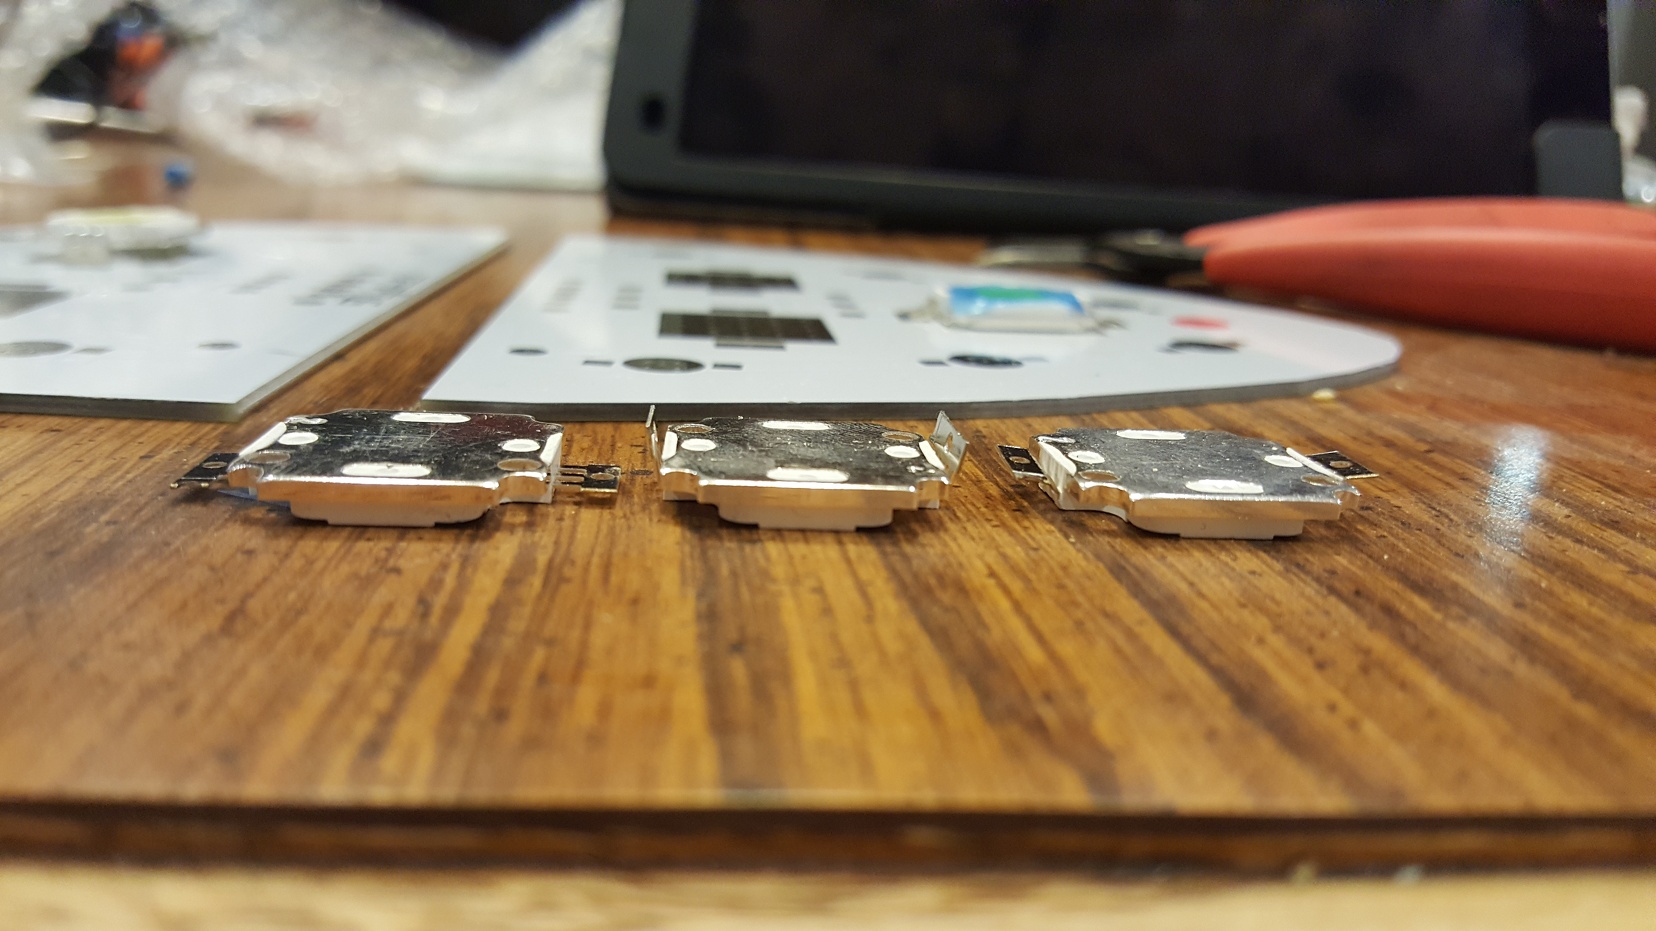
Last night I decided to start putting these lights together. Paul sends very detailed color instructions. Its been quite a while since I had to solder, but I think I did a good job. You start off by folding the tabs on the LEDs.

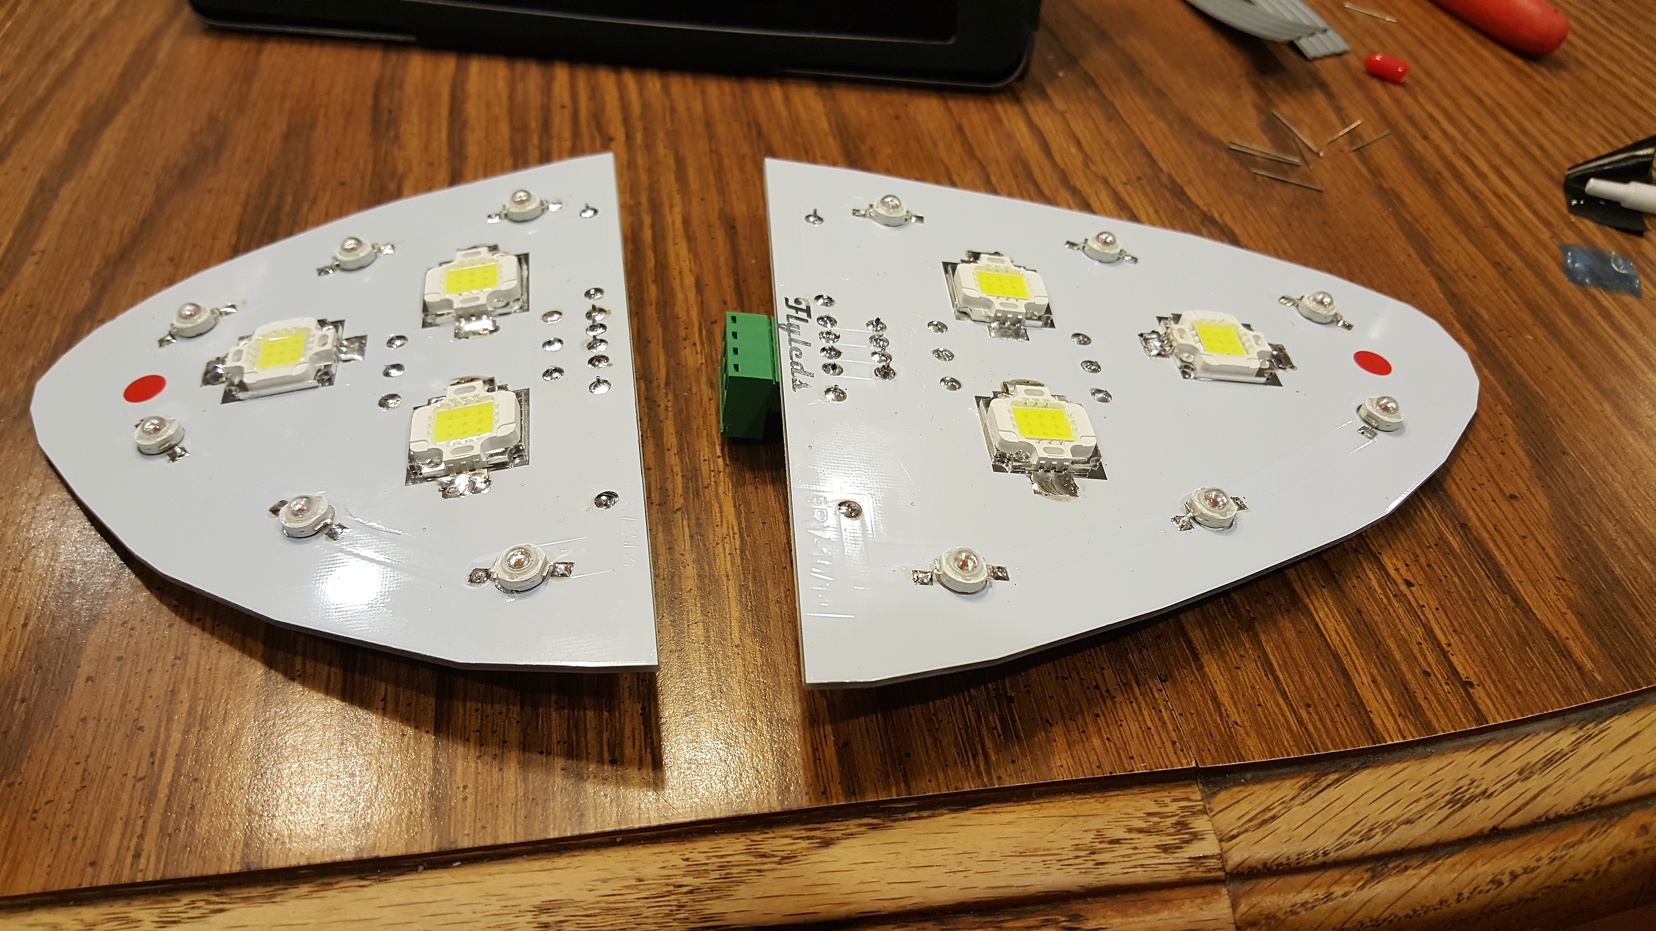
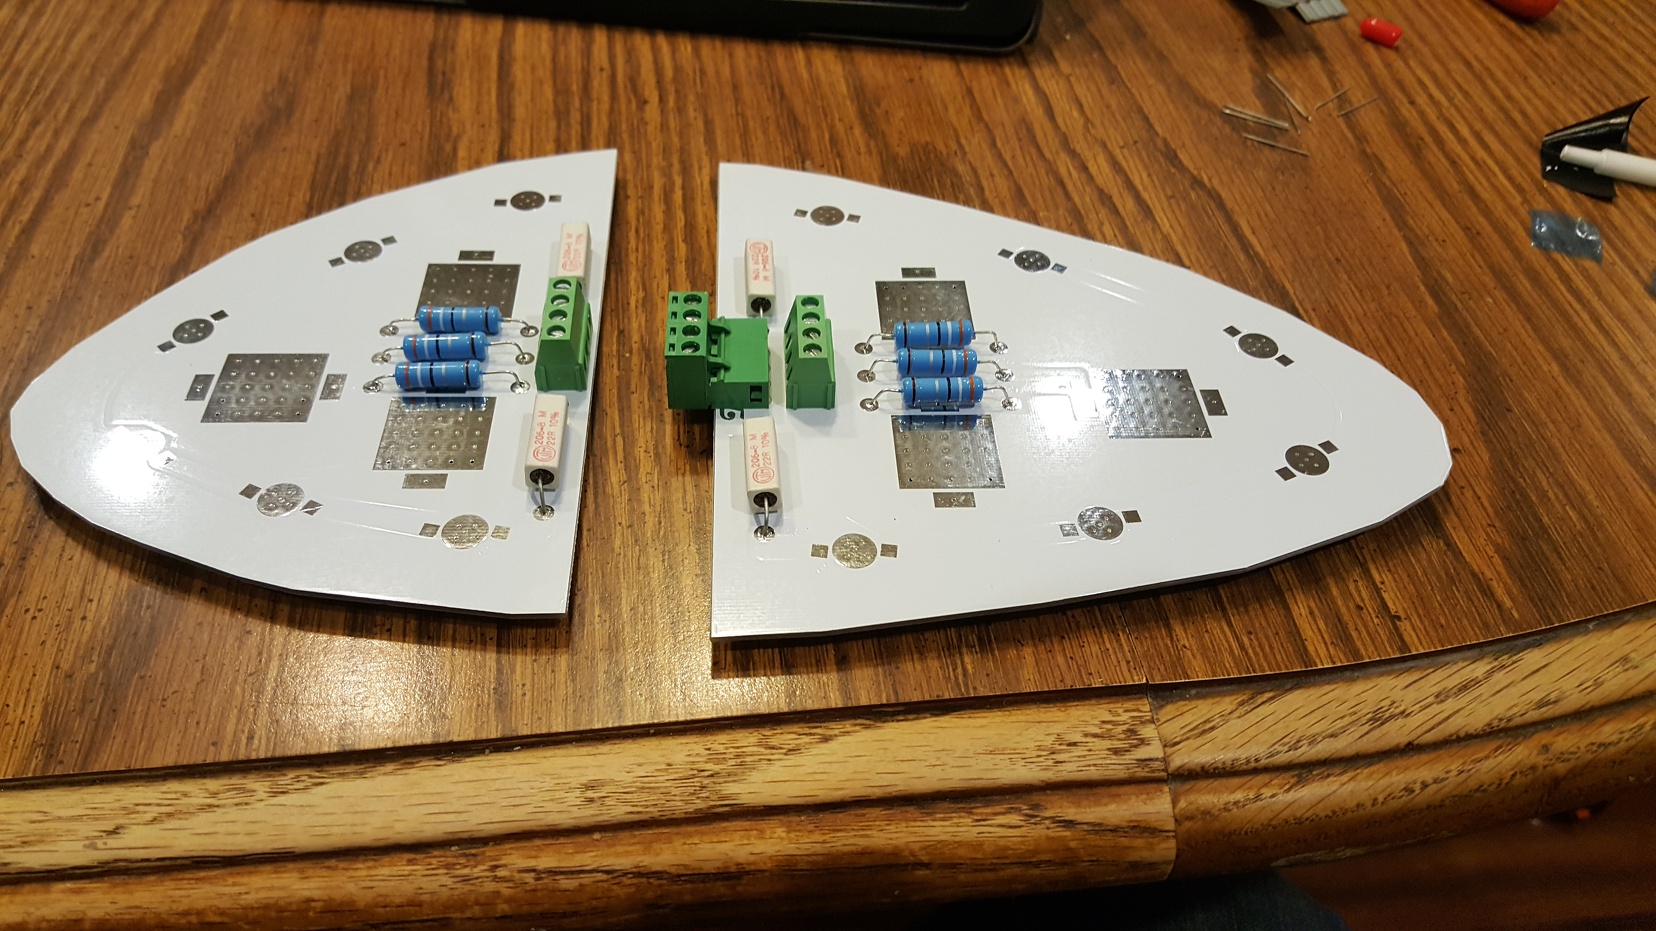
Then I soldered on the White LEDs and the Red LEDs. after that its followed by soldering in a bunch of resistors and a few connectors.

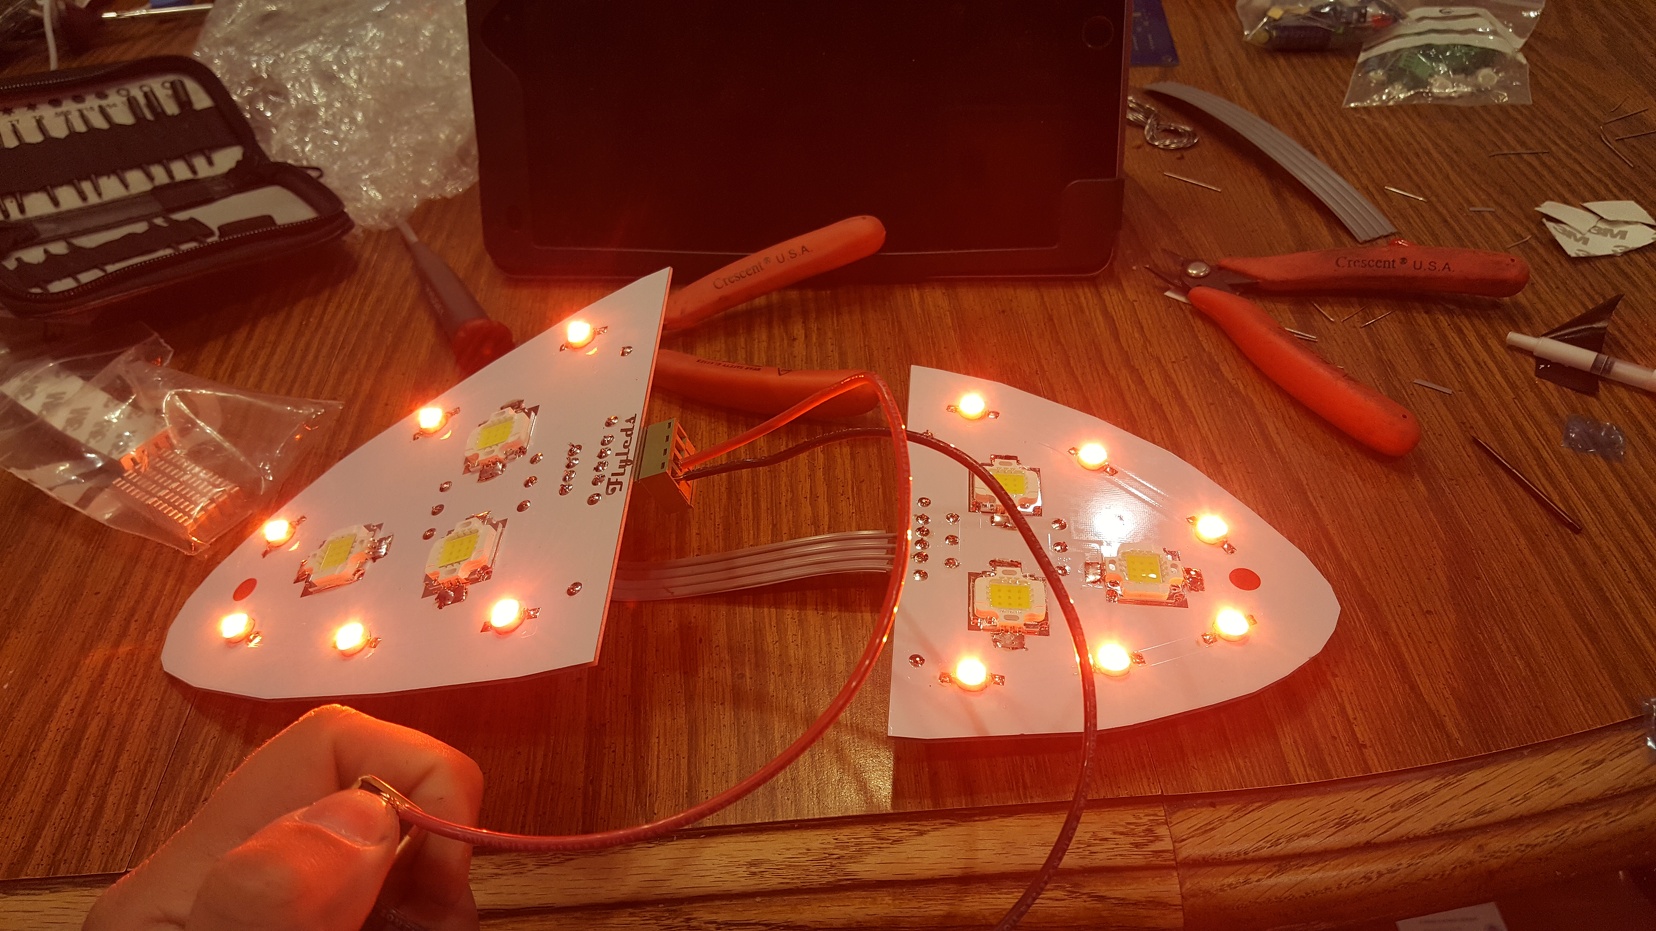
After this was all put together, I had to test it. The instructions say its okay to use a 9V battery but it won’t be as bright as it would be with a 12V battery. All I can say is they are bright. The camera does not pickup the amount of light these put out at all

I followed this up with the right side (green) which was the same exact process. After that I put together the controller board. This had a lot of pieces to put together, and I haven’t had the opportunity to test it yet.

Skin dimpling

I started off today by creating a new way to dimple the skins. While my old setup was easy. It was very awkward to use on large skins. It was also mounted on top of a table adding some significant height to the overall work. What I did today was I found a 2×6 board just long enough to mount the DRDT2 too, and then took one of remaining sides of the crate that are still out back and cut 4 lengths at 2′ long. Then using very scientific methods, we attached 2 to each table. This allows me to slide the DRdT2 in between the tables and creates a flat surface for the skin to slide on. I really wish I did this a year ago.

After that I dimpled the skin nice & easily. I also installed the 4 nut plates for the landing lights. This was a proceeded by a bath and prime. I also laid down 2 coats of chrome paint near the light hole.

Since this stuff dries so quickly I was able to cleco together most of the leading edge. I also squeezed the 2 rivets for the stall warning hole which does not go in this side.

Tomorrow I plan on finishing up the fuel tank strip and riveting this part all together.

Overdue Update

Post Edit: This is Post # 100!

I have long ignored this page. Part of the problem was lack of time, photos all over the place. I have conceded to doing one long post with the pictures I have found. Shortly before my trip the Dominican Republic (which was a war, 85 degrees the entire week), I began riveting the left fuel tank. I used a process that I saw on Vans Airforce. Which involves applying a thin layer of proseal to the part to be riveted. then cleco’ing it place and letting it sit for a day. I had hoped to finish it up prior to leaving, but rushing never leads to good results. I have quite a few rivets that need to come out and alot of proseal to clean up. I apparently took no photos since of this either as I cannot find any.

Since I got tired of cleaning proseal, I decided to work on the leading edges again. I had received my DuckWorks LED Landing Lights. Cutting the hole was extremely nerve racking, but looks pretty good. I bought chrome metallic spray paint to give it some reflective ability. Time will tell if this was worth it.

Next I began riveting the skins onto the ribs. This went by quite easier then the fuel tank did for some reason. (ignoring the proseal). I knocked those rivets out relatively quickly.

Next I proceeded with the lamp bracket. This was pretty straight forward. Cut the bracket per the instructions, Drill some holes & rivet.

Next I printed out some labels in MS Word by using a font size of 6. Cut them out and used clear heatshrink to hold them to the wires. This was far cheaper then some other really neat alternatives. I had found a label maker that could print directly to heat shrink, but the label maker was about $300 and the labels were $40 for 5 feet. Not really worth the cost.

Next I started working on the lens. This was a real pain in the butt in my opinion. I had it cut nicely and it fit well, but once I put it in place with the screws, I have a small gap. I will eventually come back and look at this in the future.

Next I had got some help and mounted the left wing onto the table and cleco’d the leading edge in place. Riveting here was pretty straight forward.

Next I had my dad help me put the wing back into its cradle. Its starting to really look like a wing now.

Next I decided to quickly swap out the bracket required for autopilot. That was a quick 30 second job

I believe I took about a week off due to work commitments, but then I started the right side leading edge landing lights.

I also picked up some #16 & 18 wire and ran the wire & a pull string for the landing lights on the left wing as well as the stall warning sensor. That was pretty easy.

Then once again I let everything sit for a while. I recently started deburring, scuffing, dimpling, and priming the right side leading edge parts. Once I finish dimpling the skin I will start riveting it together.

Tank Disassembly

Today I basically took apart the left tank. As each piece came off I deburred all the holes. I still have to dimple everything though and finish deburring the skin. I went ahead a little bit and worked on the tank attach bracket. Once I finish deburring and dimpling, I will start my first round of prosealing. Yayyy……..

here is the tank as it sits now, the skin is currently sitting on the trash can behind me. Bonus points to anyone who can figure out what movie im watching

Left Fuel Tank

Since I decided to halt any further work on the leading edges until the lights come in, I started the fuel tanks. I also decided to go with the Float type fuel senders. I plan on running MoGas as much as possible, but I realize that is not always possible and may get stuck with AvGas. The hassle to swap back and forth isn’t worth it for me.

The first step involved cutting and shaping the stiffeners.

The next thing I had to do was cut the tank attach brackets.

Next I began inserting the ribs inside the skin, which was followed by attaching the stiffeners and the j channel. I only drilled the holes for the J Channel as well as the 2 holes in the stiffeners that didn’t line up.

I finished up the night by mounting the fuel cap. This came out really good and I think looks bad ass.

Right leading edge

Today I basically repeated what I did with the left leading edge, minus some cutting. I match drilled all the holes I could. I have everything completed up till the dis-assembly step. I don’t plan on going any farther until I receive the templates for my leading edge lights. I will probably start prepping the tanks until they come in.

David's RV-10 Build © 2015