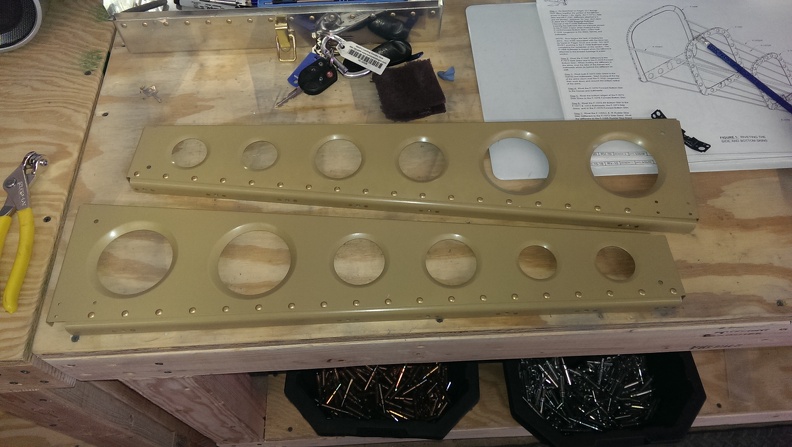
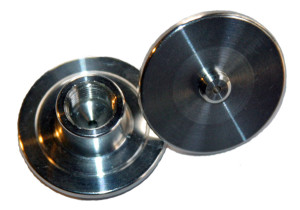
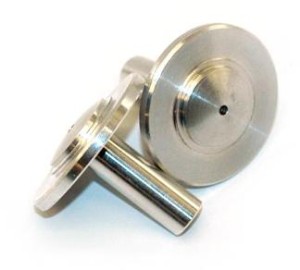
Yesterday I got my new countersinks from Cleaveand Aircraft Tool. Today I literally sat and deburred holes and scuff the stiffeners. After scuffing each one I dimpled each one. This broke up the monotony of scuffing and deburring. After I was done I did a much needed clean up of my work area.
Month: April 2014
Random priming & assembly
Longerons & Elevator Bellcrank
Today I started by counter sinking the Longerons. This was going swimmingly till the shank on my counter sink got stuck and broke with only 3 holes left. While that was pretty depressing, it left me with few things I could work on till a replacement came in. The elevator bellcrank assembly was pretty easy. I had to cut apart the pieces and deburr the edges. That was followed by match drlling everything and priming them. I also ended up priming the F1085? rudder cable bracket as well
Since it was getting late I hopped on Cleaveland Tools web page and ordered a some countersinks, a dedicated deburing tool, stainless tie down rings, tail light adapter ring, Push on Static Ports, and some 1″ 3m wheels.
I am ordering the SafeAir1 Pitot-Static kit, but I don’t like the way the SA1 Static ports look.
Tailcone Work
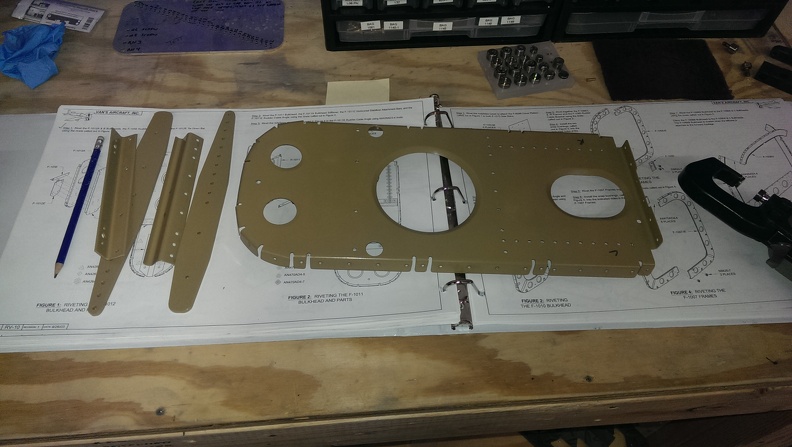
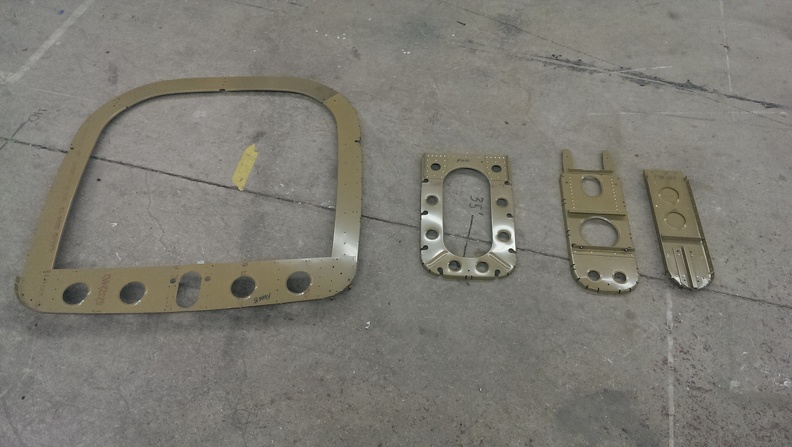
Today I started off by deburring, dimpling, and scuffing the F1012A,B,E, F1014, F1056, That was followed up by a wash & prime. While they were drying I began work on the F1011 bulkhead. Just basically repeated the same thing.

Once these parts were dry, I riveted them together. After that I began working on the F1010 Bulkhead & F1006 Bulkhead.
I did determine while this method takes a little bit more time, it makes parts management far easier. I would not recommend this if you were mixing & spraying primer.


