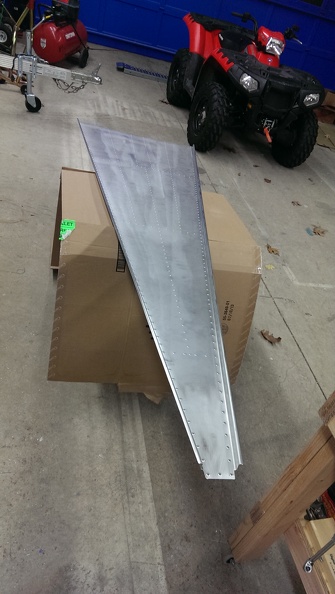
Today I scuffed, deburred, dimpled, & primed the left side skin. Once the primer dried, I cleco’d it to the tail cone. It’s now ready for riveting.

Today I scuffed, deburred, dimpled, & primed the left side skin. Once the primer dried, I cleco’d it to the tail cone. It’s now ready for riveting.
Not much done today, Just put the right side skin on and rotated the tail cone. 

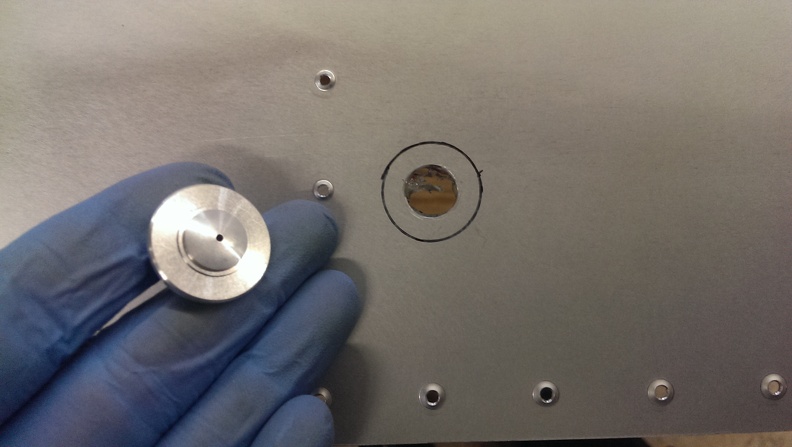
I started off by finishing off the dimpling I didn’t finish yesterday. After that I busted out the ol unibit and drilled a half inch hole for the Static Port to go. I really like the way it looks sitting in there. Since I am currently short of Proseal, I will have to hold off on epoxying it in for final use for now. I guess I could use JB Weld if I really want to get it done now though.
I marked it with a sharpie so I knew where to tape off for the proseal. Next I marked the strips of blue plastic to come off for riveting. I know I could of just taken it off completely, but I rather not risk putting major scratches in the aluminum while I am flipping it all over the place. Finally I got to wash the skin and prime it. I am so glad I found my mask for when I used to paint my race bikes. This made the priming part so much more bearable.

I made sure the Static port was kept clean by placing some tape and cutting it to shape.

Right around now my friend Chad called me up and asked if I wanted to go hit some golf balls so that ends my night pretty quickly. Tomorrow I plan on attaching the skin and start working on the left side skin.
Today I deburred and scuffed the right side skin. After that I began dimpling it. Nothing else to talk about really.

To celebrate National Tax Filing Day, I went through the lengthy and fun process of cleaning and priming the lower skin. I also primed the edge of the lower skin that will be overlapped by the side skins.


After the primer dried, I began clecoing the bulkheads to the lower skin. I finished by attaching the side skin stiffeners and the right side longeron. I called it a day after this

I didn’t do much today but I got some stuff done. I used my orbital sander with 2 scotchbrite pads cut to size to scuff and deburr all the holes. I also marked lined in the blue plastic and scuffed the edges that will be hidden by the left & right skins. After that was done, I dimpled. and dimpled, and dimpled some more. Low behold I have a freshly scuffed ready to primer skin waiting for me.
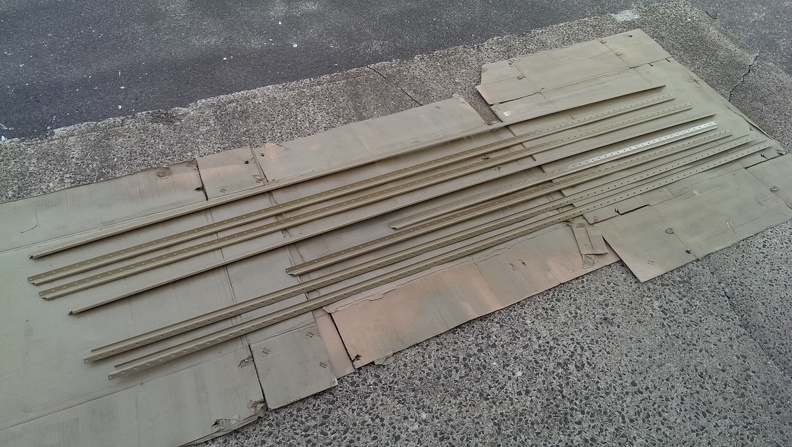
Today I received a letter from Van’s notifying me that my wing kit will ship on the week of June 2nd. This give me about 7-8 weeks to get ready for the wings. I started off by cleaning the stiffeners and longerons that I finished yesterday and finished with priming them. I had to stop for a bit while I sold a motorcycle and went to flying lessons. It was a bit bumpy but I got some landings in New Haven (KHVN) while it was incredibly busy. I thought the poor controller was going to pass out from all the talking he was doing. On the way back I got to do some instrument work for the first time. So far that seems easy.
When I got back i finished cleaning the rest of the stiffeners. While those were drying I prepped the remaining parts I had yet to scuff.
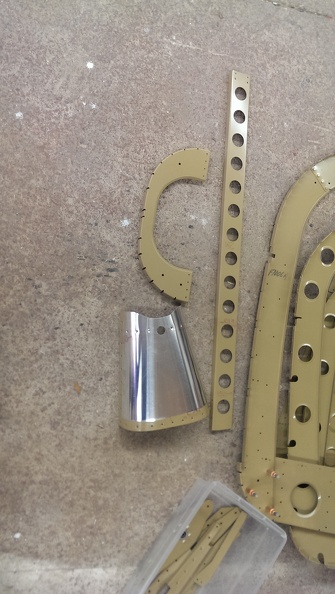
Once I had those parts primed, I started reviewing the drawings and see what I hadn’t done yet. The next thing I decided I was going to work on was the battery & bellcrank mount. This required separating a few pieces from 1 extrusion. There really wasn’t much to do here. I deburred all the edges, drilled holes to the proper size, and countersunk a few rivet holes. After priming I riveted the nut plates on.

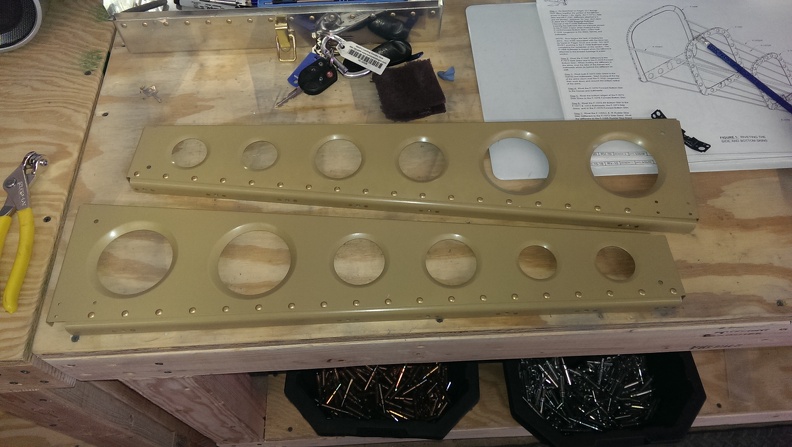
ready for priming

all riveted

assembled
Tomorrow if I’m motivated, I will start working on the skins if I can’t find anything else to avoid working on them.
Yesterday I got my new countersinks from Cleaveand Aircraft Tool. Today I literally sat and deburred holes and scuff the stiffeners. After scuffing each one I dimpled each one. This broke up the monotony of scuffing and deburring. After I was done I did a much needed clean up of my work area.
Since I was limited in what I could do, I did what I could. I scuffed and primed the F1014 skin and various bulkheads.


After that I began assembling what I could.


Today I started by counter sinking the Longerons. This was going swimmingly till the shank on my counter sink got stuck and broke with only 3 holes left. While that was pretty depressing, it left me with few things I could work on till a replacement came in. The elevator bellcrank assembly was pretty easy. I had to cut apart the pieces and deburr the edges. That was followed by match drlling everything and priming them. I also ended up priming the F1085? rudder cable bracket as well

Since it was getting late I hopped on Cleaveland Tools web page and ordered a some countersinks, a dedicated deburing tool, stainless tie down rings, tail light adapter ring, Push on Static Ports, and some 1″ 3m wheels.
I am ordering the SafeAir1 Pitot-Static kit, but I don’t like the way the SA1 Static ports look.

Safe Air 1 Ports from Avery Tools

Static Air Ports from Cleaveland Tools
